

How to Design Labels in Canva and Print with Avery
Design your label in Canva, then bring it into Avery Design & Print Online to size, format, and print it perfectly—whether you're printing yourself or ordering custom labels.
A simple guide to designing and printing your perfect label
Creating custom labels is easier than ever with Canva® and Avery. Whether you’re labeling products, planning an event, or organizing your workspace, this quick-start guide will walk you through how to design a label in Canva, download it, and upload it to Avery for printing—professionally or at home.
Let’s dive in.
Step 1: Create a Canva account
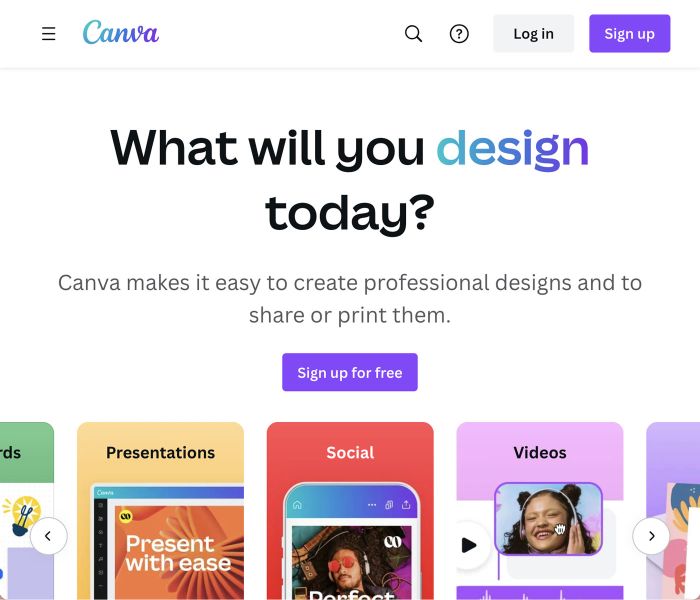
First things first—head to Canva.com and sign up for a free account if you don’t already have one. You can sign up using your email, Google, or Facebook login.
Once you’re in, log into your dashboard and get ready to start creating.
Step 2: Start designing your label in Canva

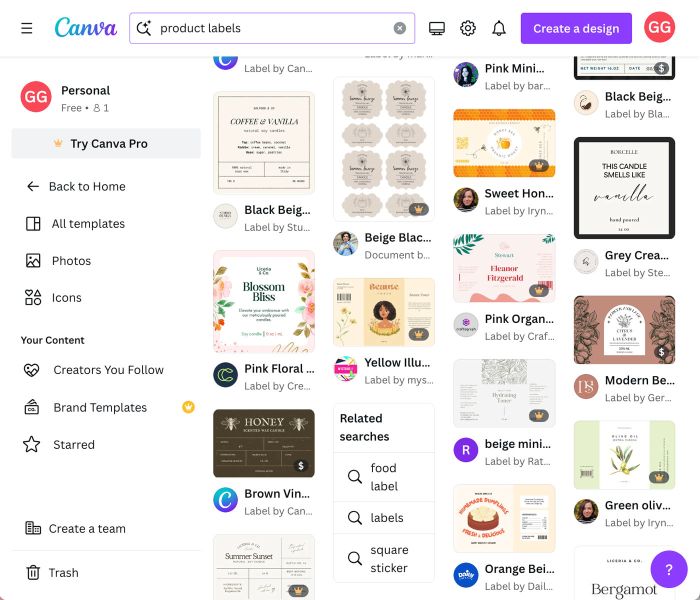
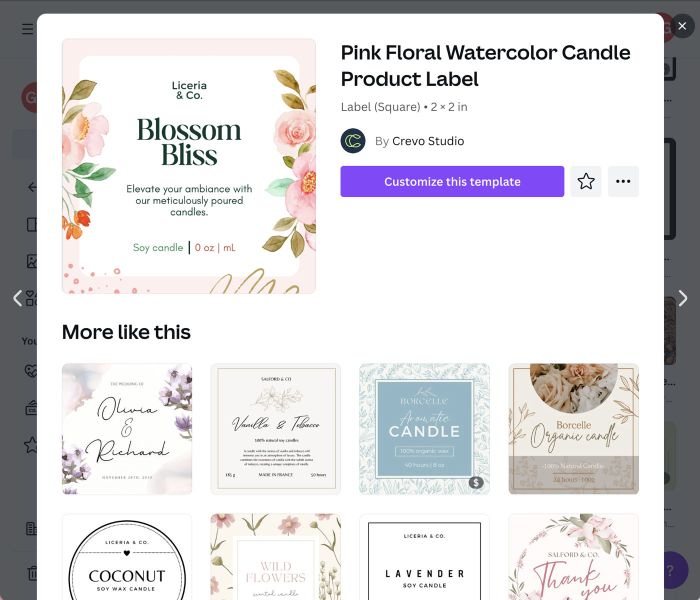
On the Canva homepage, type “Product Labels” in the search bar. You’ll see a variety of pre-sized templates you can customize for everything from candle jars to spice bottles.
Want full control over the size? Choose Custom Size and enter the exact width and height of your label (in inches or pixels) to match your packaging.
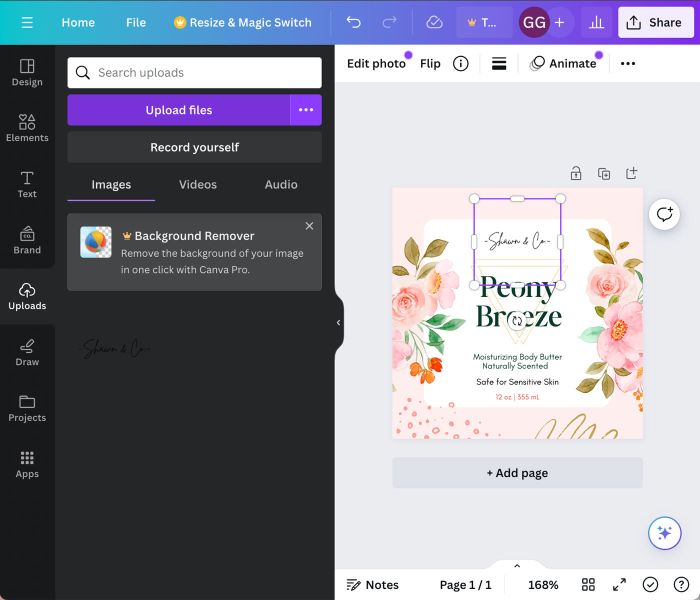
Step 3: Explore Canva’s design tools
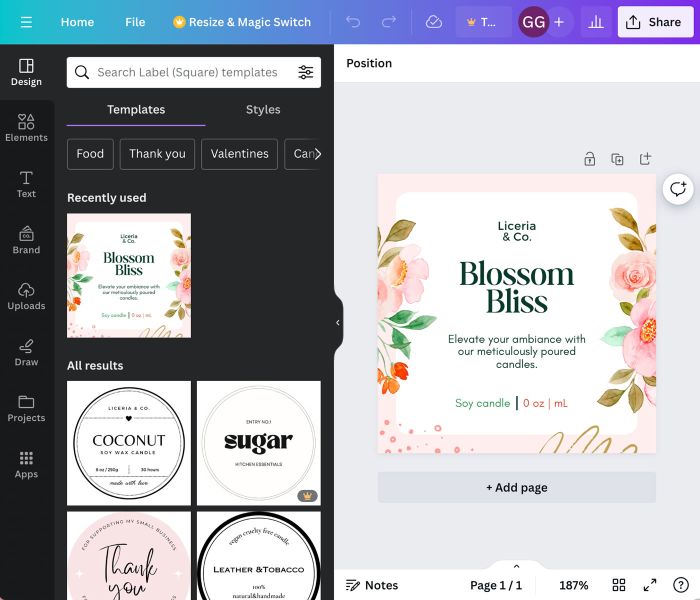
Once your canvas opens, you’ll see Canva’s main design dashboard. Use the left-hand toolbar to browse elements like:
- Text boxes
- Fonts
- Shapes
- Icons
- Backgrounds
- Photos
You can also upload your own images, logos, or brand elements.
Take a few minutes to click around—you’ll get a feel for how easy it is to drag, drop, and customize anything on the page.
Step 4: Add a background
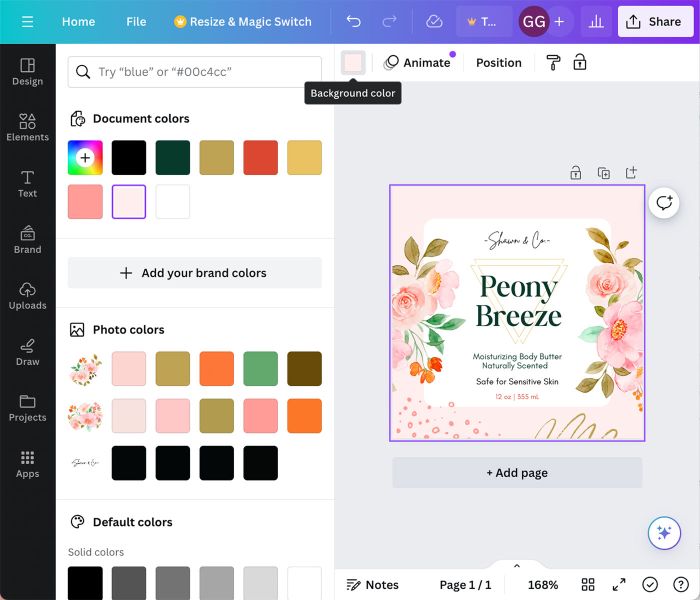
Click on the “Elements” tab on the left side and choose a background for your label. You can opt for a solid color, a gradient, or upload your own image. Adjust the transparency, if needed, to enhance the visibility of your text and other elements.
Want a solid color, gradient, or photo backdrop? Click Elements or Background in the left menu to browse your options. You can also upload your own textures or patterns.
Tip: Use the Transparency slider to tone down busy backgrounds and make your text easier to read.
Step 5: Add you text
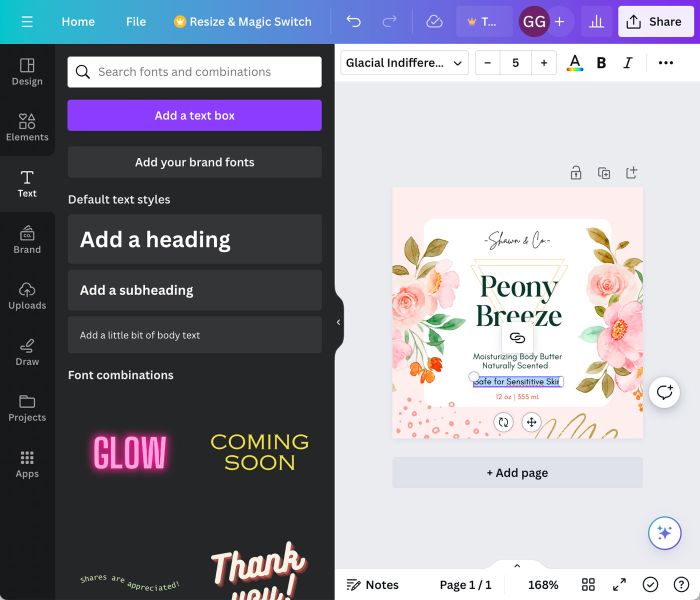
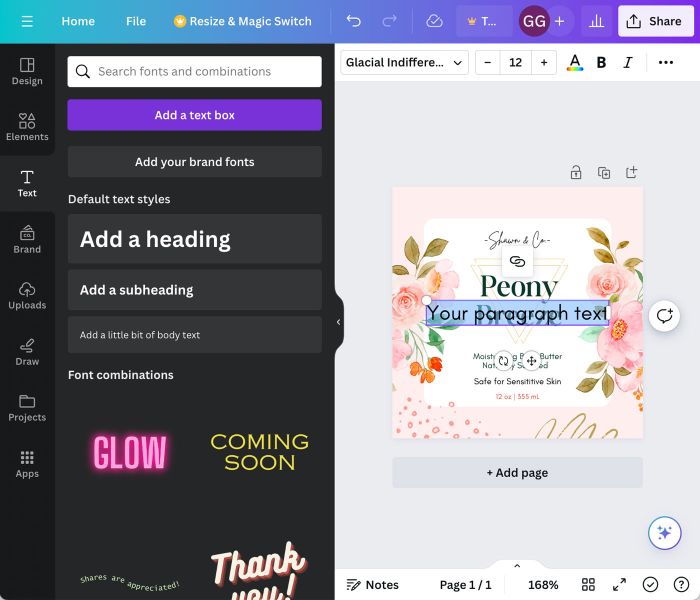
Click Text to start adding content like your product name, scent or flavor, company name, or tagline. Canva has tons of font combinations to choose from—or you can build your own.
Adjust the size, color, spacing, and alignment until it looks just right. Don’t be afraid to experiment with bold fonts or layering styles to make your label pop.
Step 6: Insert images and icons
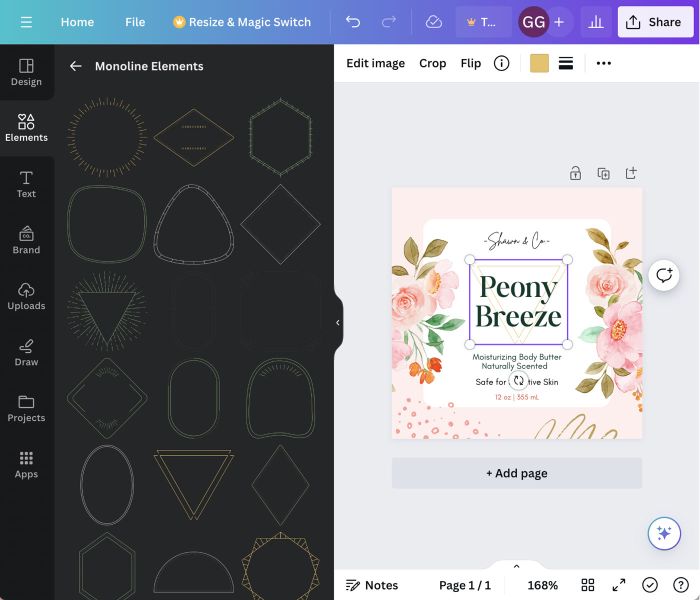
Need a logo or product photo? Upload your own or search Canva’s image and illustration library. There are free and premium graphics to match almost any theme or industry.
Resize and move your images to fit your layout. Canva also lets you layer elements, so you can place icons behind text or add shadows for depth.
Step 7: Review and download
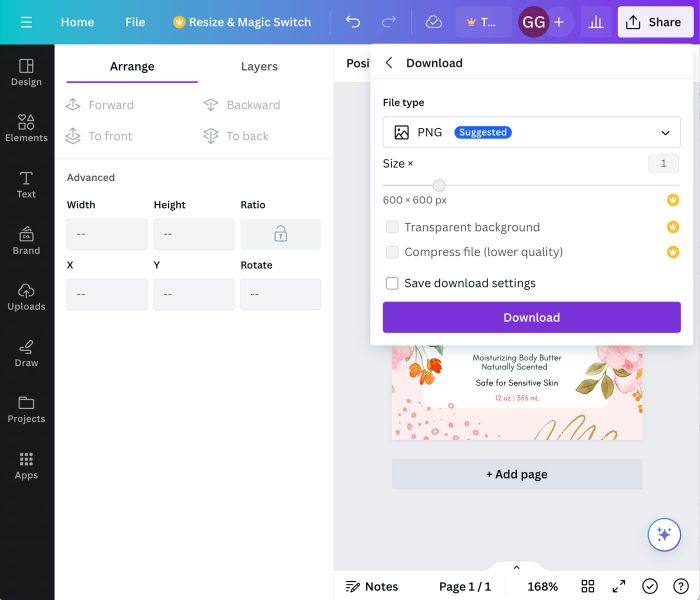
Before you download, double-check your label. Look for:
- 1/16″ bleed on all sides
- Typos
- Correct size and spacing
- Alignment of text and graphics
Once everything looks good, click Share in the top right corner and then click Download.
- ‘File type’ select PDF Print for the best results. PNG’s & JPG’s also work, but could produce lower quality prints.
- Do not check ‘Crop marks and bleed’. Leave unchecked.
- ‘Flatten PDF’ is optional. The file size will be larger.
- ‘Color profile’, RGB for standard Canva accounts. If you have Canva Pro choose CMYK (best for professional printing).


Step 8: Upload your design to Avery
Now it’s time to turn your Canva design into physical labels, tags, or cards. Just head to Avery Design & Print—our free online software.
Here’s how:
- Click Start Your Design, you’ll need to create a free Avery account if you don’t already have one.
- Next, choose between Print Yourself or Custom Printing

- Select the product you want printed, or enter your template number.
- Choose a blank template
- Next, click Image > Add Image > Browse For File
- Select your Canva design
- Once your Canva artwork has loaded, do the following:
- Scale to the Bleed Line if you want your artwork printed to the edge.
- Make sure all text is inside the Safe Line.
- Check to make sure your artwork is centered.
- Click Preview & Print at the bottom to either print yourself or order custom printing with WePrint®
Need help with the printing part? Check out our guide to printing your labels—it covers everything from home printing tips to using Avery’s professional printing service.
Final thoughts
Designing labels with Canva is quick, easy, and honestly kind of fun. Whether you’re creating product packaging, party favors, or personal gifts, it’s the perfect tool to bring your vision to life.
With a polished design in hand, Avery makes it simple to print high-quality labels that stick, stay, and show off your style.
More articles you might like:
FAQs about using Canva with Avery Products
Yes! Canva makes it easy to design labels using their pre-sized templates or custom dimensions. Once you’re done, you can upload your design to Avery Design & Print to order or print your labels.
After downloading your label from Canva (as a PDF, PNG, or JPEG), go to Avery Design & Print, enter your product number, and upload your file into the template to preview and print.
Use the exact dimensions of your Avery product—these can be found on the packaging or on Avery.com. Canva allows you to set custom dimensions in inches or pixels.
You can do either! Avery lets you print at home using your own printer or order professionally printed labels with WePrint.
Not directly inside Canva, but Avery has templates and dimensions listed on our site so you can match your Canva design to your product.
Need help?
If you have questions about uploading your design or choosing the right product, our Customer Care team is here for you. Give us a call at (800) 462-8379—we’re happy to walk you through it. You can also reach out on social anytime at on Instagram, Facebook, Pinterest, and TikTok. We love seeing what you create!

