

How to Make Round Labels for Lids & Products
Add curved text to create unique round labels and stickers for bottles and jars
More articles you might like:
Do you want to give your round labels some flair by adding curved text but you’re having trouble getting the exact look you want? Avery Design & Print allows you to easily rotate text and graphics so you can get the round label design you want for your lid labels, products, and packaging. We’ve put together these three simple steps to help you easily add and rotate text and graphics to help you make round labels and stickers in minutes.
Whether you need to make round labels for the lids of artisan vinegar or you need Mason jar lid labels for your hand-crafted jams and jellies, it’s easy to create the design you envision. With Design & Print, you can personalize one of our predesigned templates or upload your own artwork. Then you simply finish your customization and proof. You can then choose to print the labels yourself or let us professionally print them for you. Avery offers three easy ways to buy labels and stickers in thousands of shapes, sizes, and materials.
No matter what printing option you decide on, just follow the steps below to make the round labels you’re looking for.
Step 1. Choose your template
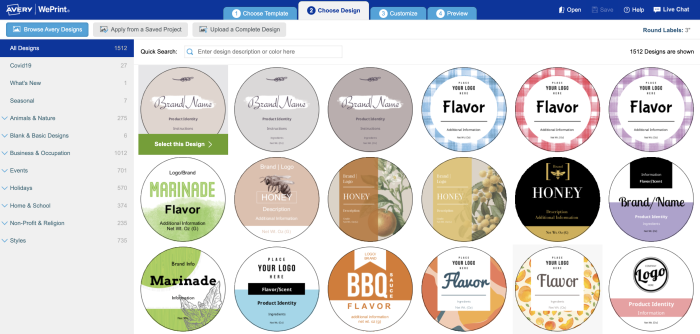
Log into Design & Print and select the round template that matches the label size you are using. Then choose one of our professional designs or simply import your own artwork into a blank template.
You can also check out our design gallery which features some of our most popular templates you can customize your way or just to give you ideas and inspiration. If you choose to use one of the professional round label designs, it’s simple to move or rotate the design and text to your desired format in the steps below.
To upload your own artwork, select Upload a Complete Design in the top toolbar. A popup will appear and you can drag and drop or upload your artwork.
2. Add your product information
Once you are on the third tab of your Design & Print canvas, click on the Text button on the left toolbar to add and format text.
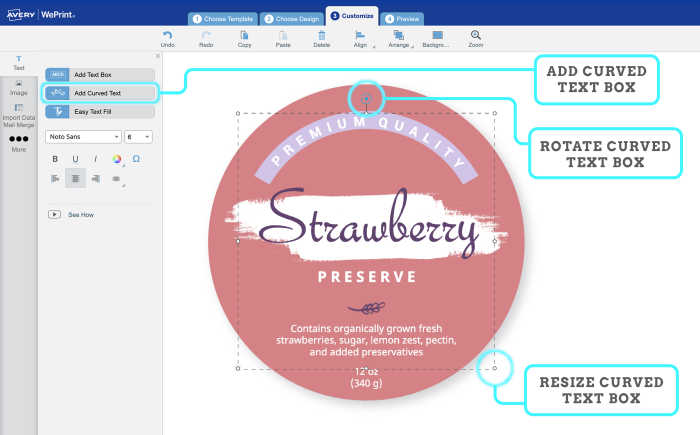
Click Add Curved Text to add content arched text on the top, bottom, or sides of your round labels. You can then type your information directly into the box that says Type Your Text Here and it will apply the curve automatically.
To move your curved text to the sides or bottom of your round label simply grab the handle at the top of the Rotate Curved Text Box and move it where you want it. You can also resize the text box and change the orientation of your curved text.
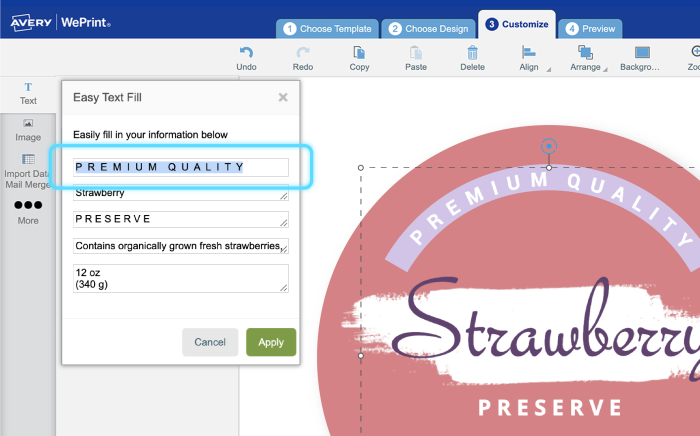
Use the Easy Text Fill to input all of your content into the existing template and then customize it your way. Move text to different locations, change fonts, or change background colors. In the template above, we changed the background color from the original beige to strawberry pink to complement the lid label.
3. Proof and order your round labels
Once you’re satisfied with your changes to your lid labels, click on the green Preview and Print button on the bottom right of the page. Then you can choose to print your round labels yourself or order custom printed labels from Avery WePrint.
If you have any questions, please feel free to call our awesome Customer Care Team at (800) 942-8379 and they’ll be happy to help you out.

