

How to Apply Labels By Hand
See the best way to apply labels without bubbles
Other articles you might like:
If you are asking yourself, “How do I apply a label by hand?”, then you’ve come to the right place.
If you want your project or merchandise to stand out, your product labels have to be properly applied. You can use a label applicator when you’re labeling a large number of products. But if you want to apply labels by hand, our Avery label experts have put together some useful tips to help you apply your labels perfectly every time without bubbles
Before you order your labels, always make sure you know the exact size and shape you need.
If your containers have curved edges at the top or bottom, you’ll need to leave about 1/8″ to 1/2″ from the curved edges to help prevent bubbling or lifting after application.
For help getting the right label shape, see what label shape is right for your products.
Once you have your labels, whether they’re professionally printed or DIY, gather them together with all the supplies you need and follow the steps below.
Grab your supplies
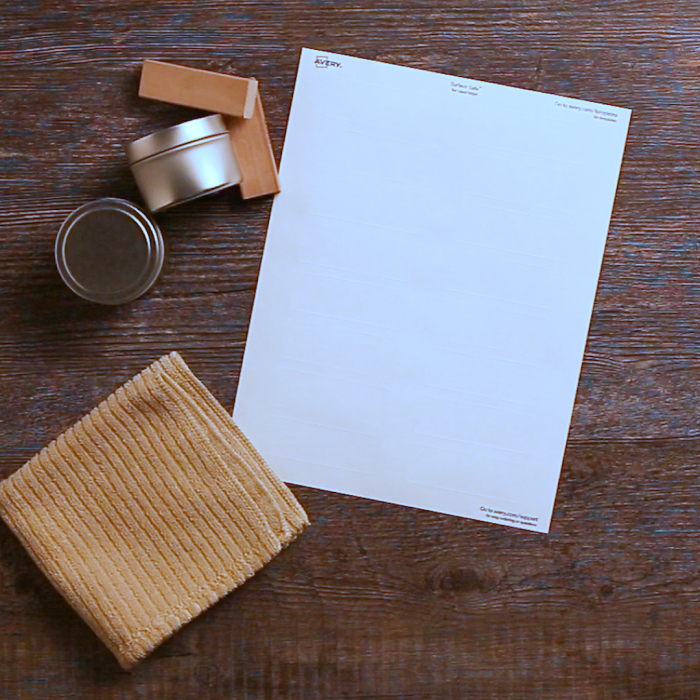
- Gather the tools you need: isopropyl alcohol, lint-free cloth, stabilizer, containers, labels
- Prepare a clean space with no dust and dirt to ensure a strong label application
- Make sure that the products to be labeled are at room temperature to ensure the adhesive will adhere properly
Prep surface and align labels
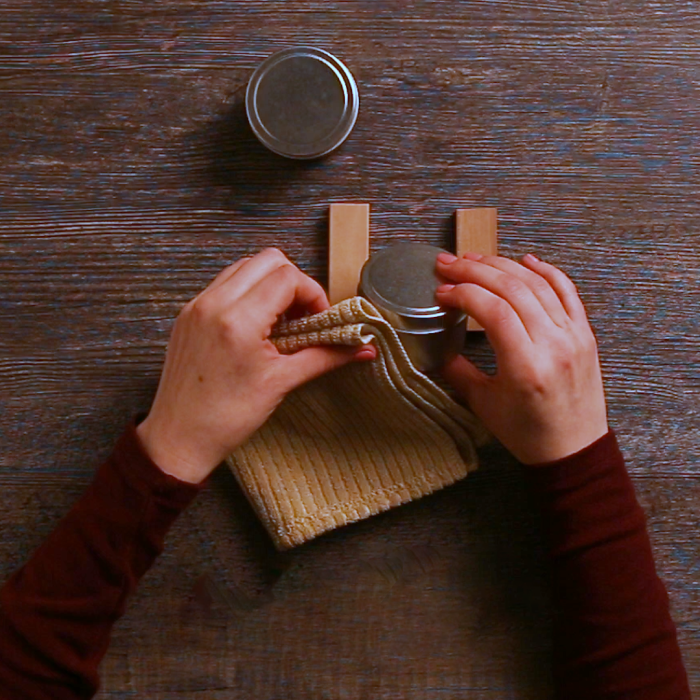
- Use isopropyl alcohol and a lint-free cloth to remove any residue, dirt, or dust from your container
- Stabilize your product between two objects such as blocks of wood or your knees
- If applying to a bottle, look for a vertical seam that can be used as a guide for alignment
- If applying to a flat surface, find a straight edge and align the corner of the label with that edge
Apply labels
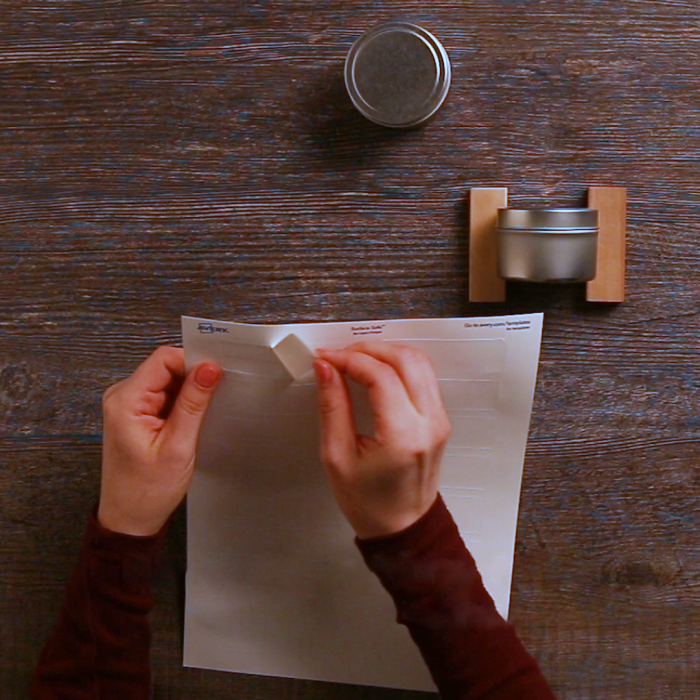
- Hold the label by the outer edges to avoid contaminating the adhesive
- When applying labels to bottles or jars, start by applying pressure at the center, moving outward to prevent creases
- For flat surfaces, start at the edge then roll the remainder of the label onto the surface to
- Once the label is flat, press firmly from edge to edge for flat surfaces, or from the center to the edges for rounded containers
Remove bubbles and wrinkles
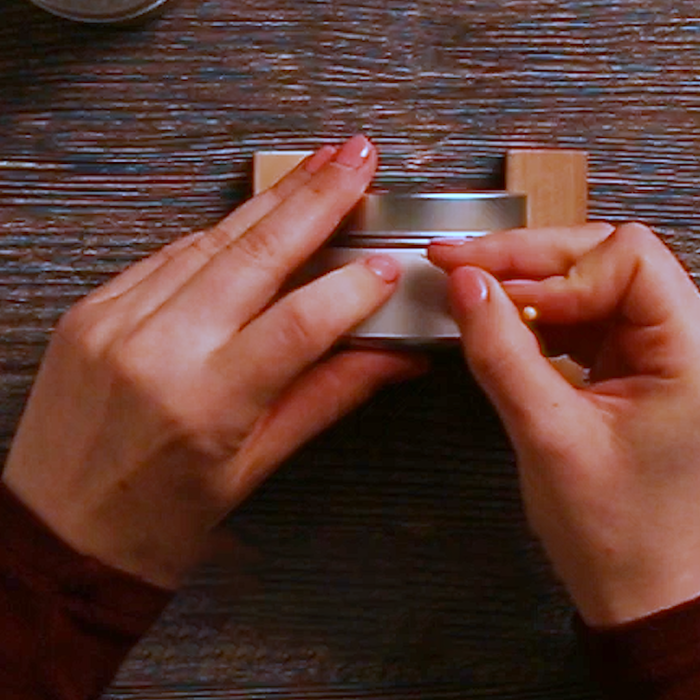
- When you apply labels, gently pull the label and add tension to help with wrinkles and bubbles
- Use a flat item like a credit card to remove any wrinkles or bubbles by pushing firmly to the edges
- Small bubbles can also be removed with a small pinprick
Things to remember before buying your labels
Always make sure you know the exact size and shape label you need for your project. Decide what label shape is right for your products and then follow our simple guide on how to choose the correct label size for your products.
If you choose to buy your labels and stickers from Avery, we offer a wide variety of options to help you find the perfect fit so you don’t have to cut to size.
You can order superior quality, full-color custom printed labels through Avery WePrint. There is no charge for custom sizes and no setup fees. You simply upload or personalize your label designs using one of our free templates and place your order. You’ll get a free proof to approve your art and then your order will be shipped in as few as three business days.
We also offer two ways to buy blank printable labels for on-demand label printing at home. You can order our online blank labels that you can buy one sheet at a time or hundreds, or use our traditional packaged sheet labels sold online and in many retail stores.

