

Helpful Guide for How to Make Custom Binder Spine Inserts
Everything you need to create binder spine inserts—from choosing the right size to customizing free templates and printing them at home.

How to make custom binder spines
There are several ways to make custom binder spines for view binders. That is to say, binders with clear pockets on the front cover, spine, and sometimes the back cover. Of course, you can always cut out cardstock to fit the spine and write on them by hand. However, handwritten spines don’t look very professional, and you’re limited to your own artistic ability. By far, the easiest way to make good-looking spines is to simply print a design on binder spine inserts.
Because we design our printable binder spine inserts to fit perfectly with five different Avery binder sizes, they’re very simple to use. We also offer a variety of free, predesigned templates. You can personalize these templates using our free design tool, Avery Design & Print Online, our free online software. Here are the basic steps for creating custom binder spines with Avery printable binder spine inserts and our free tools:
- Order the insert that fits the width of your binder spine.
- Go to the template page for the binder spine insert you chose.
- Choose from blank or predesigned templates.
- Edit the template with images, text, colors, and more.
- Print and separate along perforations; insert into the binder spine pocket.
Prefer to watch the steps in action?
If you’d rather watch how to make binder spines, this video is the perfect fit. You can find more helpful videos like it on our YouTube channel.
1) Choose the right insert that fits the width of your binder spine
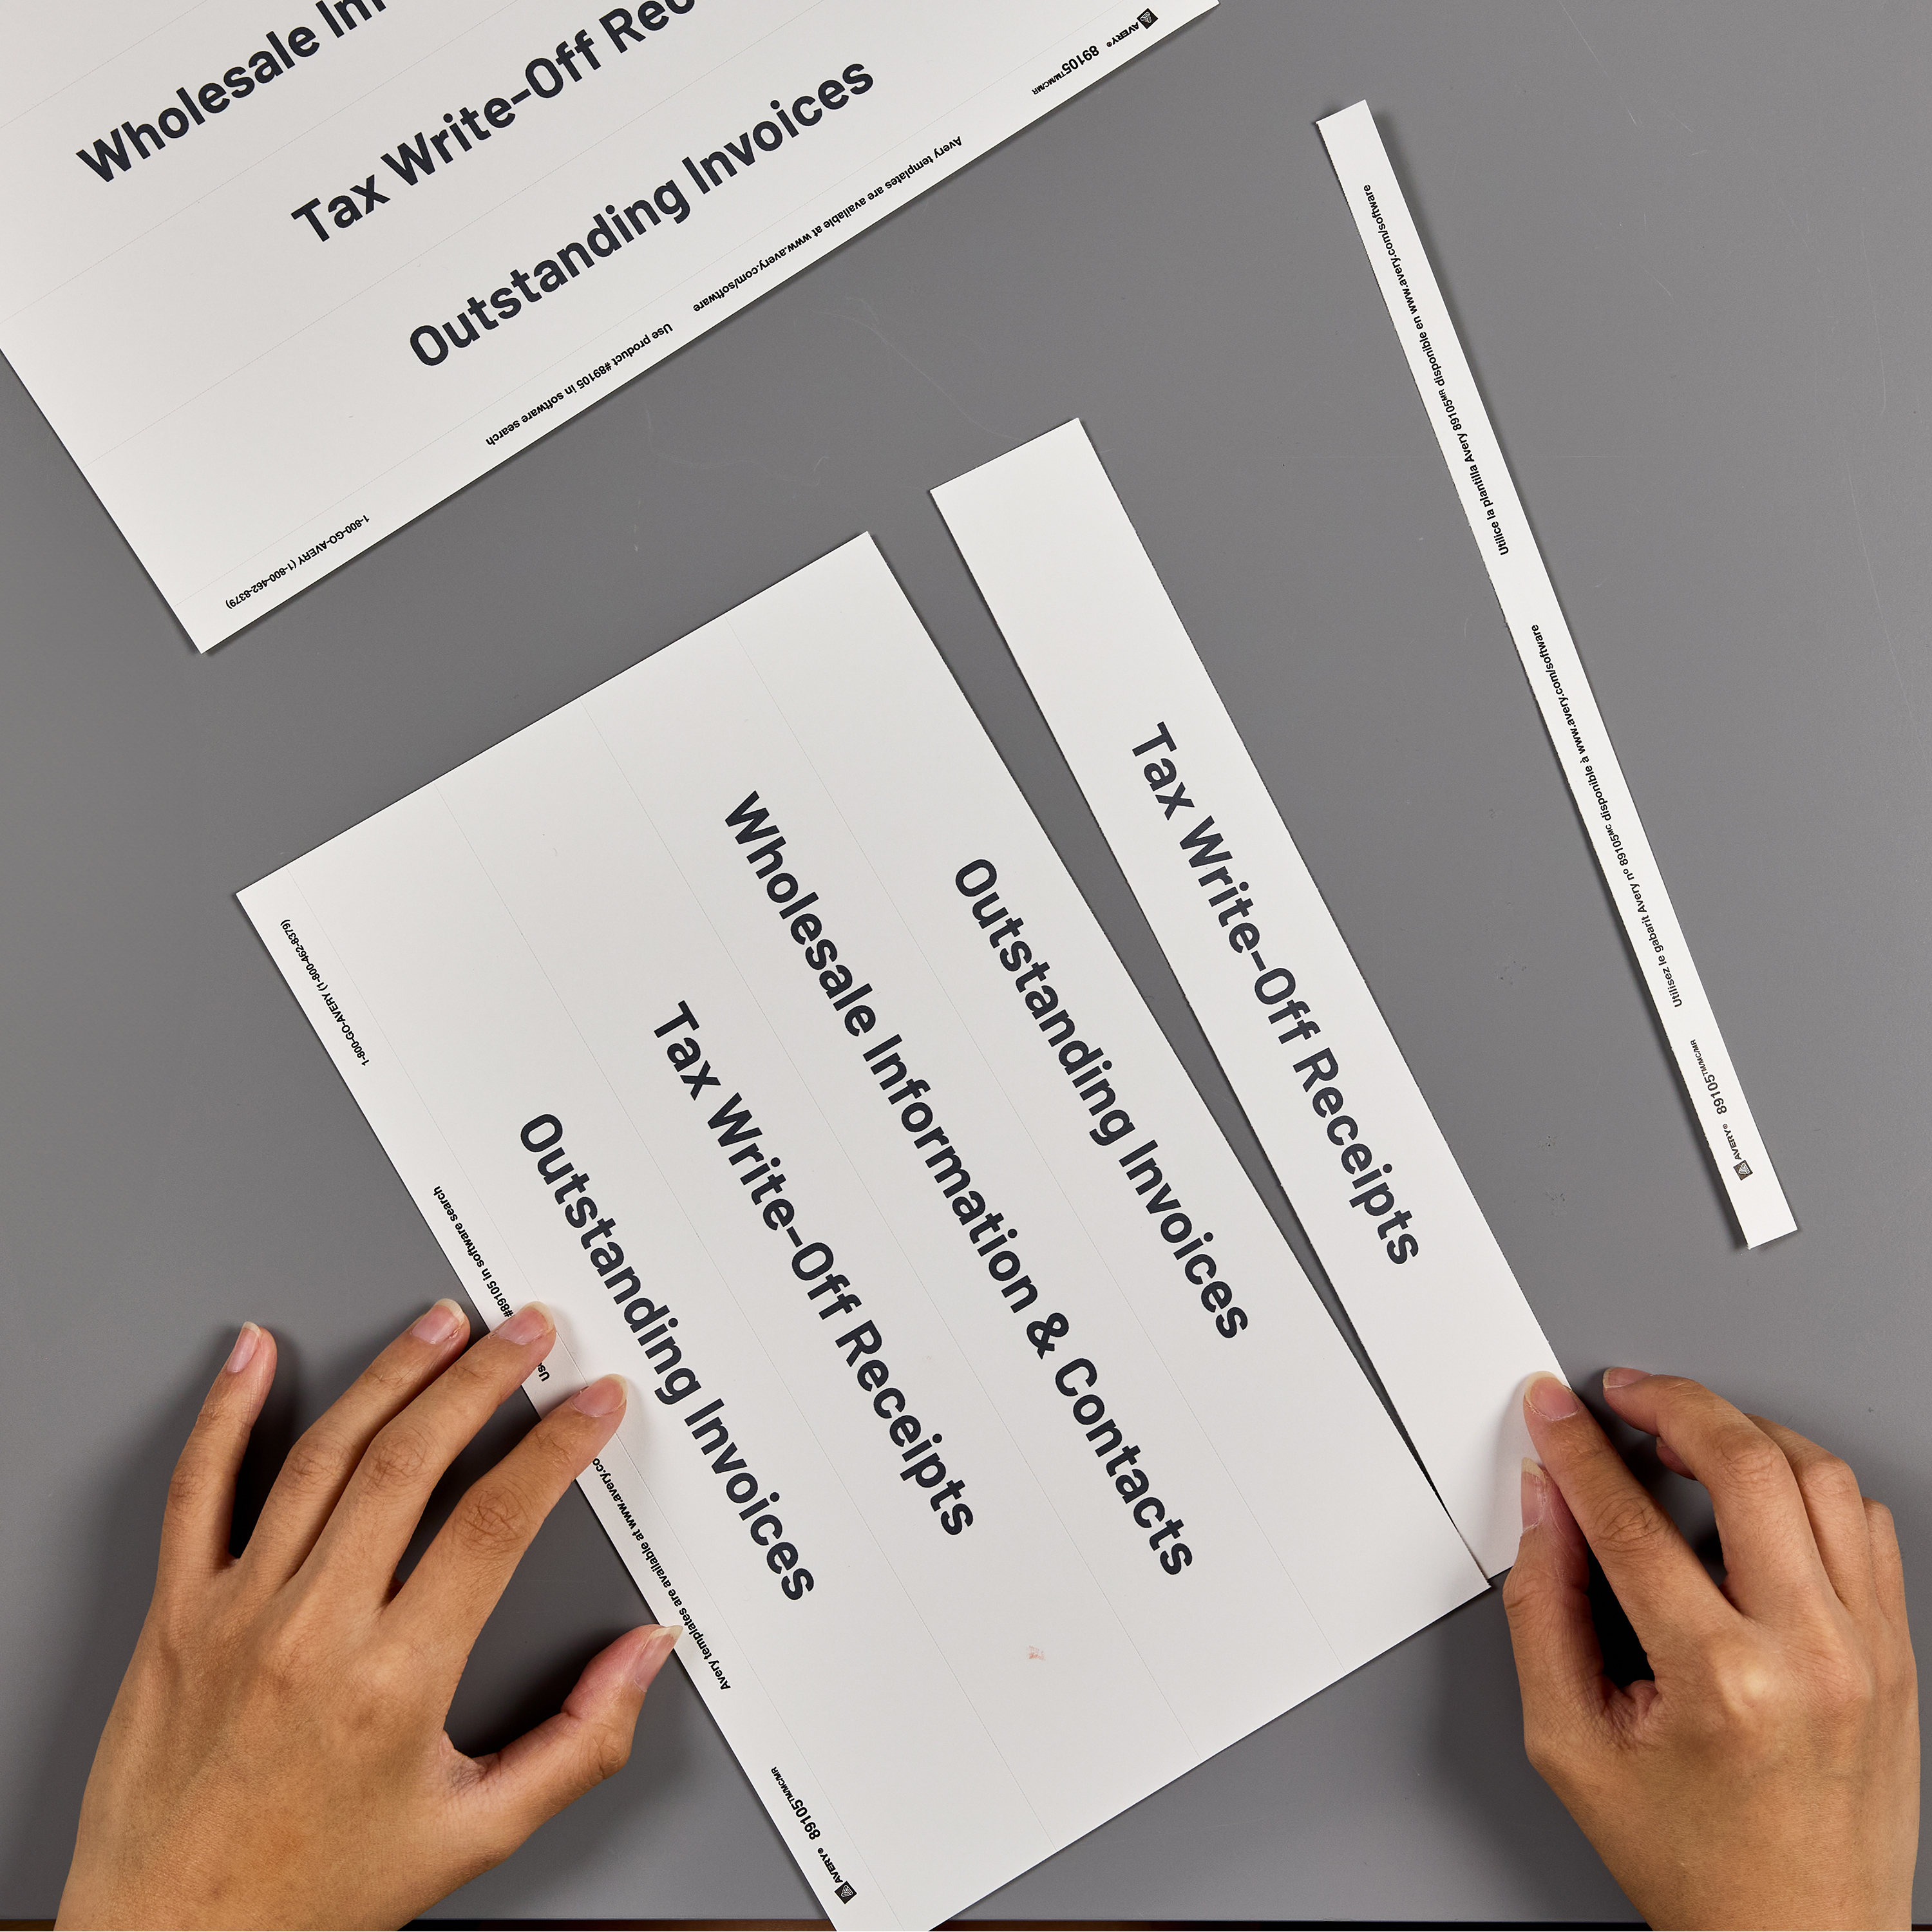
Before you start designing, make sure you have binder spine inserts that match the width of your binder. Binder spine inserts are cardstock strips that slide into the clear spine pocket on view binders. Unlike adhesive binder labels, you can remove and replace them whenever the contents change.
Avery printable inserts come in sizes that match common binder spine widths, for example, 1/2″, 1″, 1-1/2″, 2″, and 3″. That’s the measurement you’ll use to choose the right spine insert. The inserts themselves come on printable 8-1/2″ x 11″ sheets of cardstock with perforations to break them apart after printing.
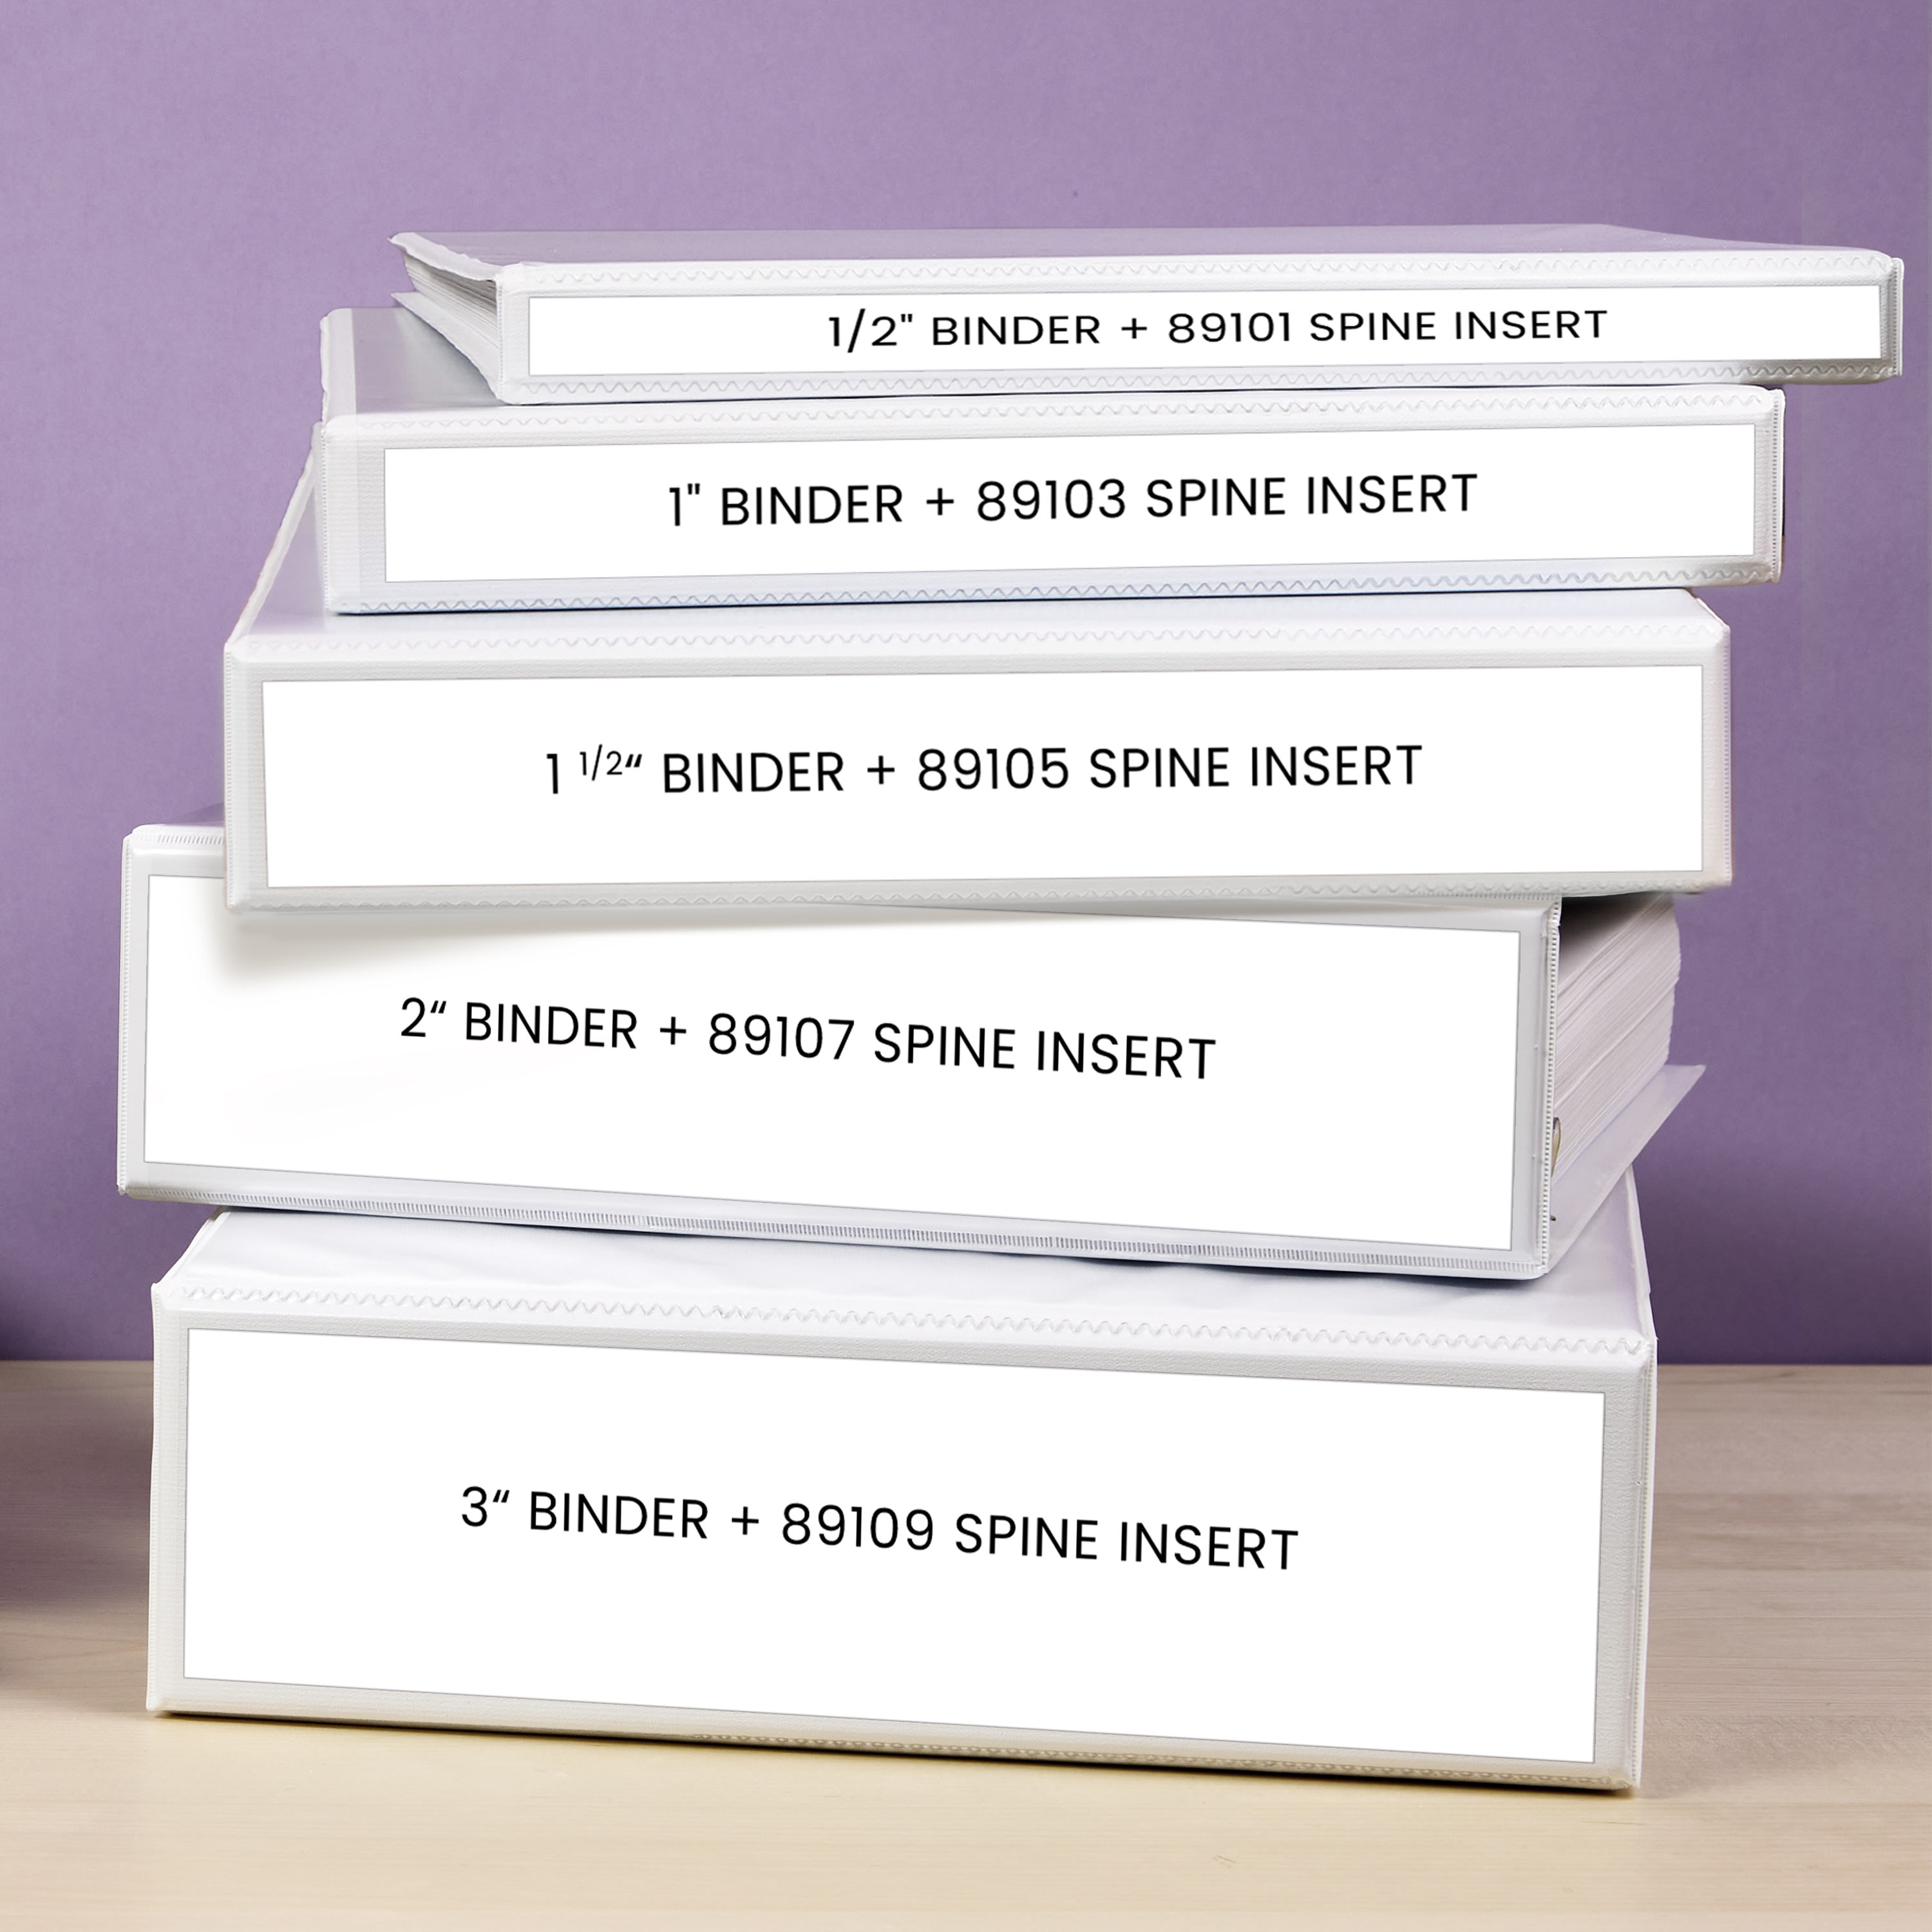
Not sure you’re using the right product?
Binder spine inserts are designed for view binders with a clear spine pocket. If your binder doesn’t have a clear spine pocket, you’ll need a different solution.
- If your binder doesn’t have a clear spine pocket, use adhesive binder labels instead. You can order our printable labels in custom sizes to fit any binder.
- Want a professionally printed binder? You can order a custom-printed Avery binder on Zazzle.com. Our step-by-step article walks you through how to prepare designs, upload, and more.
2) How to find Avery binder spine templates
Once you’ve chosen the correct binder spine insert, the next step is finding the matching template.
If you know your Avery product number
There are two ways to find binder spine templates on Avery.com. If you have the Avery product number handy, finding your template is easy.
Option 1: Use the template finder.
Enter your Avery product number on the template finder page to go directly to the matching template. From there, you can start designing in our free design software or download a blank template for other software. This includes Avery binder spine templates for Microsoft Word, and is much faster than finding the Avery templates built into Word.
Option 2: Go to the product page
Another way to find templates for a specific Avery product is to type the product number into the search bar on Avery.com and go directly to the product page. For printable products, a link to the matching template is found towards the bottom of the bullet list of product features.
Don’t know your product number?
Of course, if you don’t have your product number, that does throw a minor wrench into things. But there’s still a way— first, check the packaging. Your binder spine product number should be listed there, but if you have the packaging and can’t find the number on it, try this article, which has helpful pictures.
If you’re still stuck, call our in-house Customer Care Team during regular business hours and actually talk to a real person. They’ll be happy to help you figure out which product you have and provide you with the Avery product number.
3) Choose how you want to design
Once you’re on the template page, you have two ways to get started. You can use our free online software to design, modify, or upload artwork for printing. Or you can download a blank template to design in Microsoft Word or another compatible program.
Design online with our free software
- Start with a blank template to create your own design from scratch.
- Upload artwork you’ve already created for accurate printing.
- Customize one of Avery’s professionally designed templates.
Design in Microsoft Word or another program
- Download one of the blank templates on the template page to design in Microsoft Word or another compatible program.
4) Edit the template with images, text, color, and more
When you select a blank or predesigned template in Avery Design & Print Online, the editing screen will open. Most of your tools will be located in a menu on the left side. The tools in the editing screen are similar to those in most editing and/or design programs. However, if you’ve never used those types of tools before, this video is a great resource for working with images, and this one shows you how to add and edit text.
Tips for using the free Avery software
Additionally, our free design software has some really cool features that make big projects easier, such as Edit One/Edit All, Mail Merge, and a Barcode Generator. Here’s a helpful table to help you use these advanced tools:
| Feature | What it Does | Resource |
|---|---|---|
| Edit All | Make changes to all the inserts on one project. | YouTube tutorial video |
| Edit One | Add unique information to each binder insert. | YouTube tutorial video |
| Import Data (Mail Merge) | Import a list that applies unique information to each insert. | Step-by-step walkthrough with pictures |
| Barcode Generator | Create your own barcodes or a QR Code®. | Instructions with video |
How to add vertical text to a binder spine
To create vertical text for your binder spine, use the “Flip” option under the “View” menu to rotate the text box, then press Enter after each letter to stack them. The next few screenshots will show you exactly how this looks and also provide some tips for editing vertical text on a binder spine.
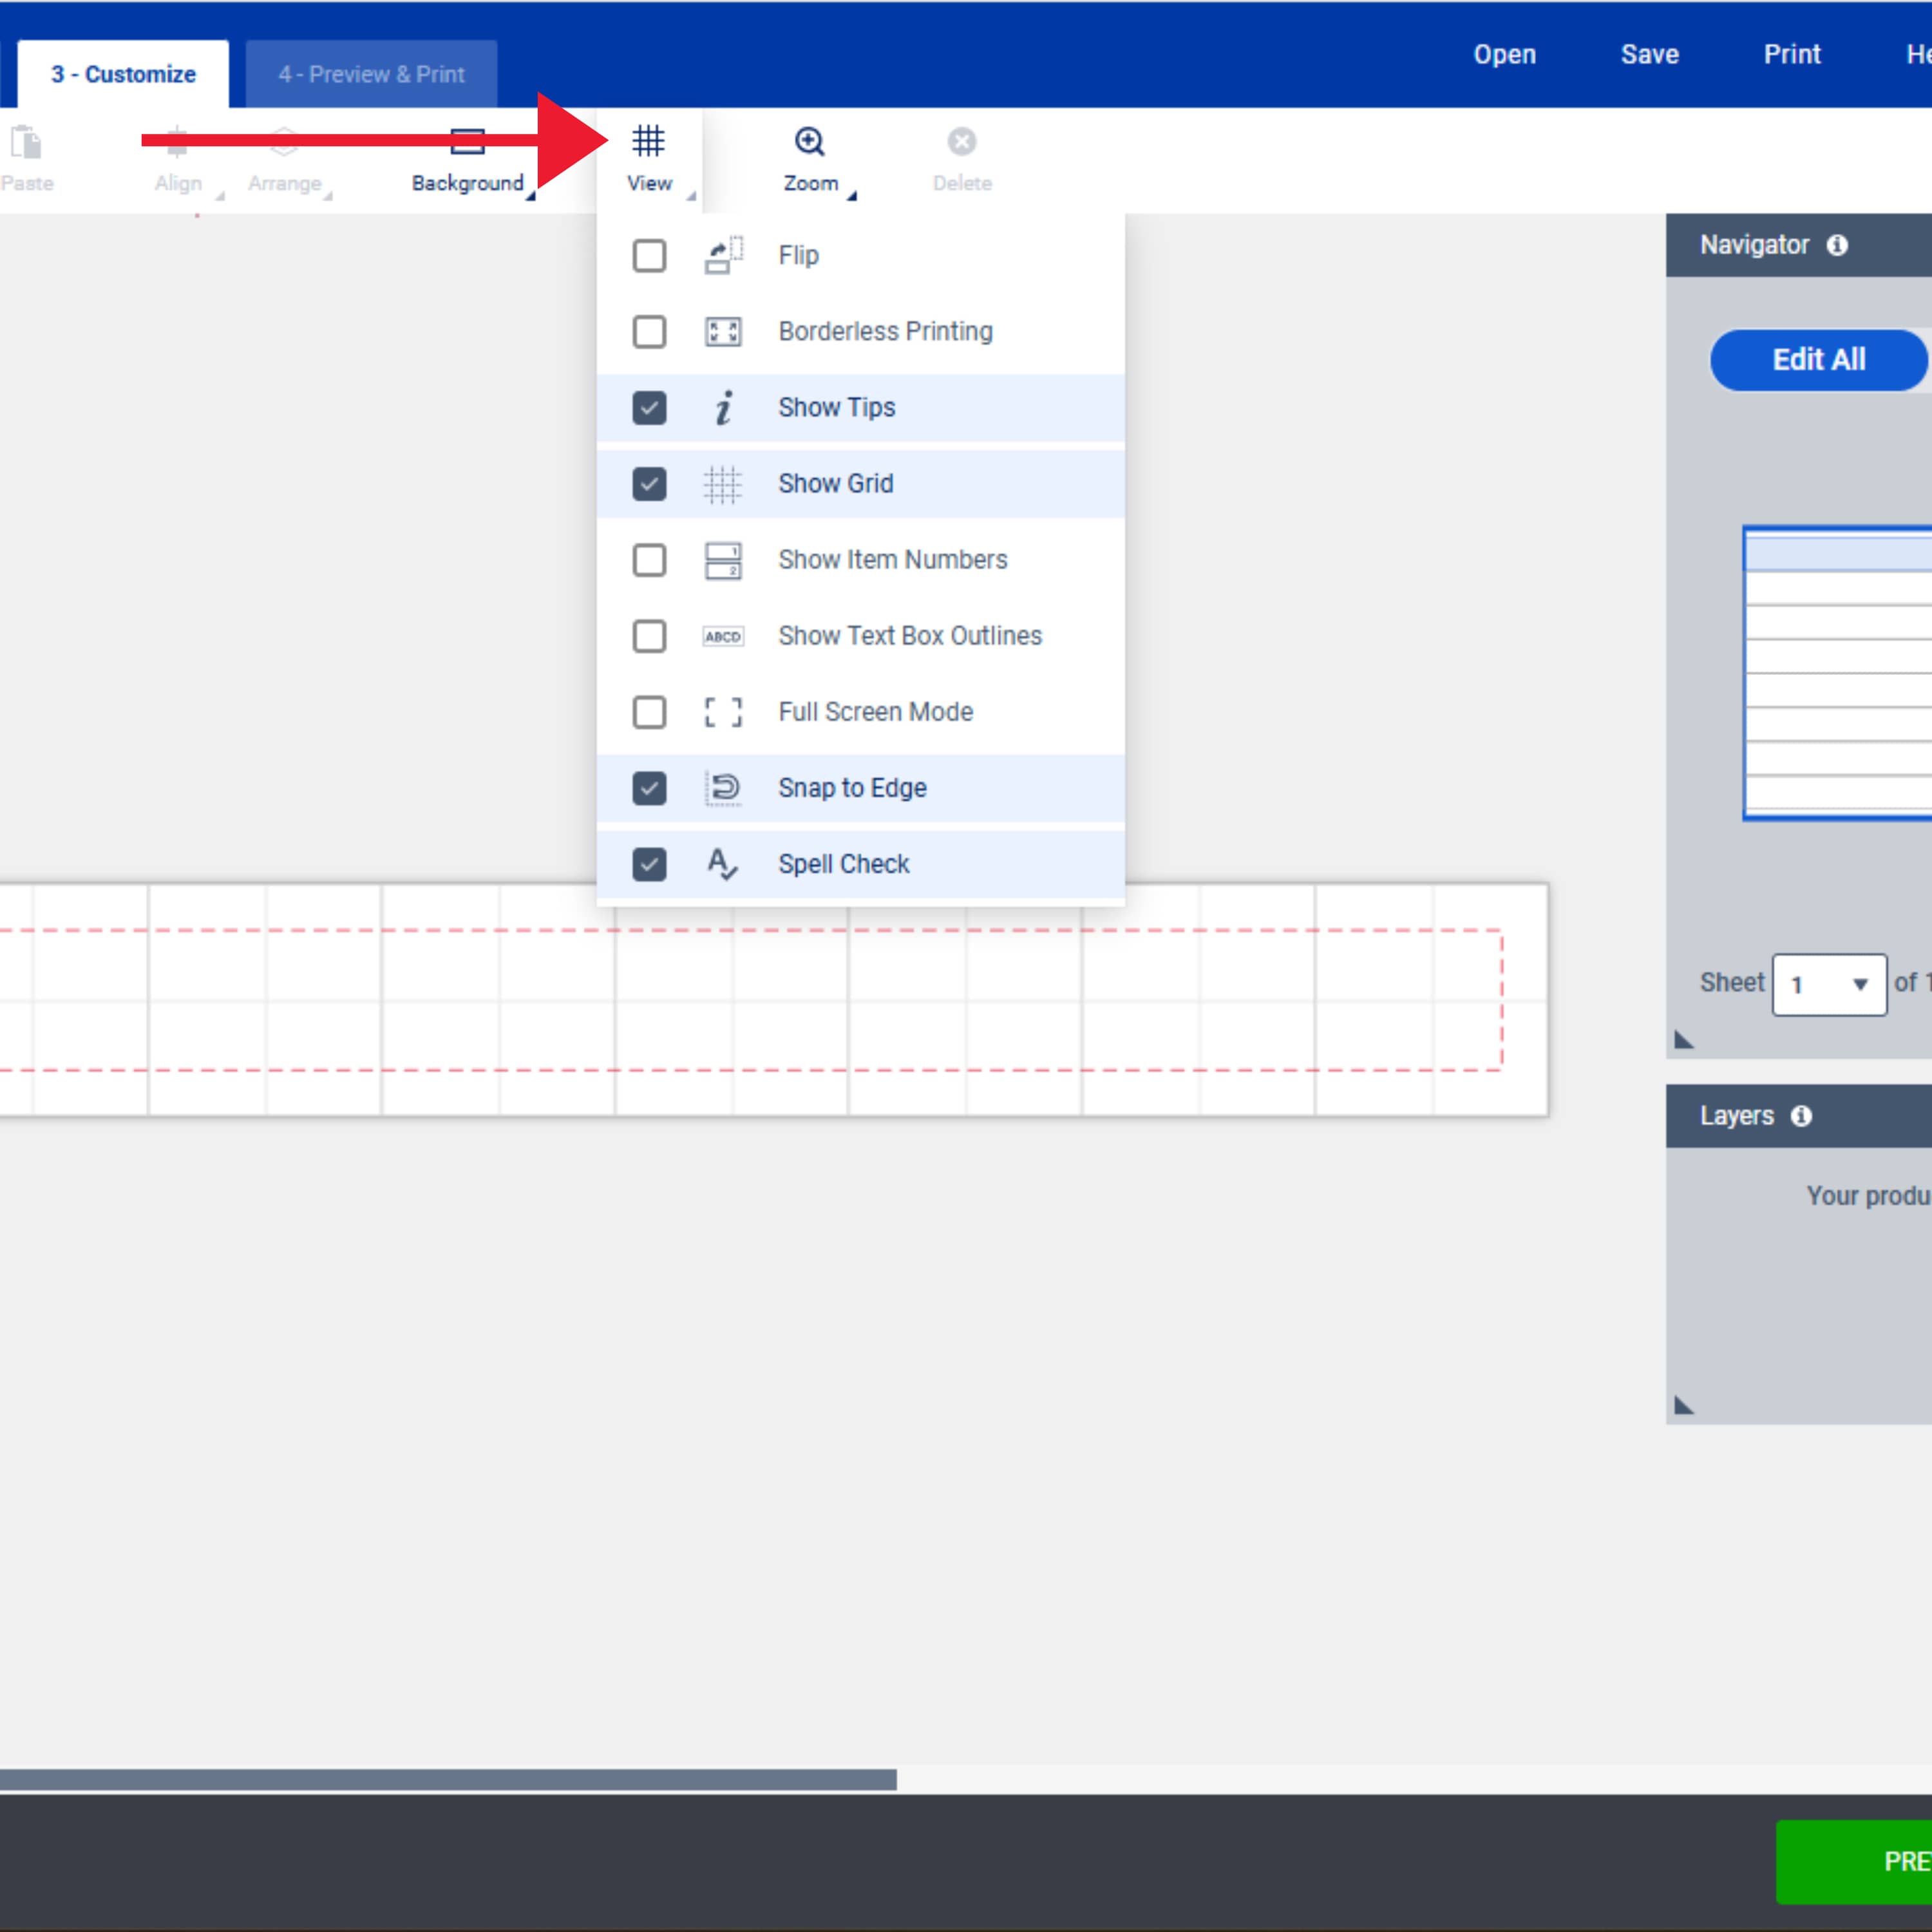
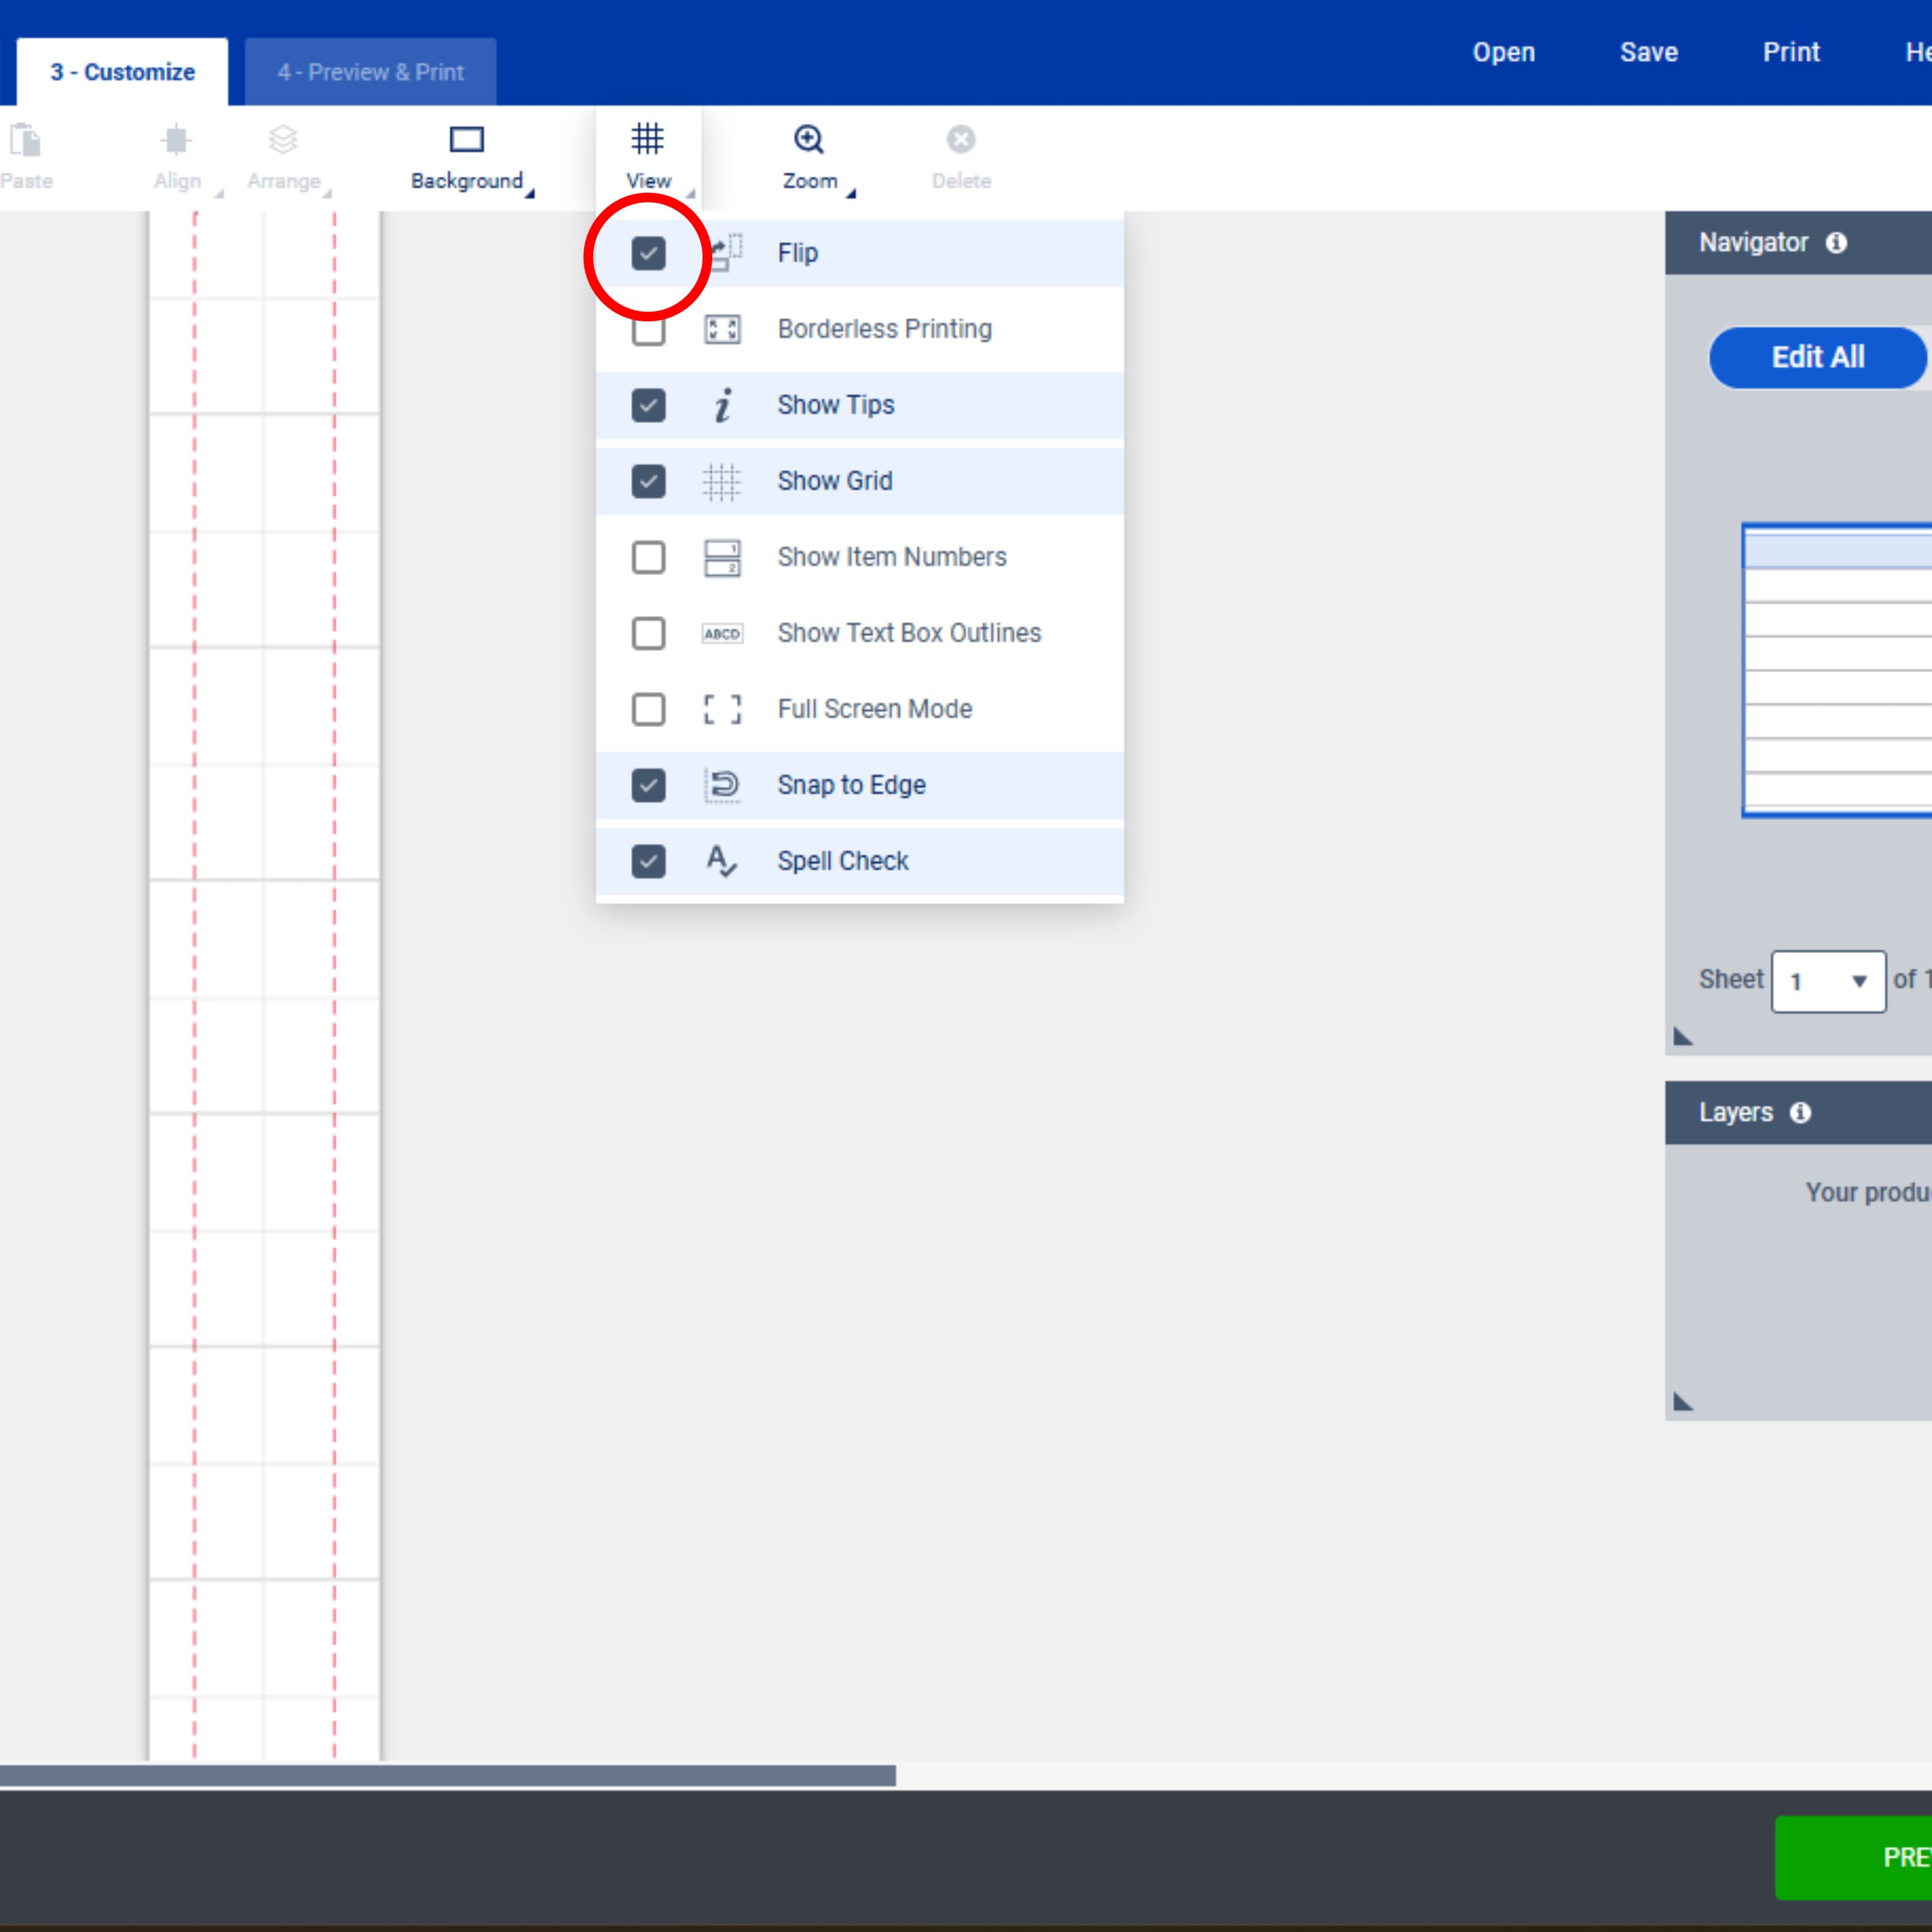
You will find the “View” menu along the top of your editing screen. It’s represented by an icon that looks like a grid or hashtag. Click the icon to open a drop-down and then click the box next to “Flip” to select the action.
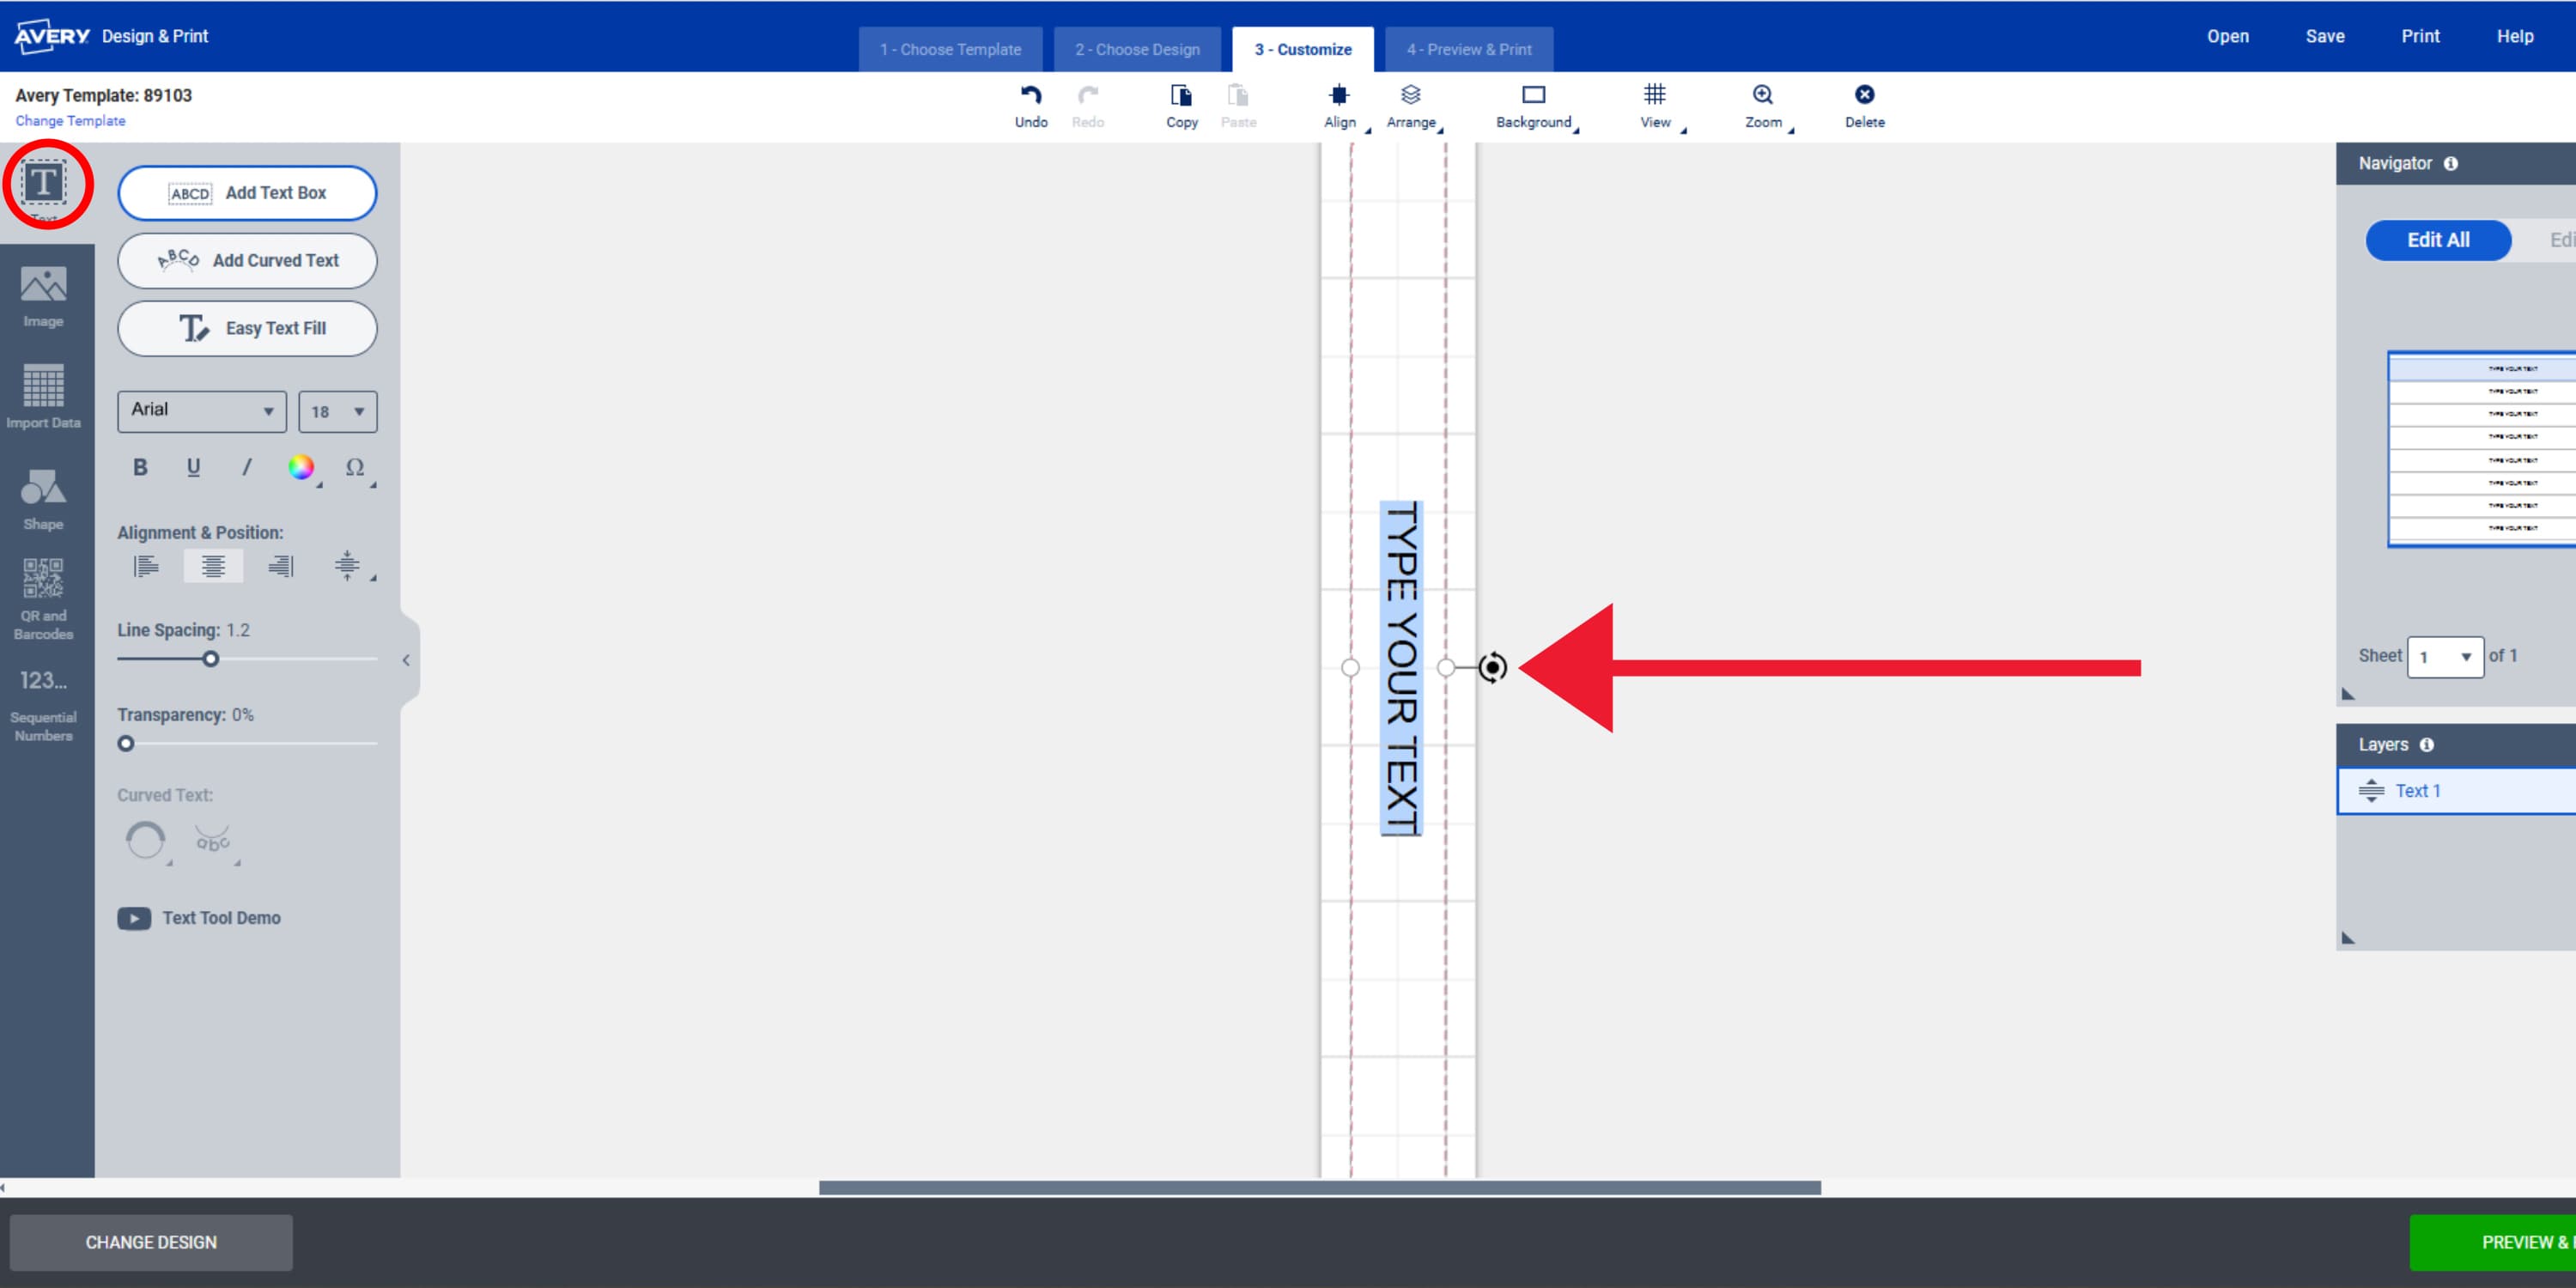
From the tools menu on the left-hand side, click the Text tool to expand the editing options. From there you can add your text box and also edit things like font, size, and color for your text. Use the rotate icon on the text box to rotate it perpendicular to the binder spine insert.
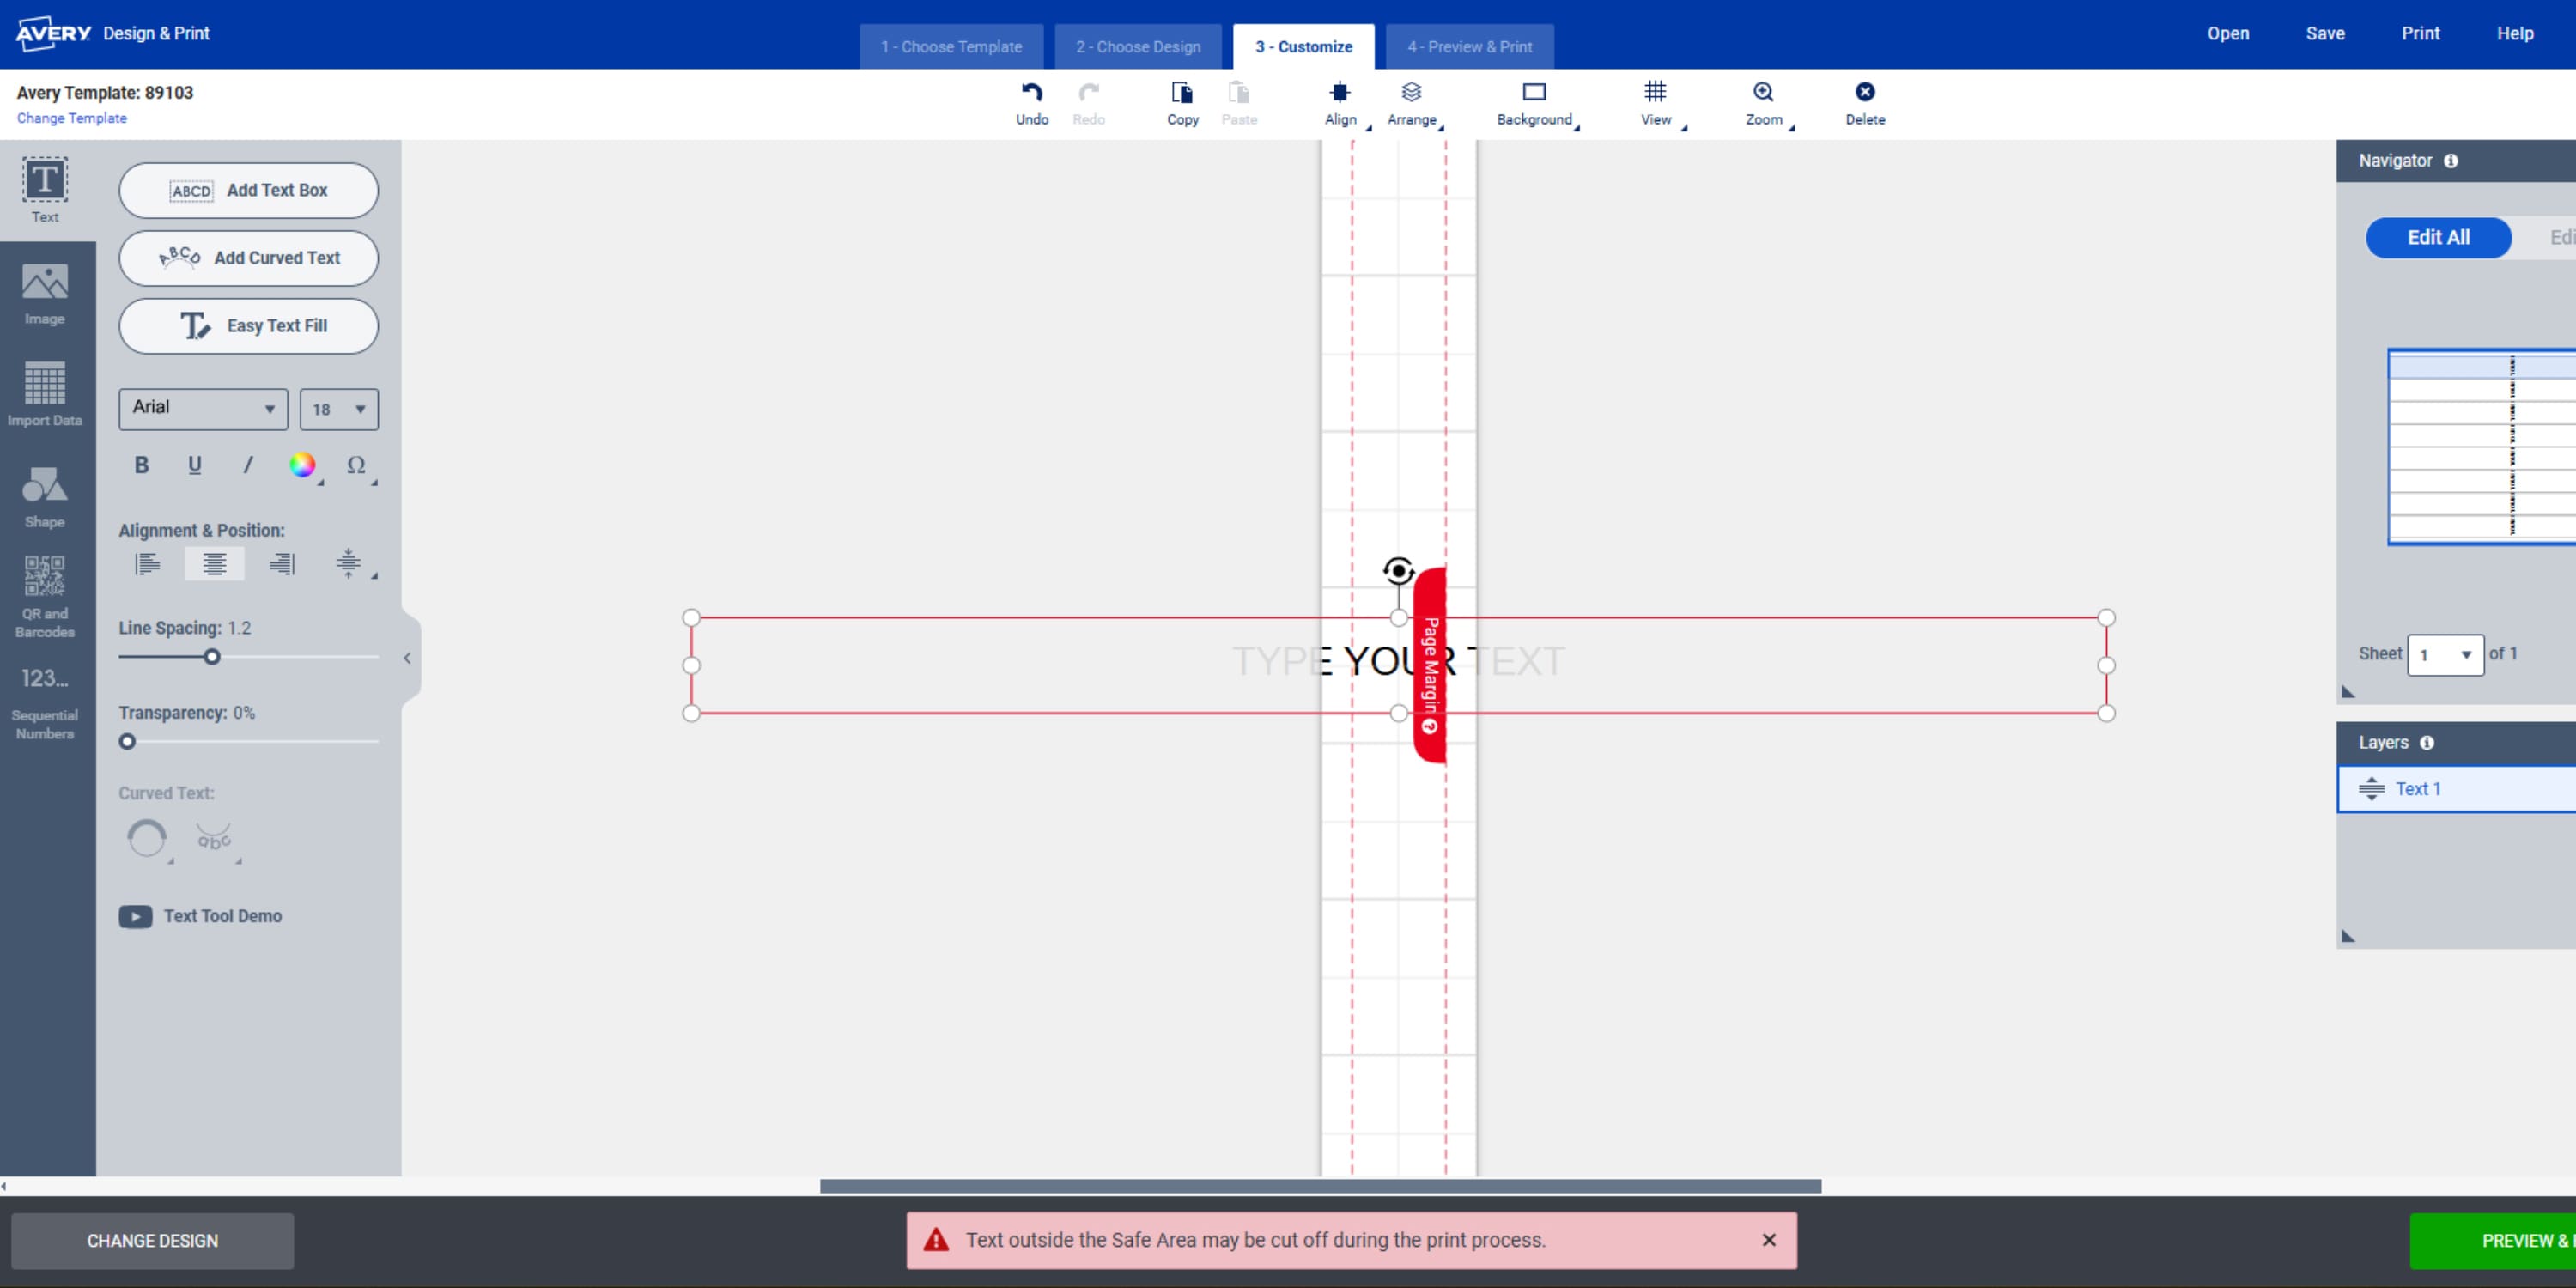
Once you rotate your text box, some warning messages will pop up reminding you to keep your design within the “Safe Area.” You can ignore these messages for now because you will only be typing one letter at a time along the spine. After each letter, press Enter, and after each word, press Enter twice.
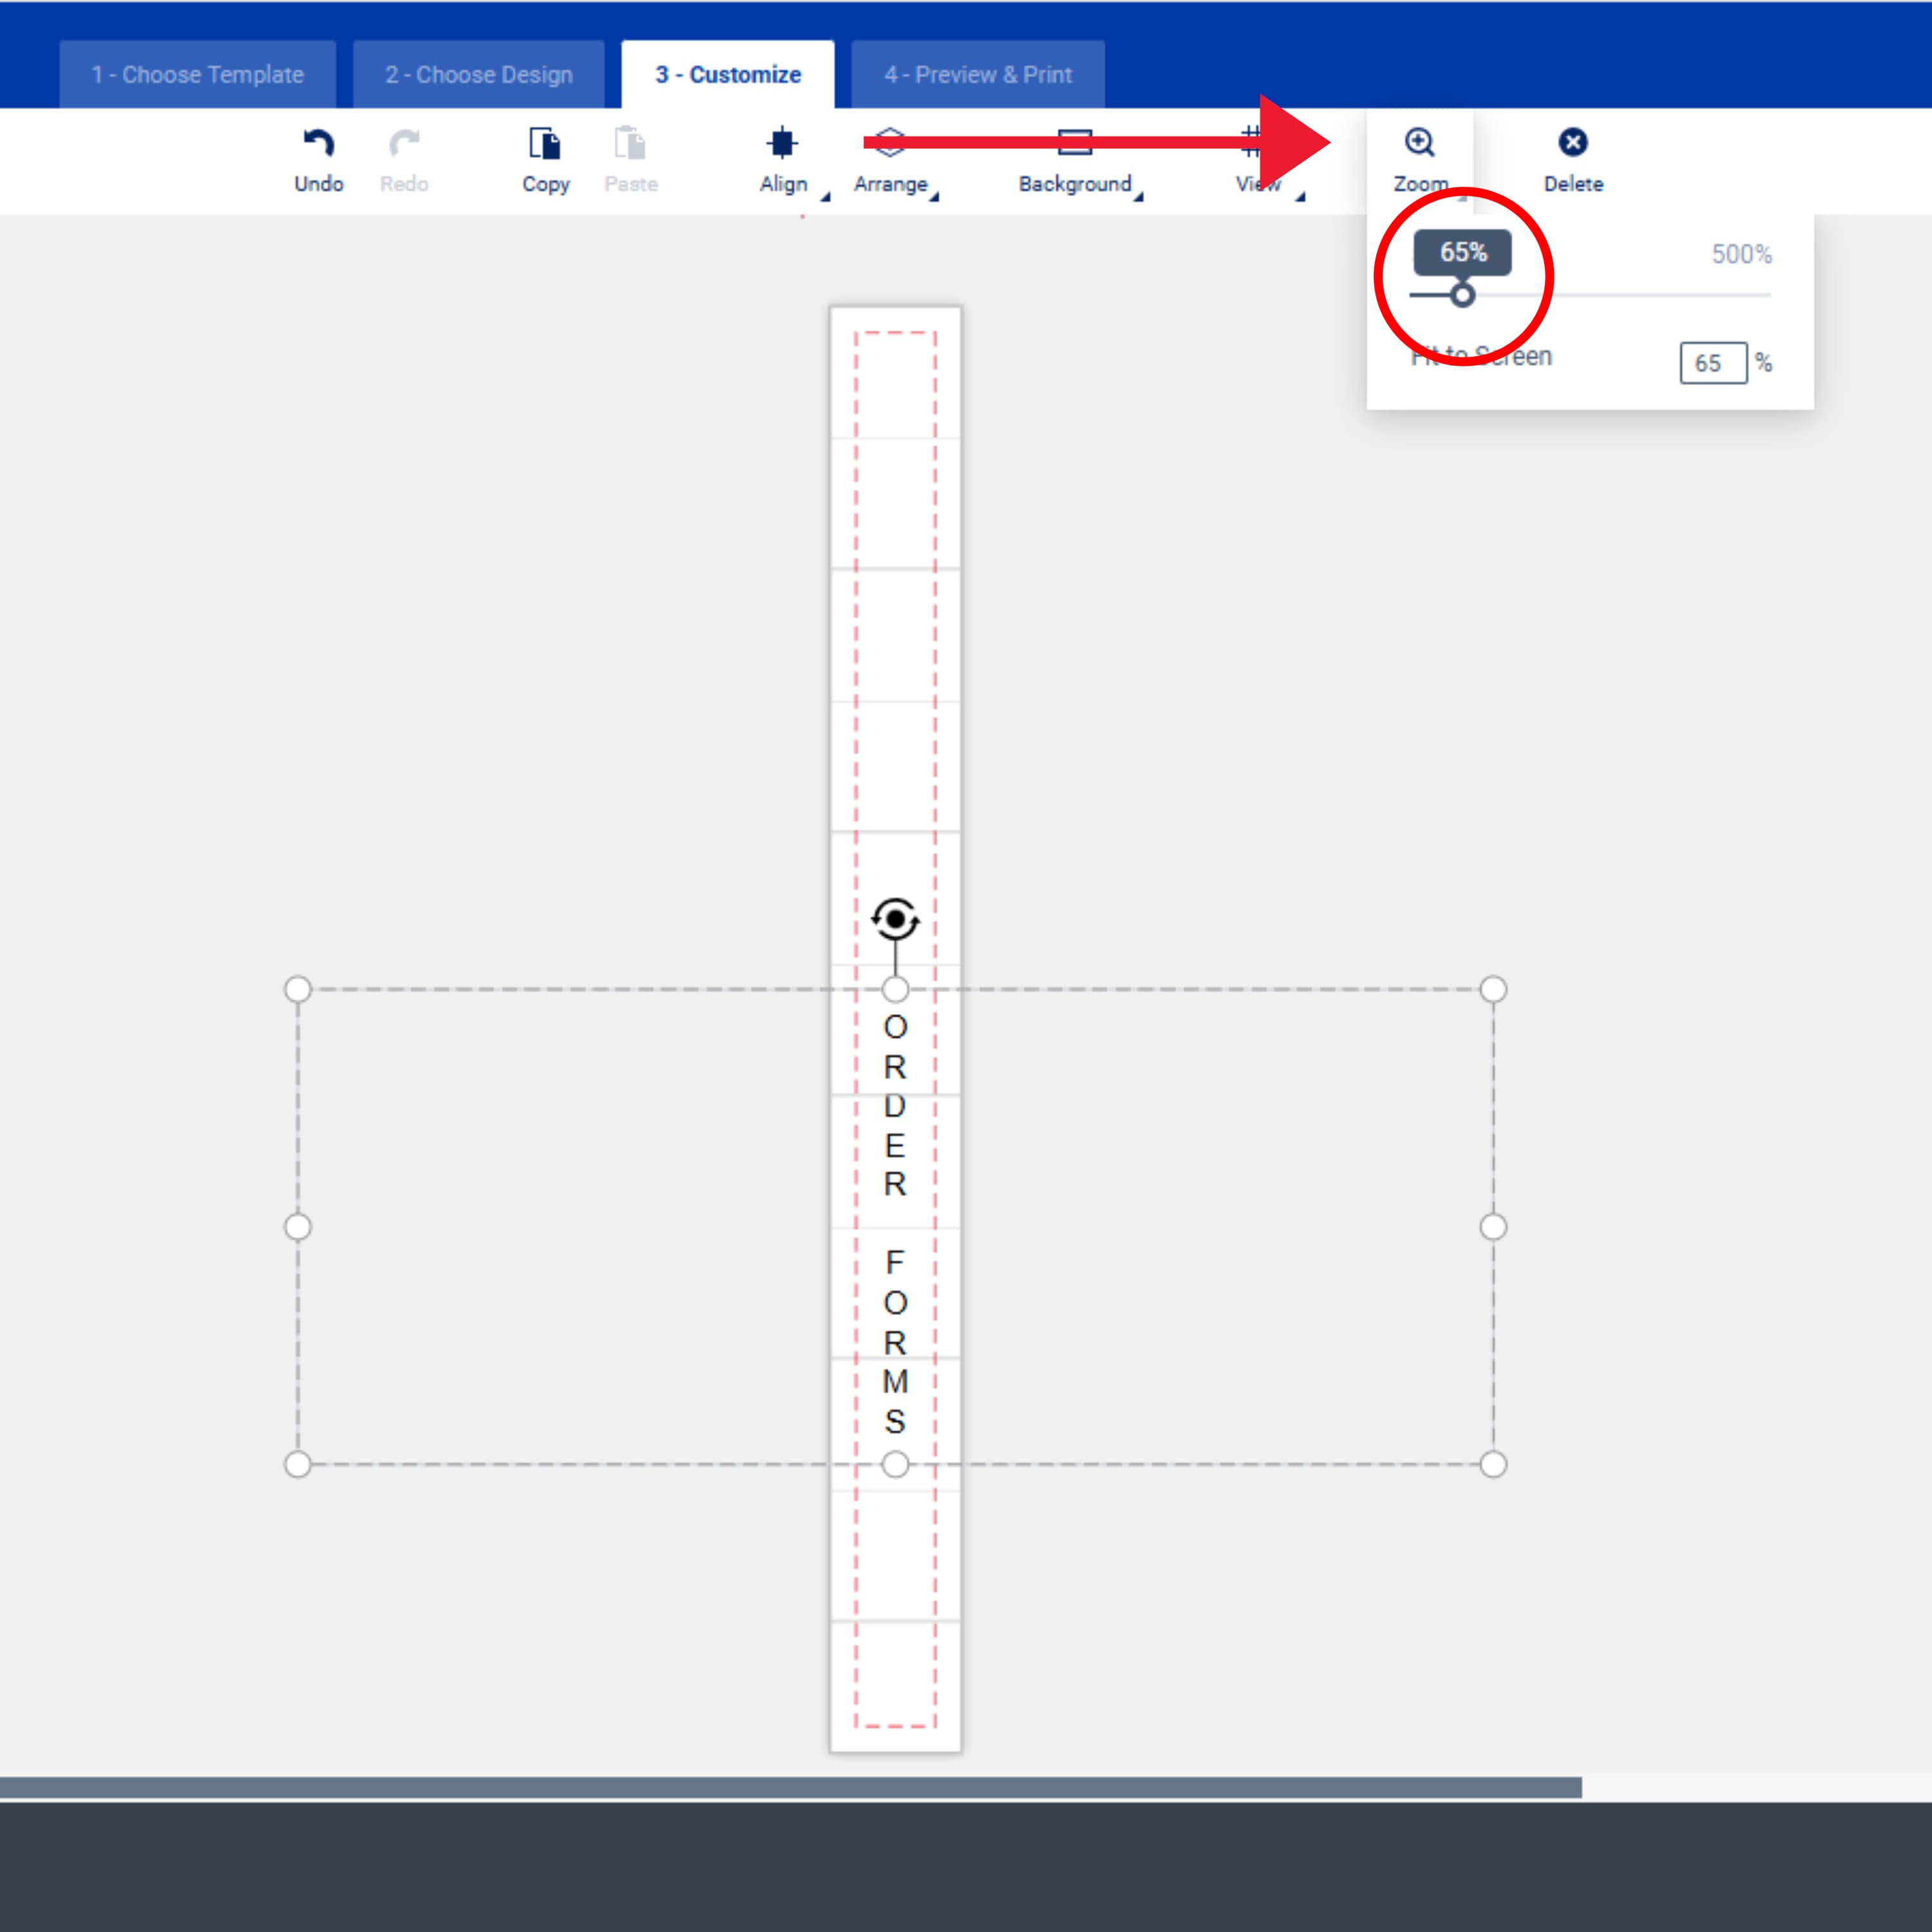
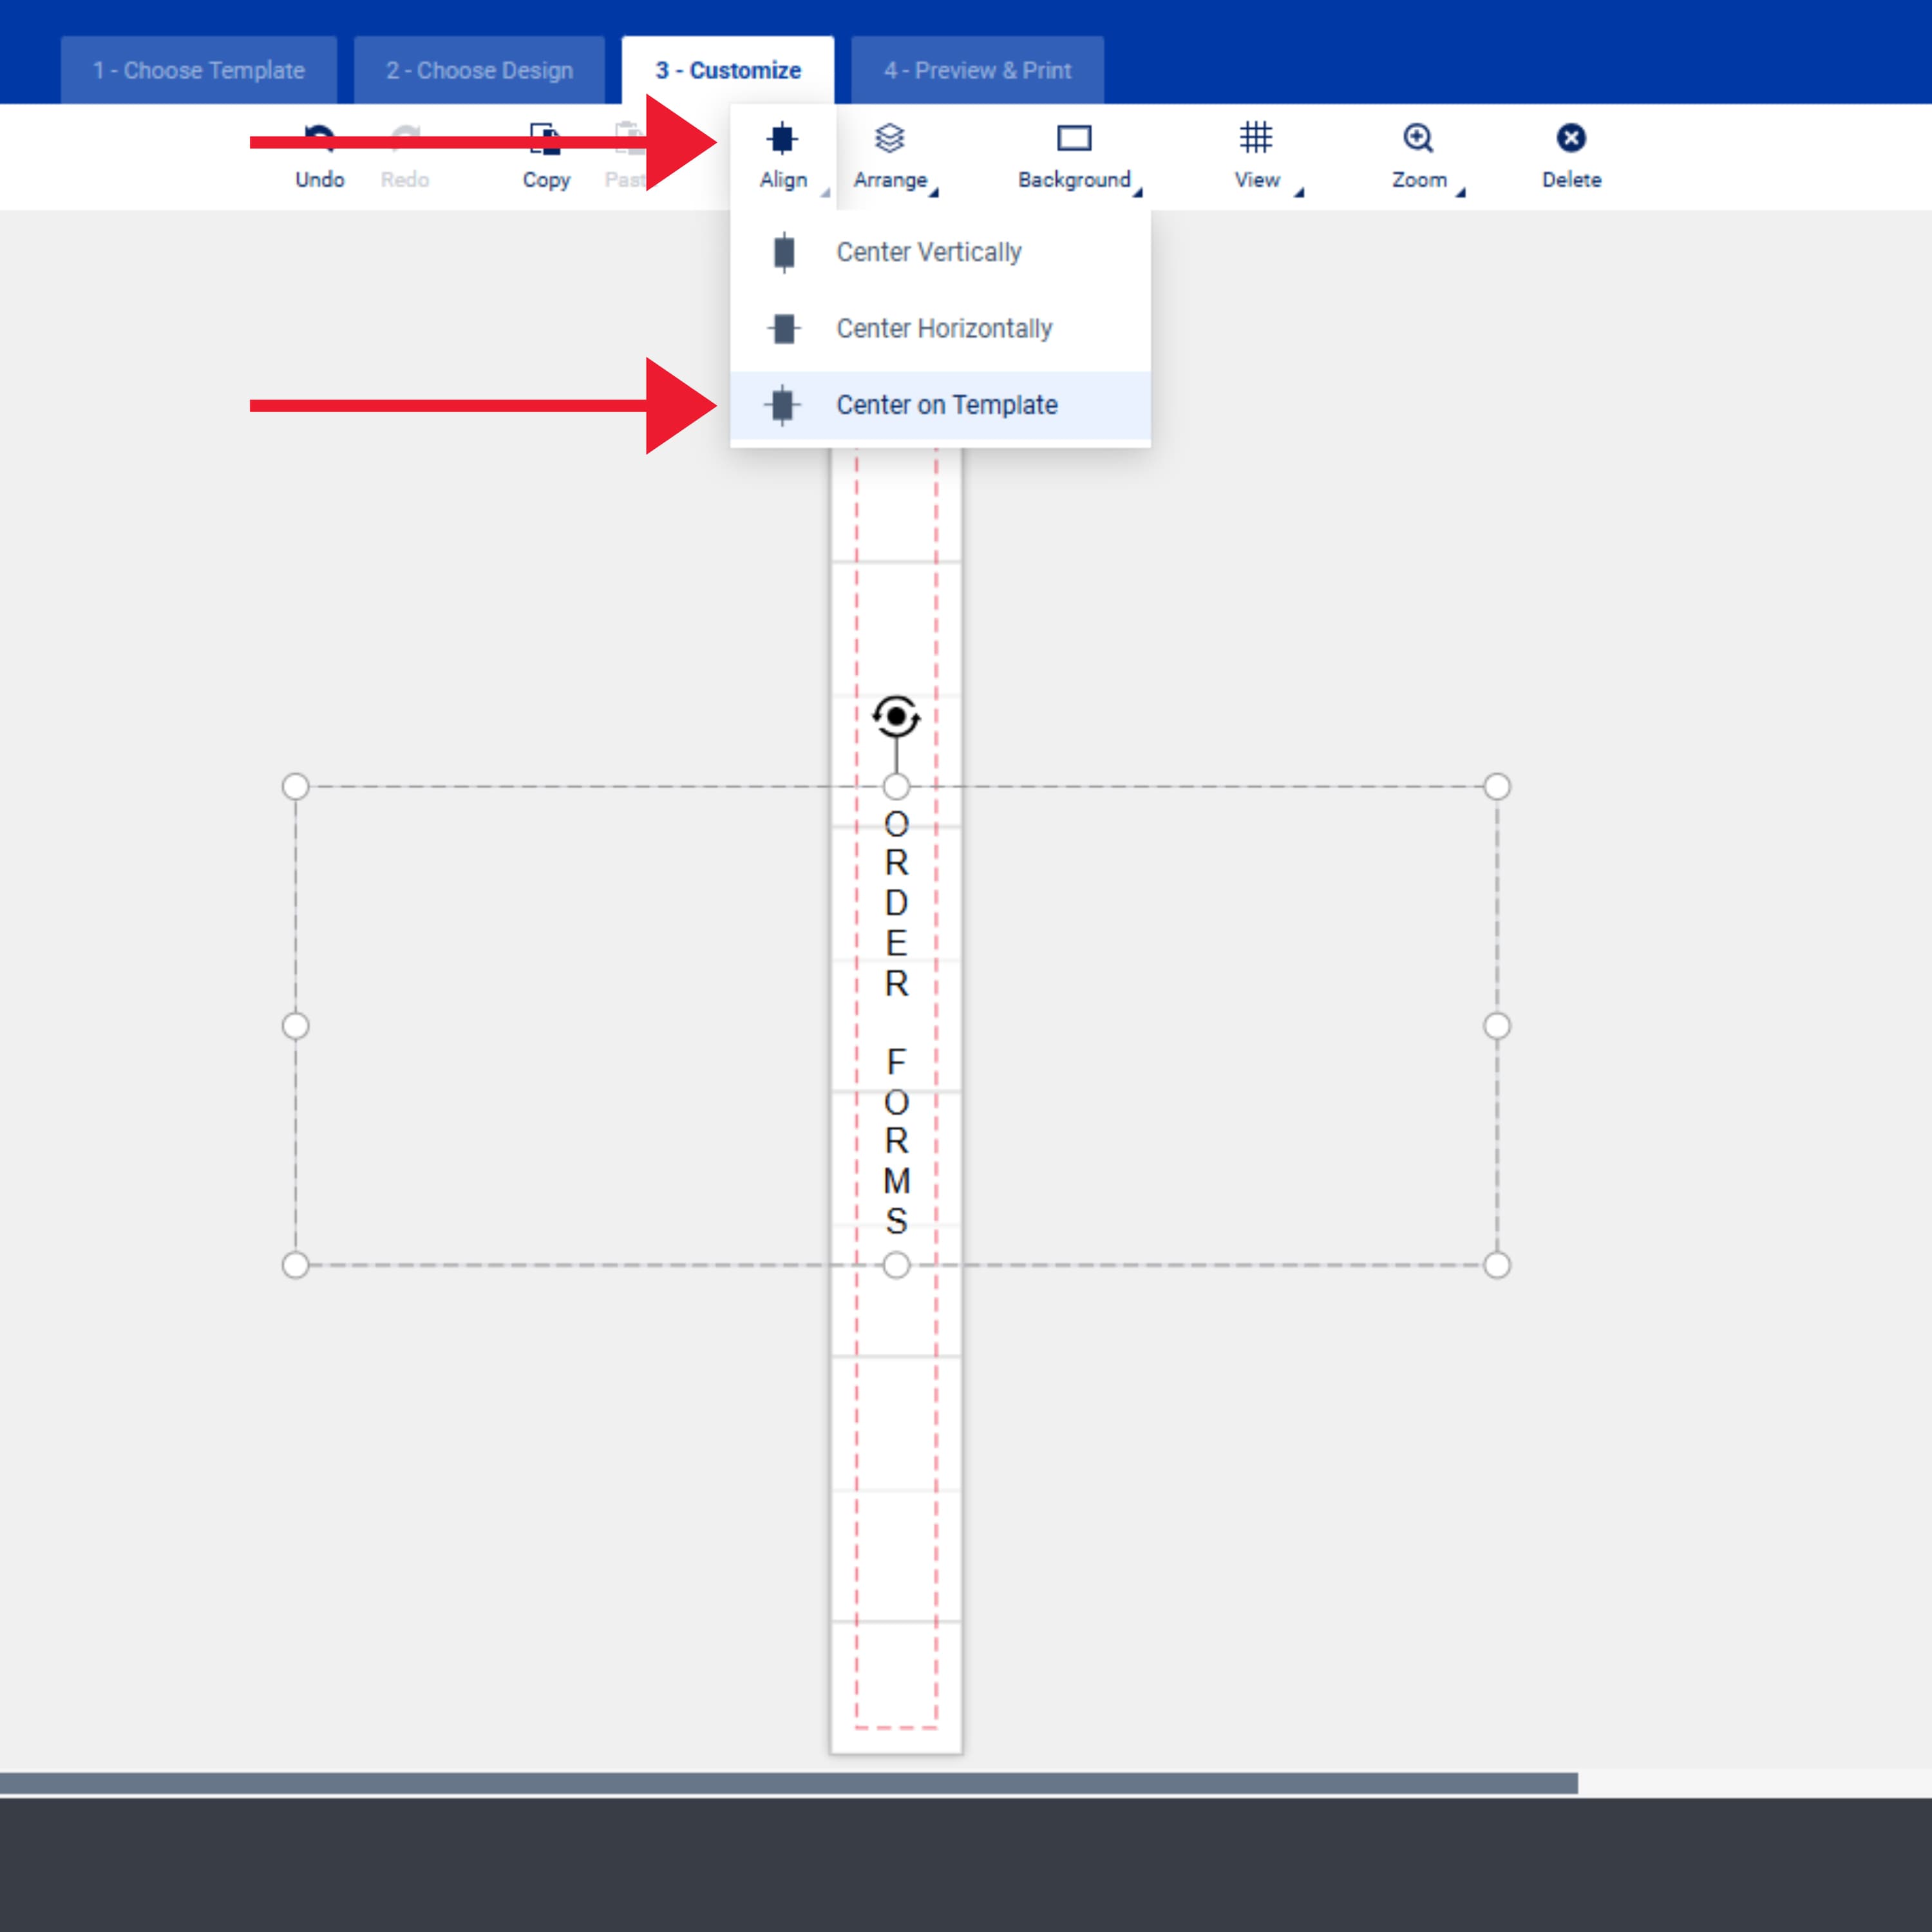
Click the “Zoom” icon to view your entire binder spine. You can also use the “Align” menu to center your text on the insert template.
5) Print binder spine inserts, separate, and insert
This article covers very specific and detailed printing tips for Avery products, but to print on your home or office printer, there are a few simple tips you should follow. First, check your printer settings to make sure that the scale option is set to 100. Scale is important to check so that your design prints at the intended size and aligns with the perforated binder spine inserts. Next, print a test sheet on plain paper. Place the paper over a sheet of binder inserts and hold it up to the light. If your design doesn’t align properly or look the way you want it to, you can go back and make changes without wasting inserts.
Finally, under printer settings, change the paper type to “cardstock,” “heavyweight,” or “specialty”. This setting controls how your printer feeds in sheets based on thickness. Since cardstock is much thicker than paper, you want to make sure your printer “knows” to adjust the feed to accommodate. To summarize, always follow these three simple steps when printing custom binder spines yourself:
- Set the scale to 100.
- Print a test sheet.
- Change the paper type.
Quick links to popular Avery binder spine templates
Blank templates for custom binder spine inserts
Once you’ve opened a blank template, you can begin designing using the tools on the left-hand side. Or, you can upload a complete image from your computer. If you’ve never uploaded an image before, here is an excellent help article that will walk you through it.
1/2″ blank template for designing and printing on 89101 binder spine inserts.
1″ blank template for designing and printing on 89103 binder spine inserts.
1-1/2″ blank template for designing and printing on 89105 binder spine inserts.
2″ blank template for designing and printing on 89107 binder spine inserts.
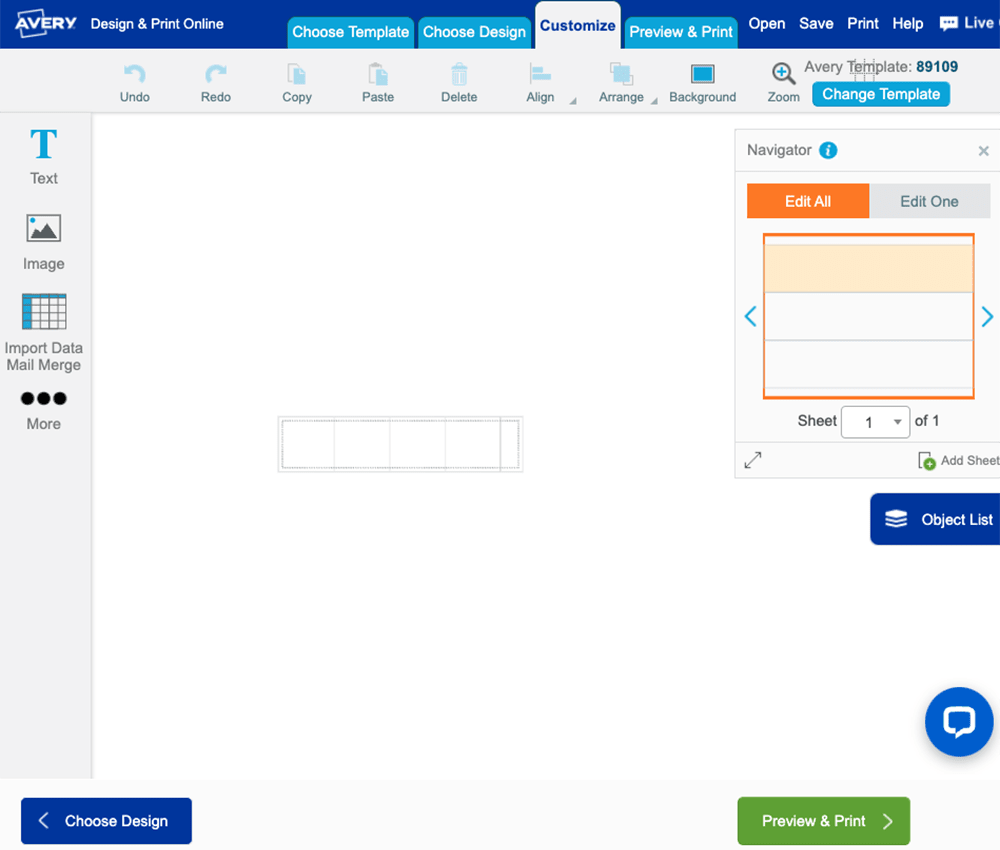
3″ blank template for designing and printing on 89109 binder spine inserts.
Avery binder spine templates you can customize online
Below are a small selection of our most popular designs for binder spine inserts. Click the “Customize” button, or click the image, to start editing the template in Avery Design & Print Online. Then you can use the tools on the left-hand side to customize the design.
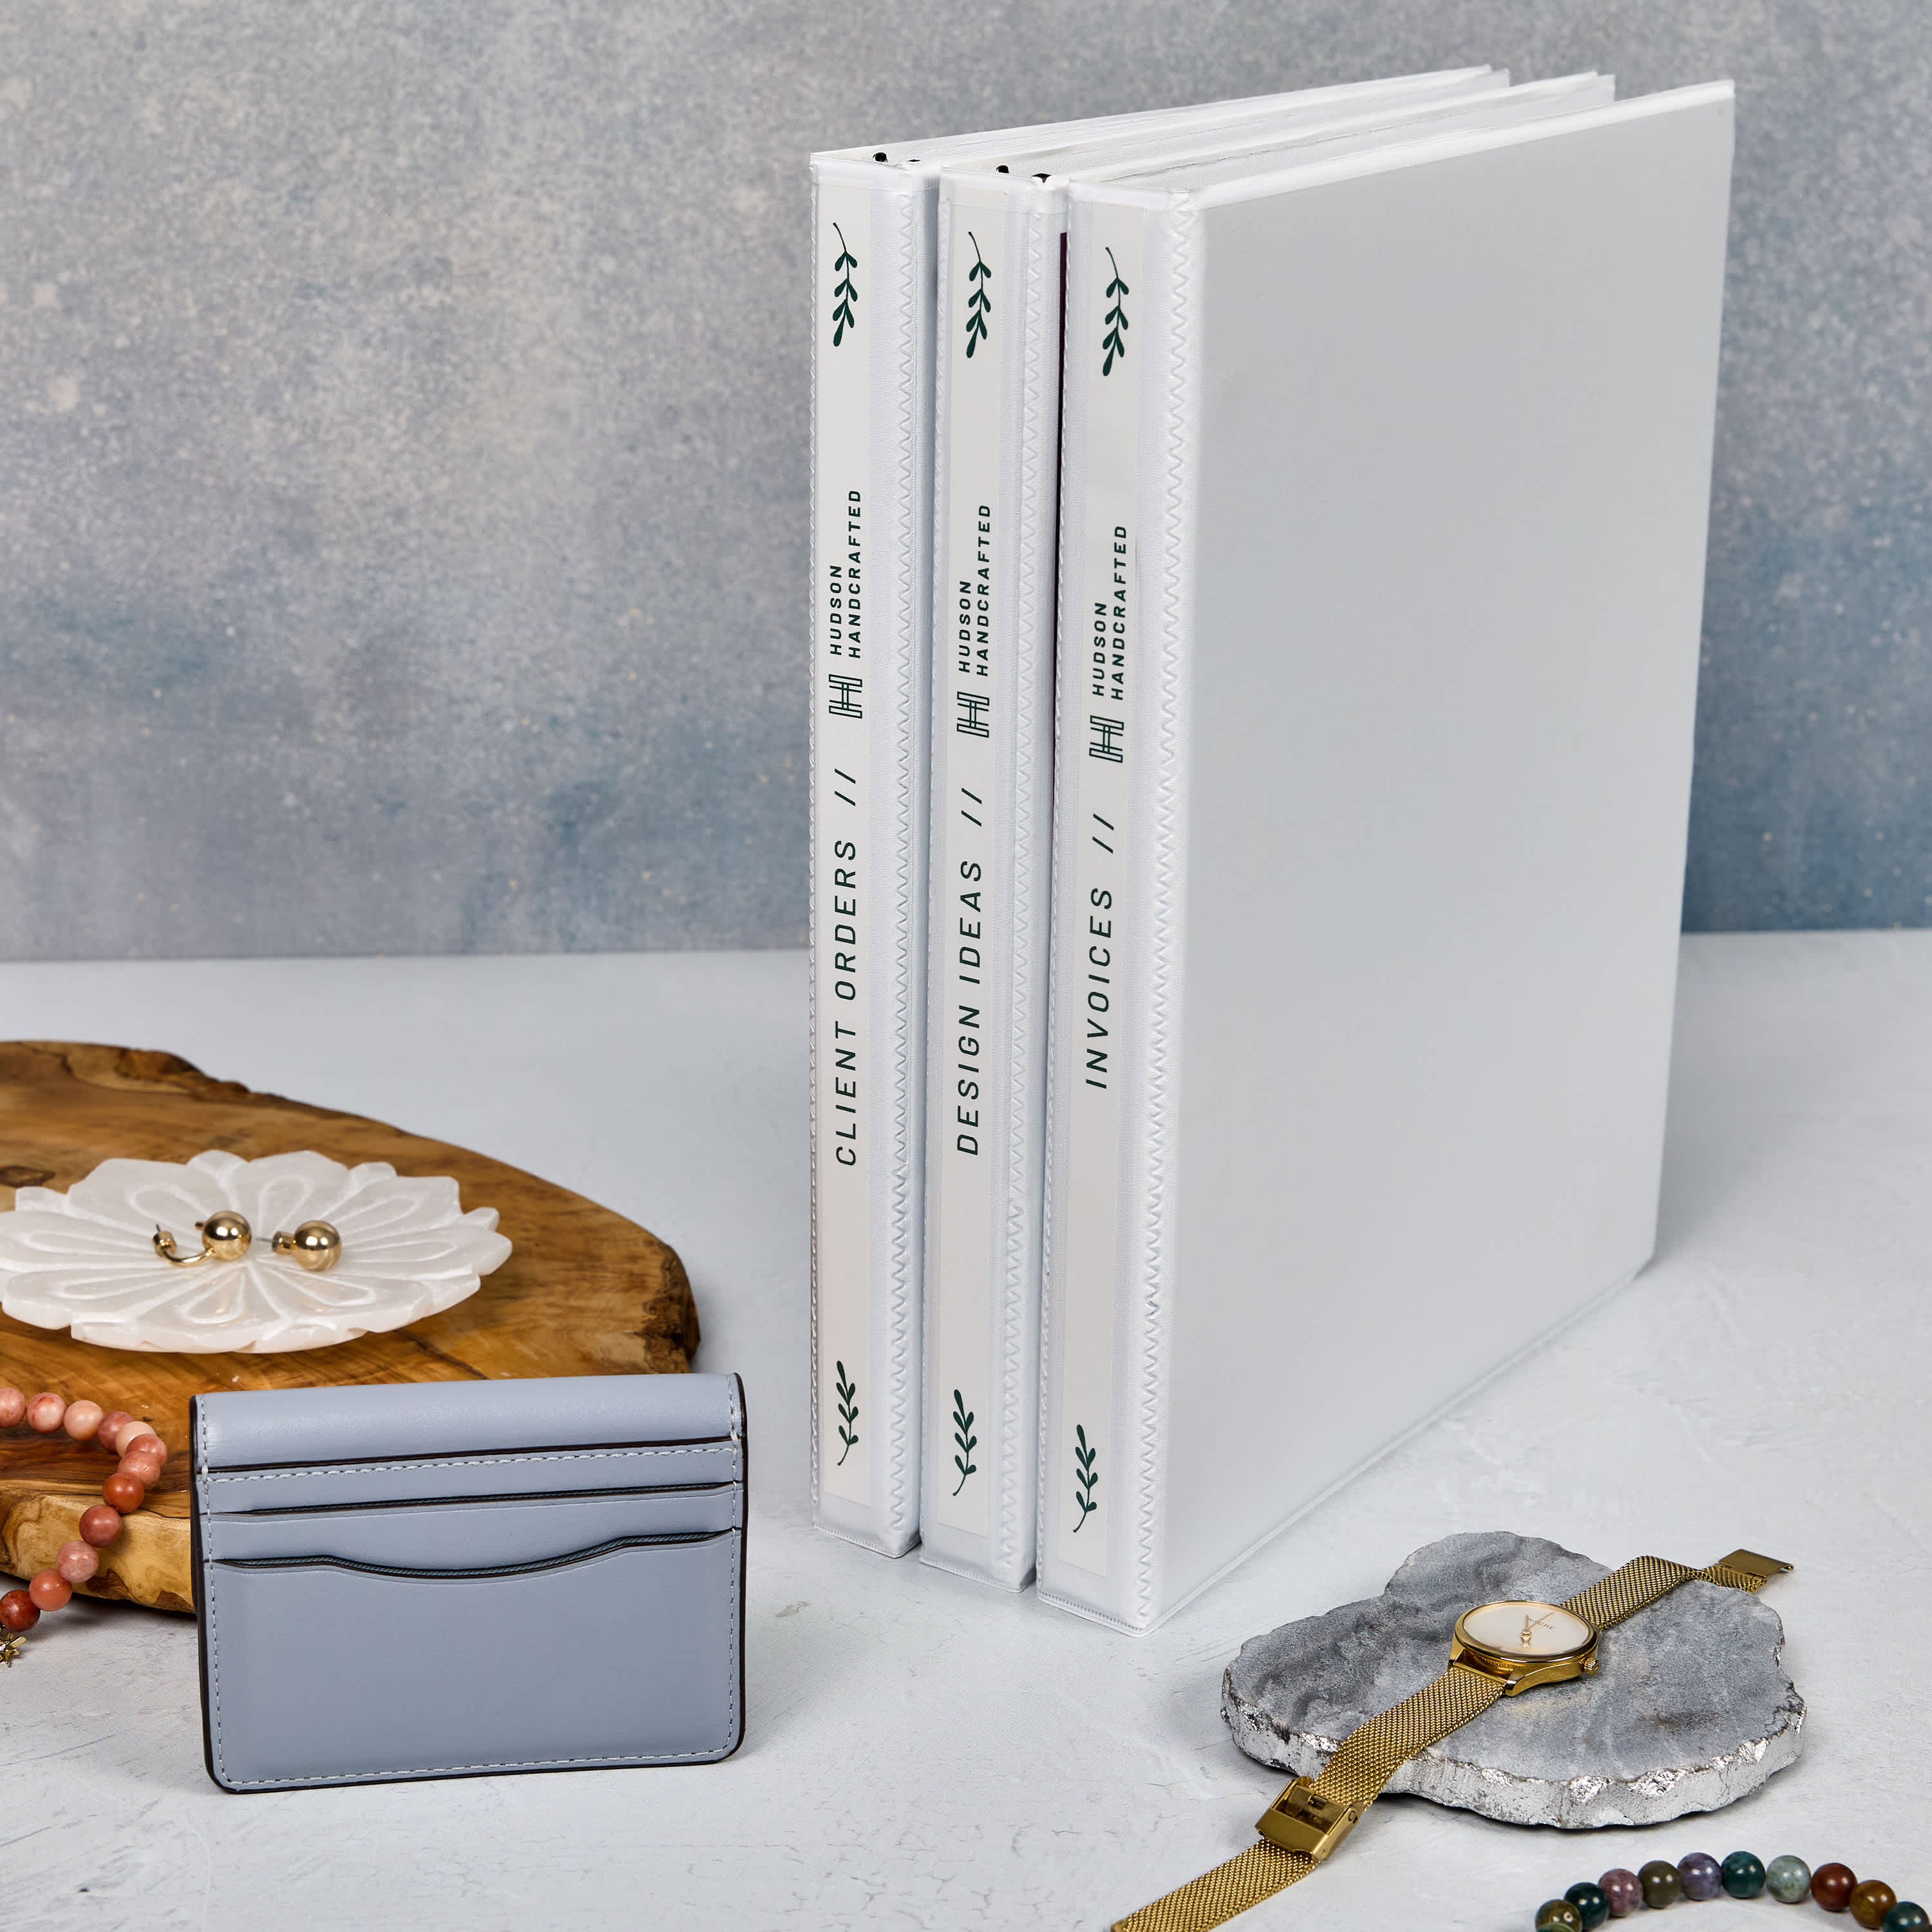
Print this design on binder spine insert 89101 and use with 1/2 inch view binders.
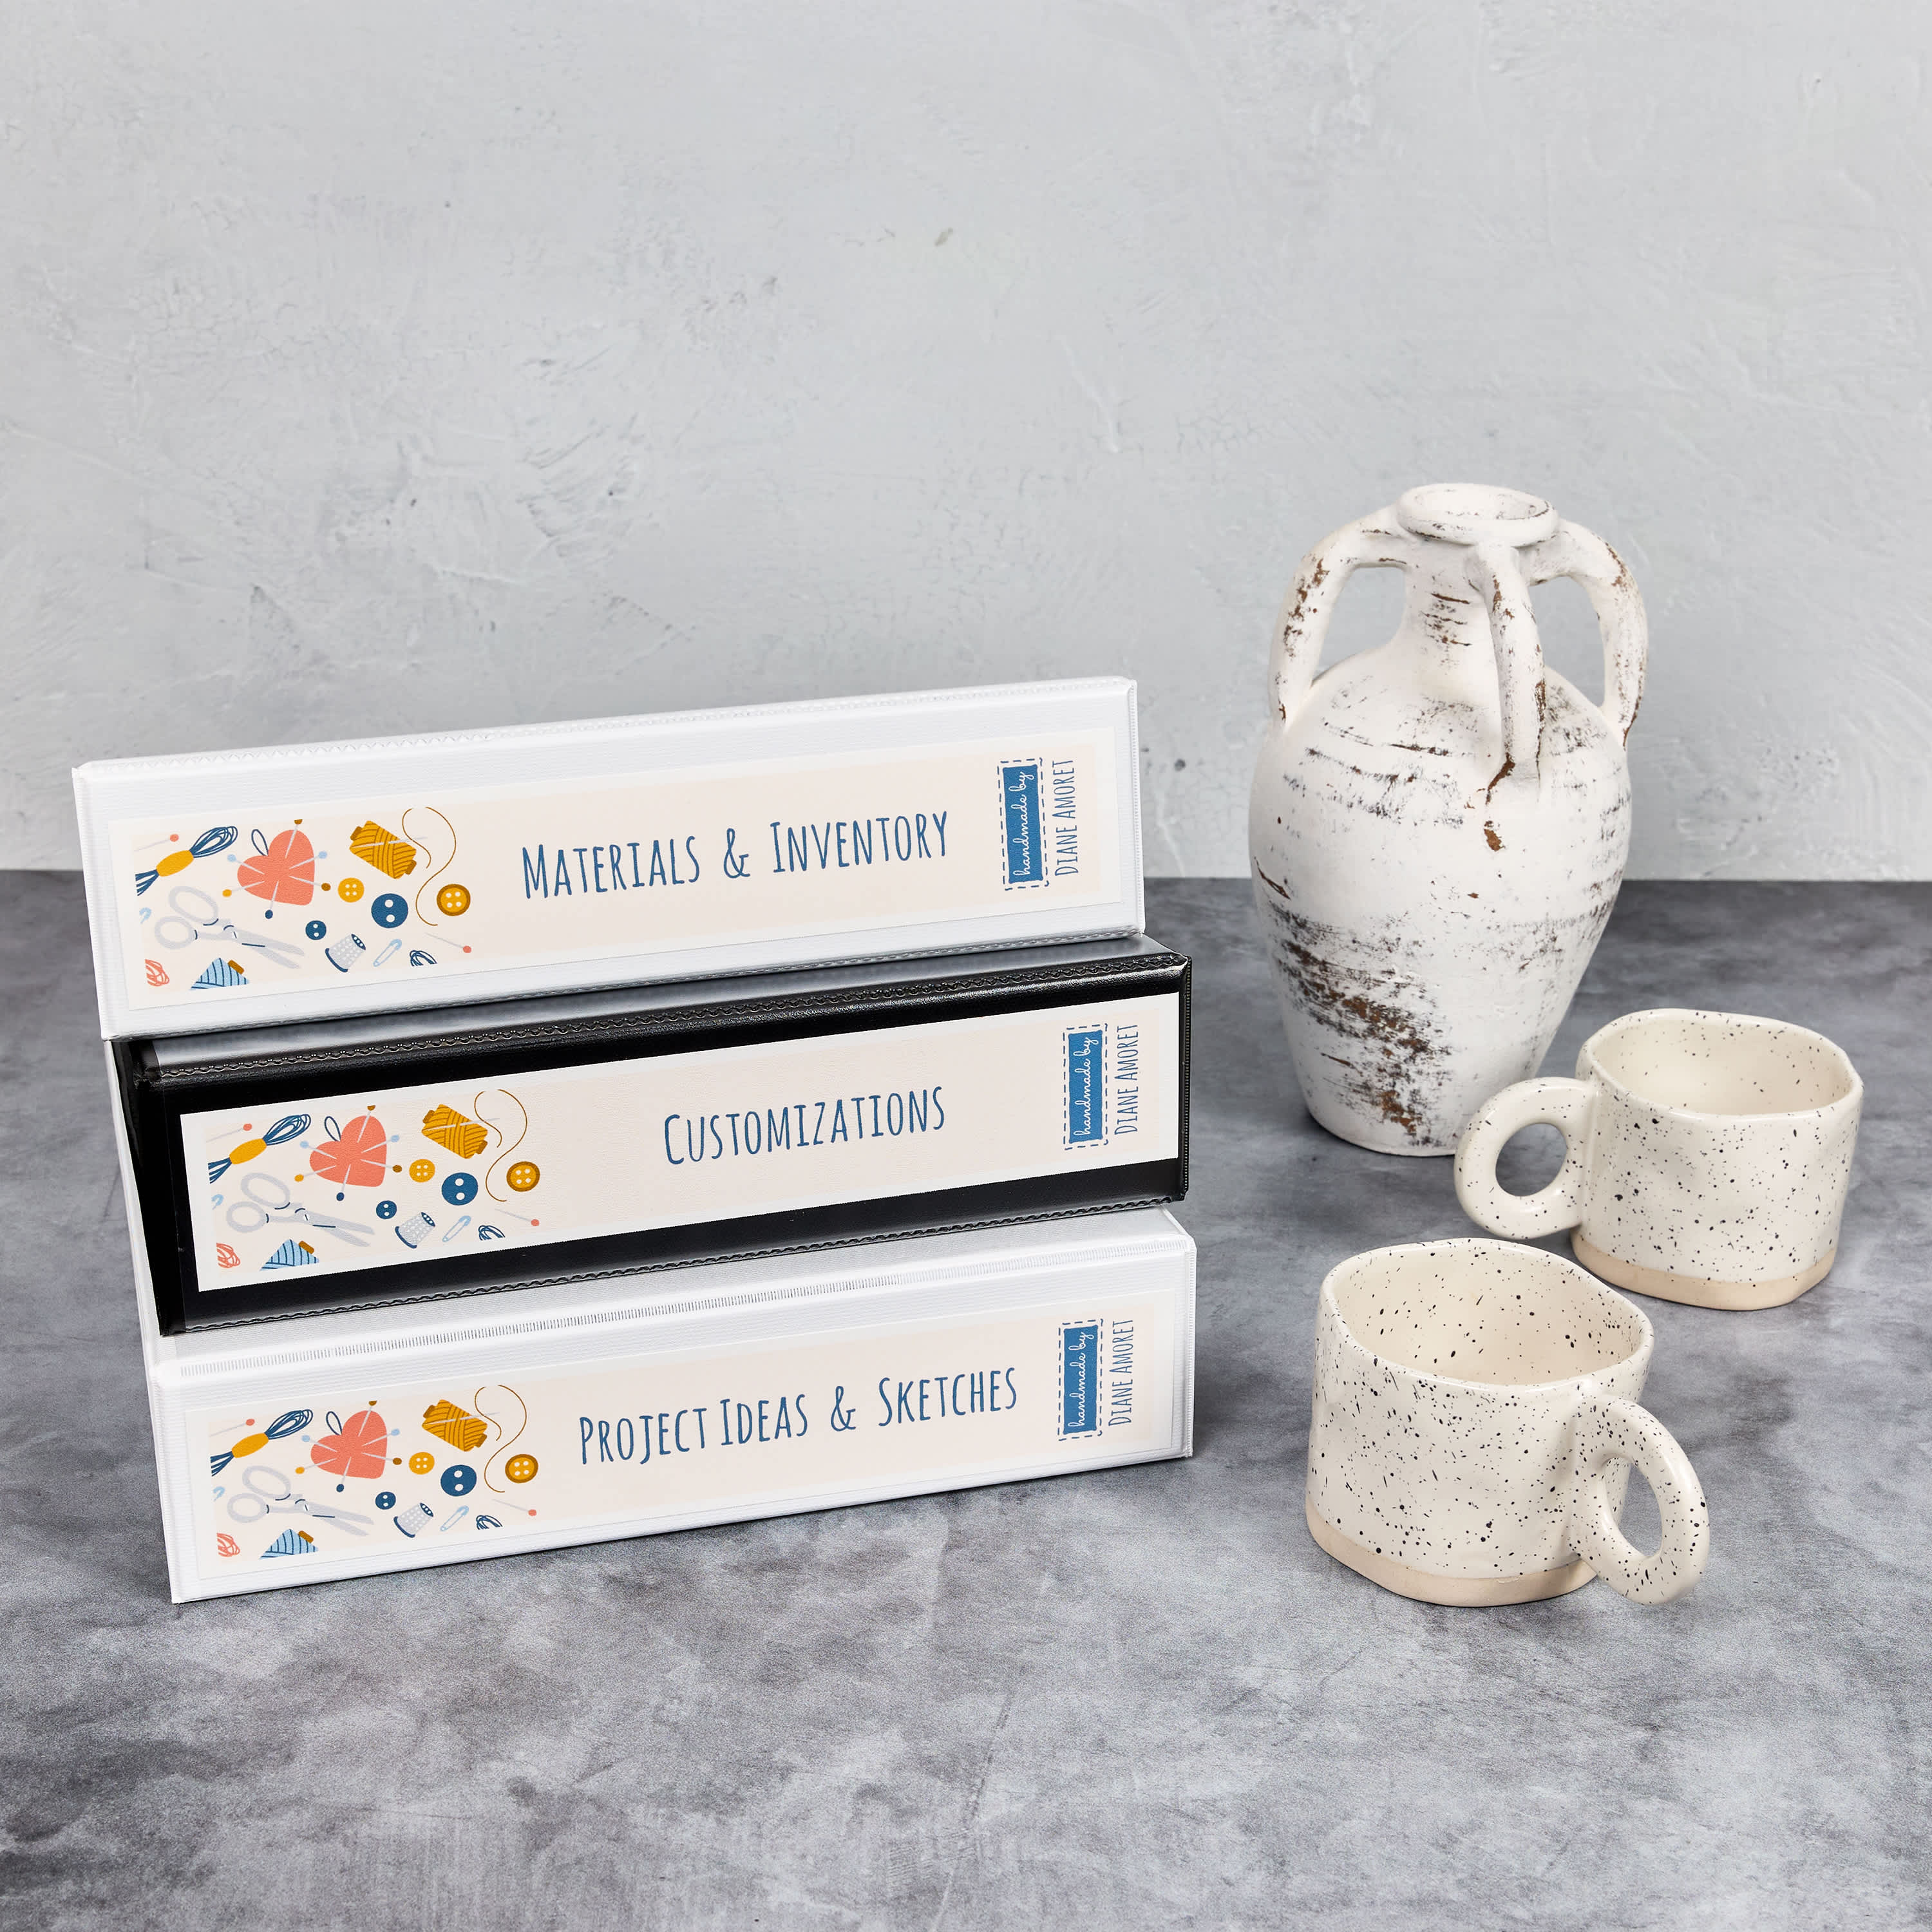
Print this design on binder spine insert 89107 and use with 2 inch view binders.
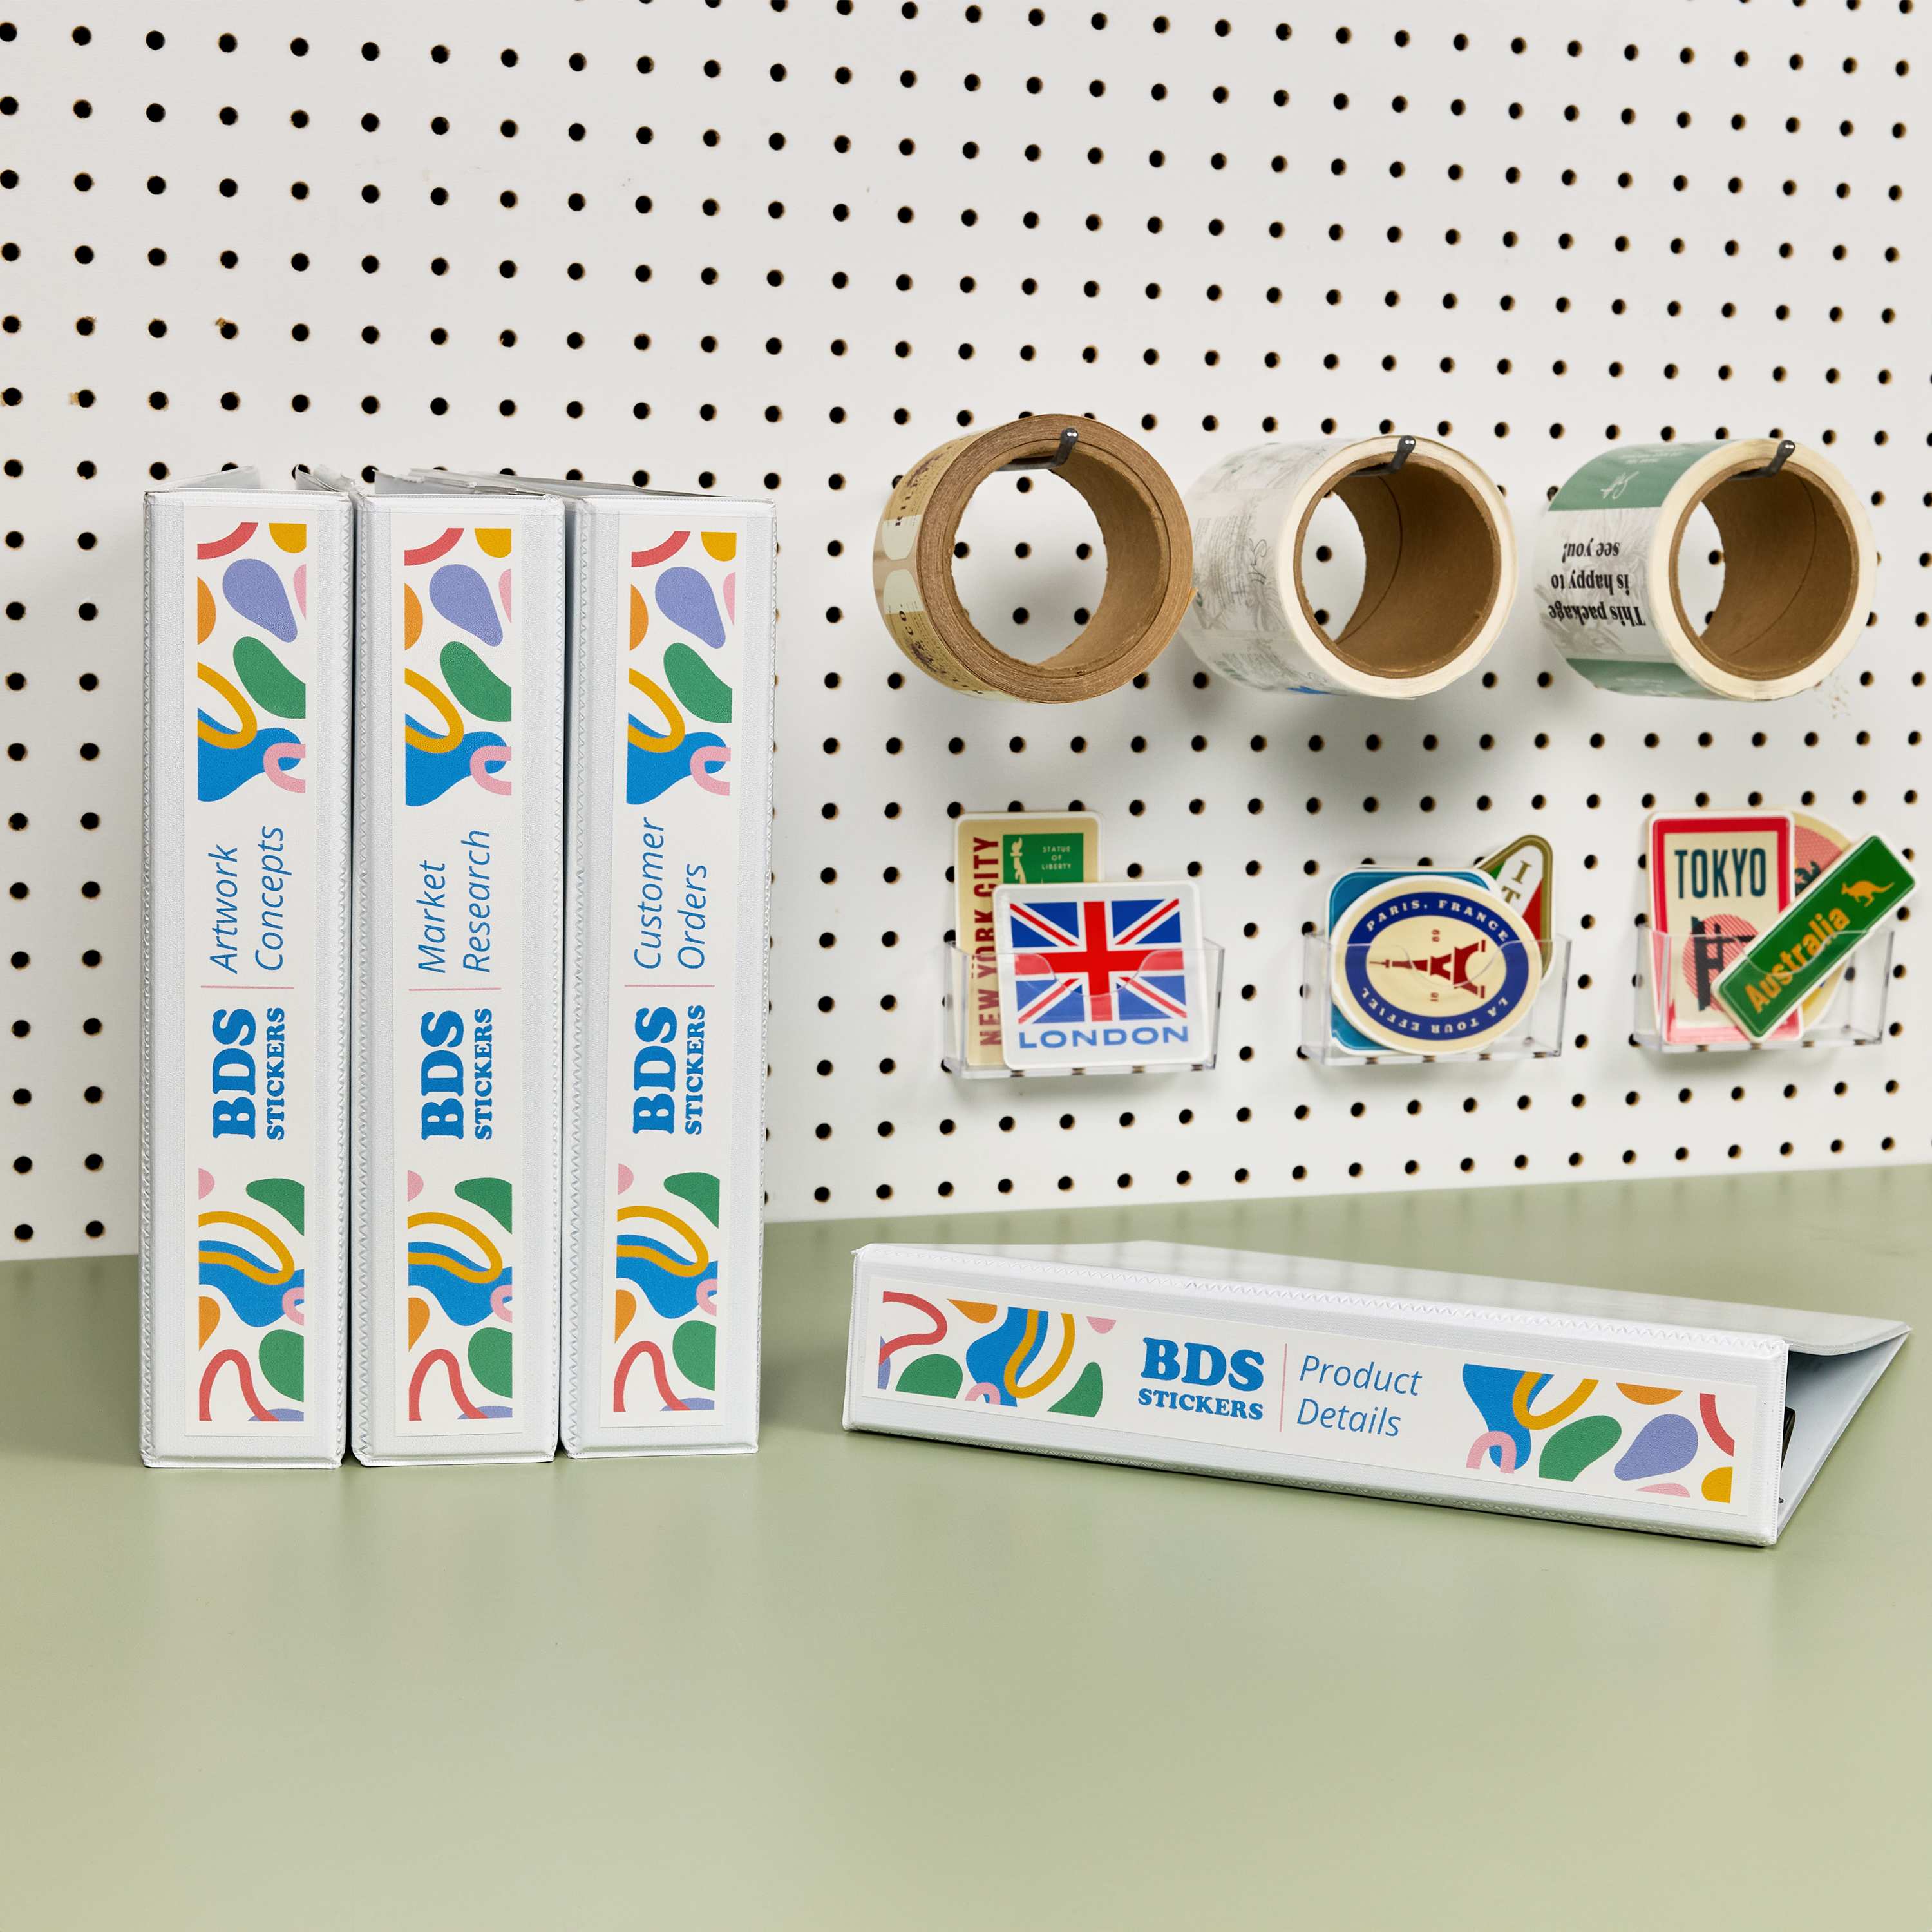
Print this design on binder spine insert 89105 and use with 1-1/2 inch view binders.
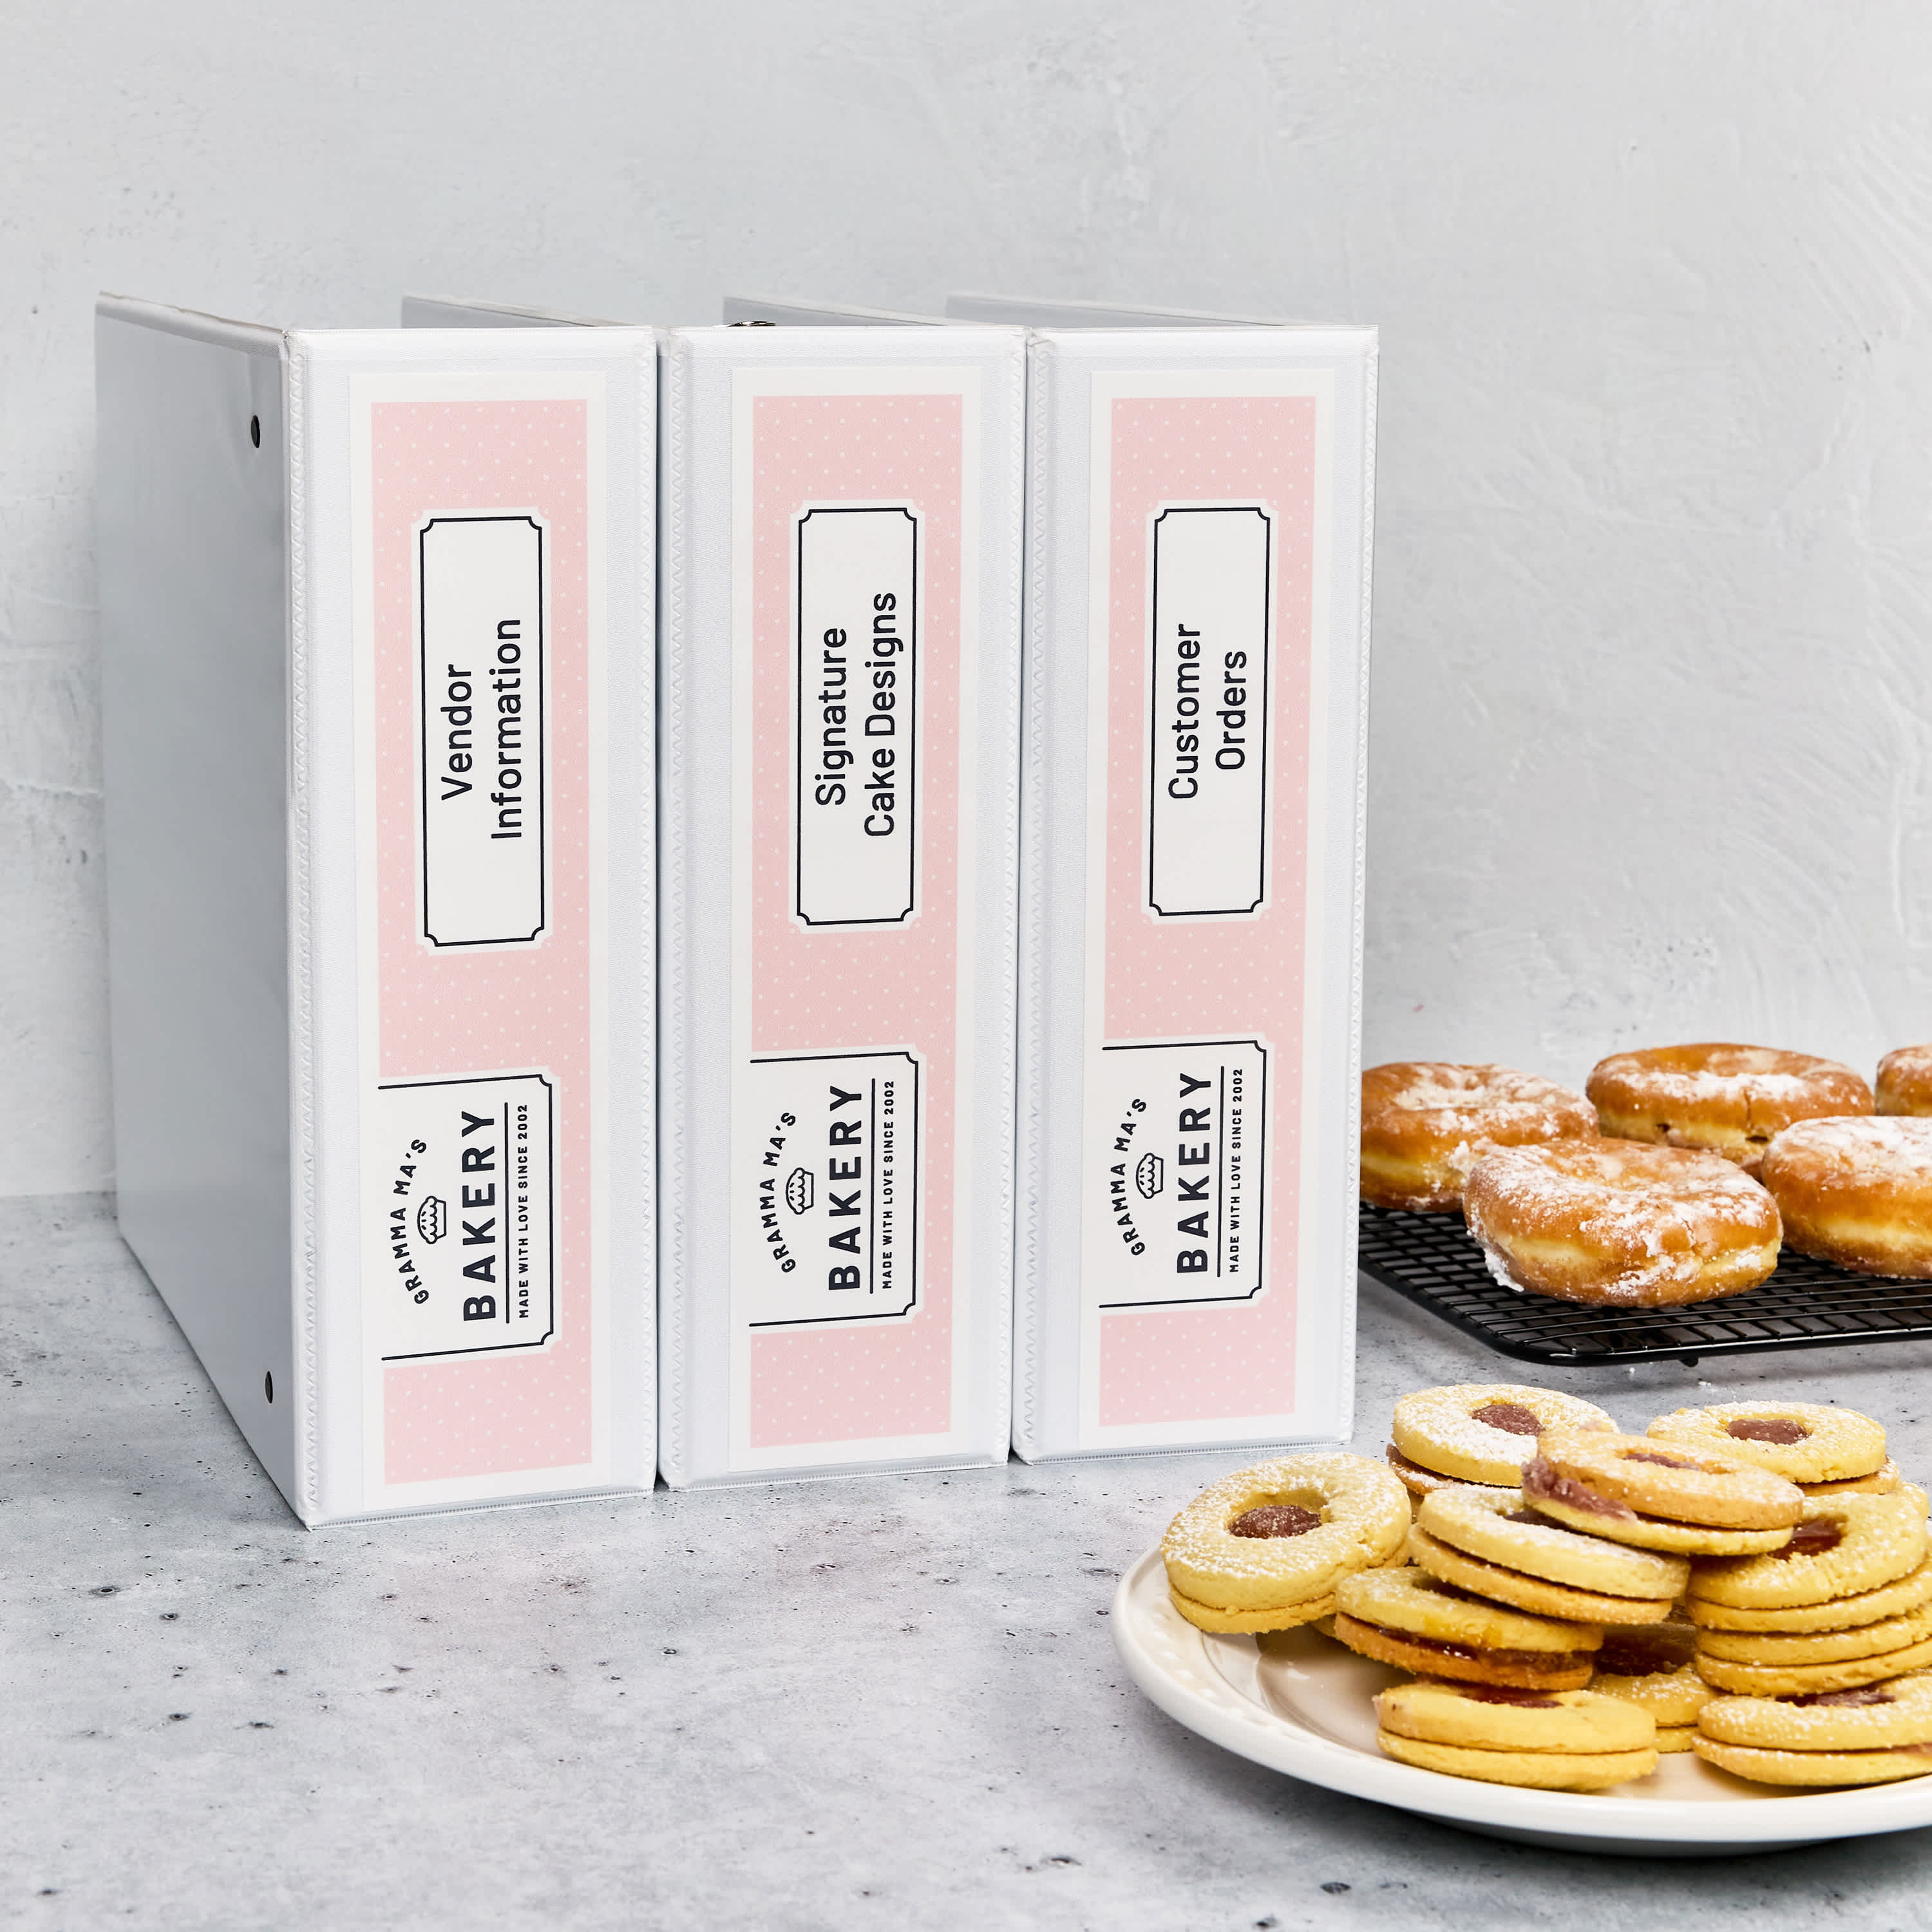
Print this design on binder spine insert 89109 and use with 3 inch view binders.
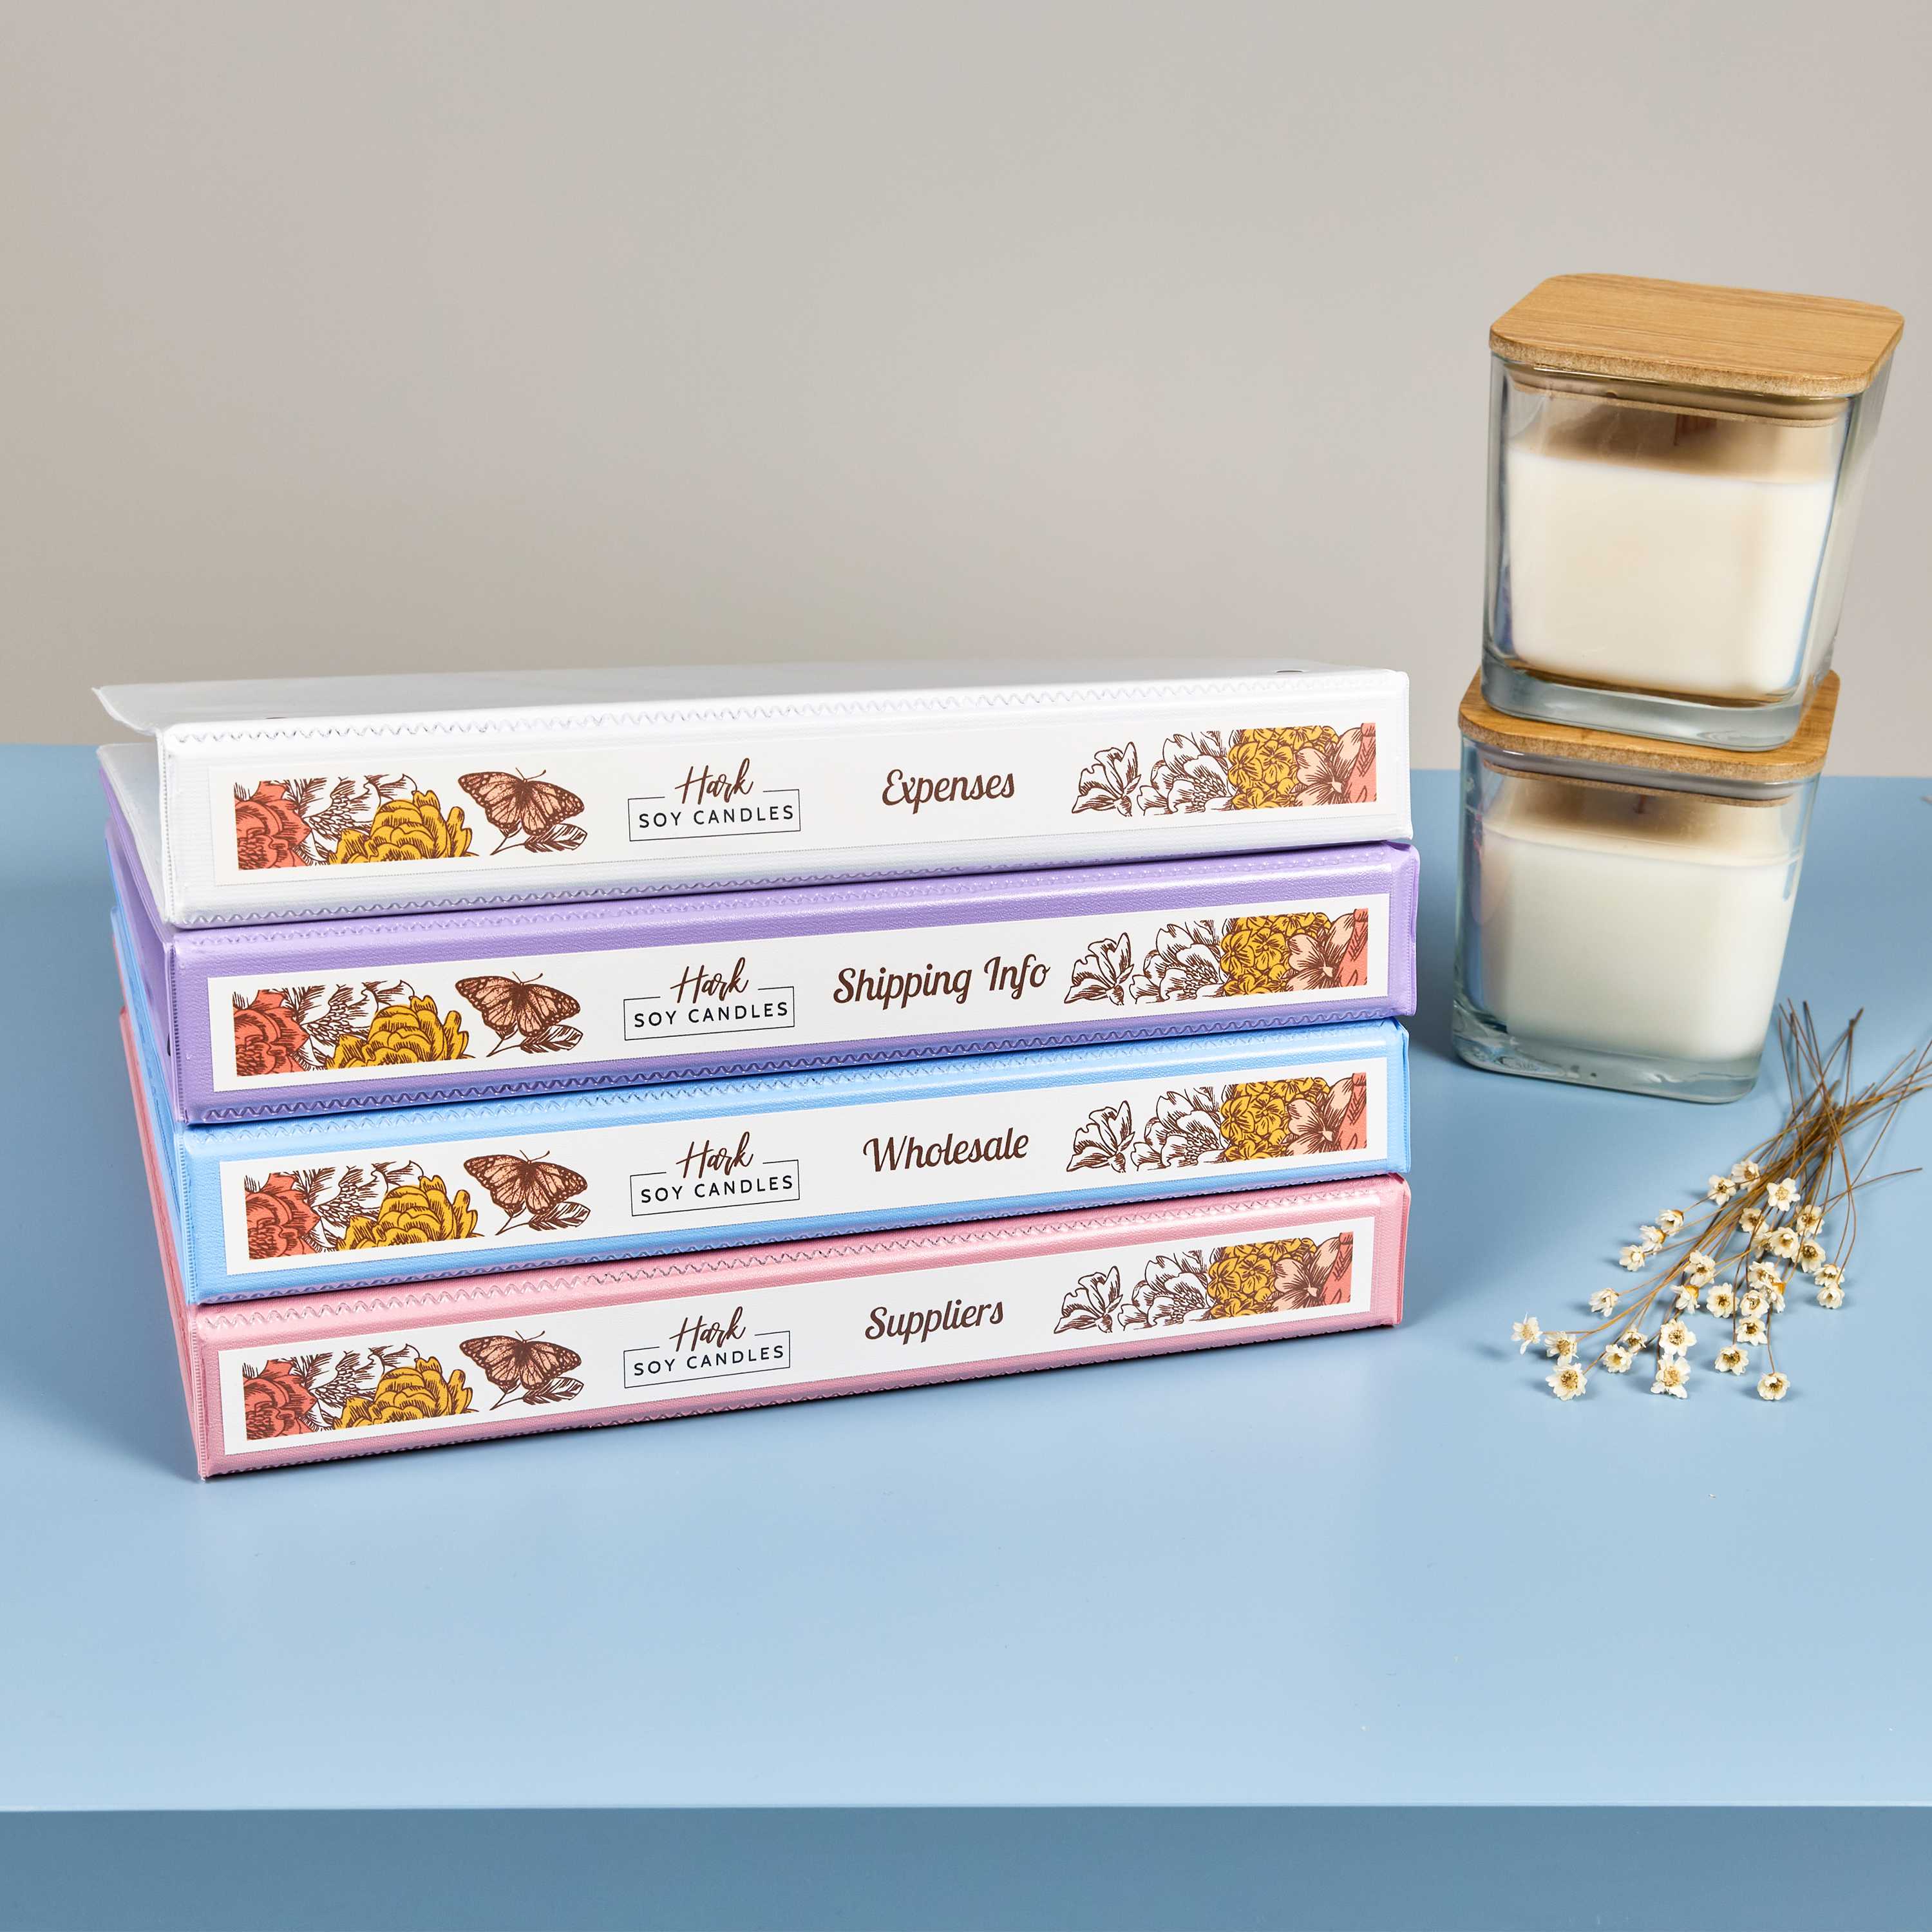
Print this design on binder spine insert 89103 and use with 1 inch view binders.
FAQs about customizing binder spines
If you’ve ever wondered what the paper strips on the side of binders are called, they’re called binder spine inserts. They’re printable cardstock strips that slide into the clear spine pocket on view binders. Unlike adhesive labels, they’re easy to replace whenever you update your binder.
Yes, but printable binder spine inserts are already sized to fit standard view binders and are perforated for clean, accurate results. Regular cardstock works in a pinch but requires measuring and trimming.
Yes. Download the blank Microsoft Word template from the Avery template page for your binder spine insert, then open it in Word to customize and print. This is often faster than searching for Avery templates inside Microsoft Word.
Use Avery Template 89107 for 2-inch binder spine inserts. Avery also offers free templates for 1/2″, 1″, 1-1/2″, and 3″ binder spine inserts that you can customize online or download.
Avery’s free binder spine templates are designed to fit Avery printable binder spine inserts and standard view binder sizes. You can customize them online with free Avery software and designs or download blank templates for Microsoft Word and other compatible software.
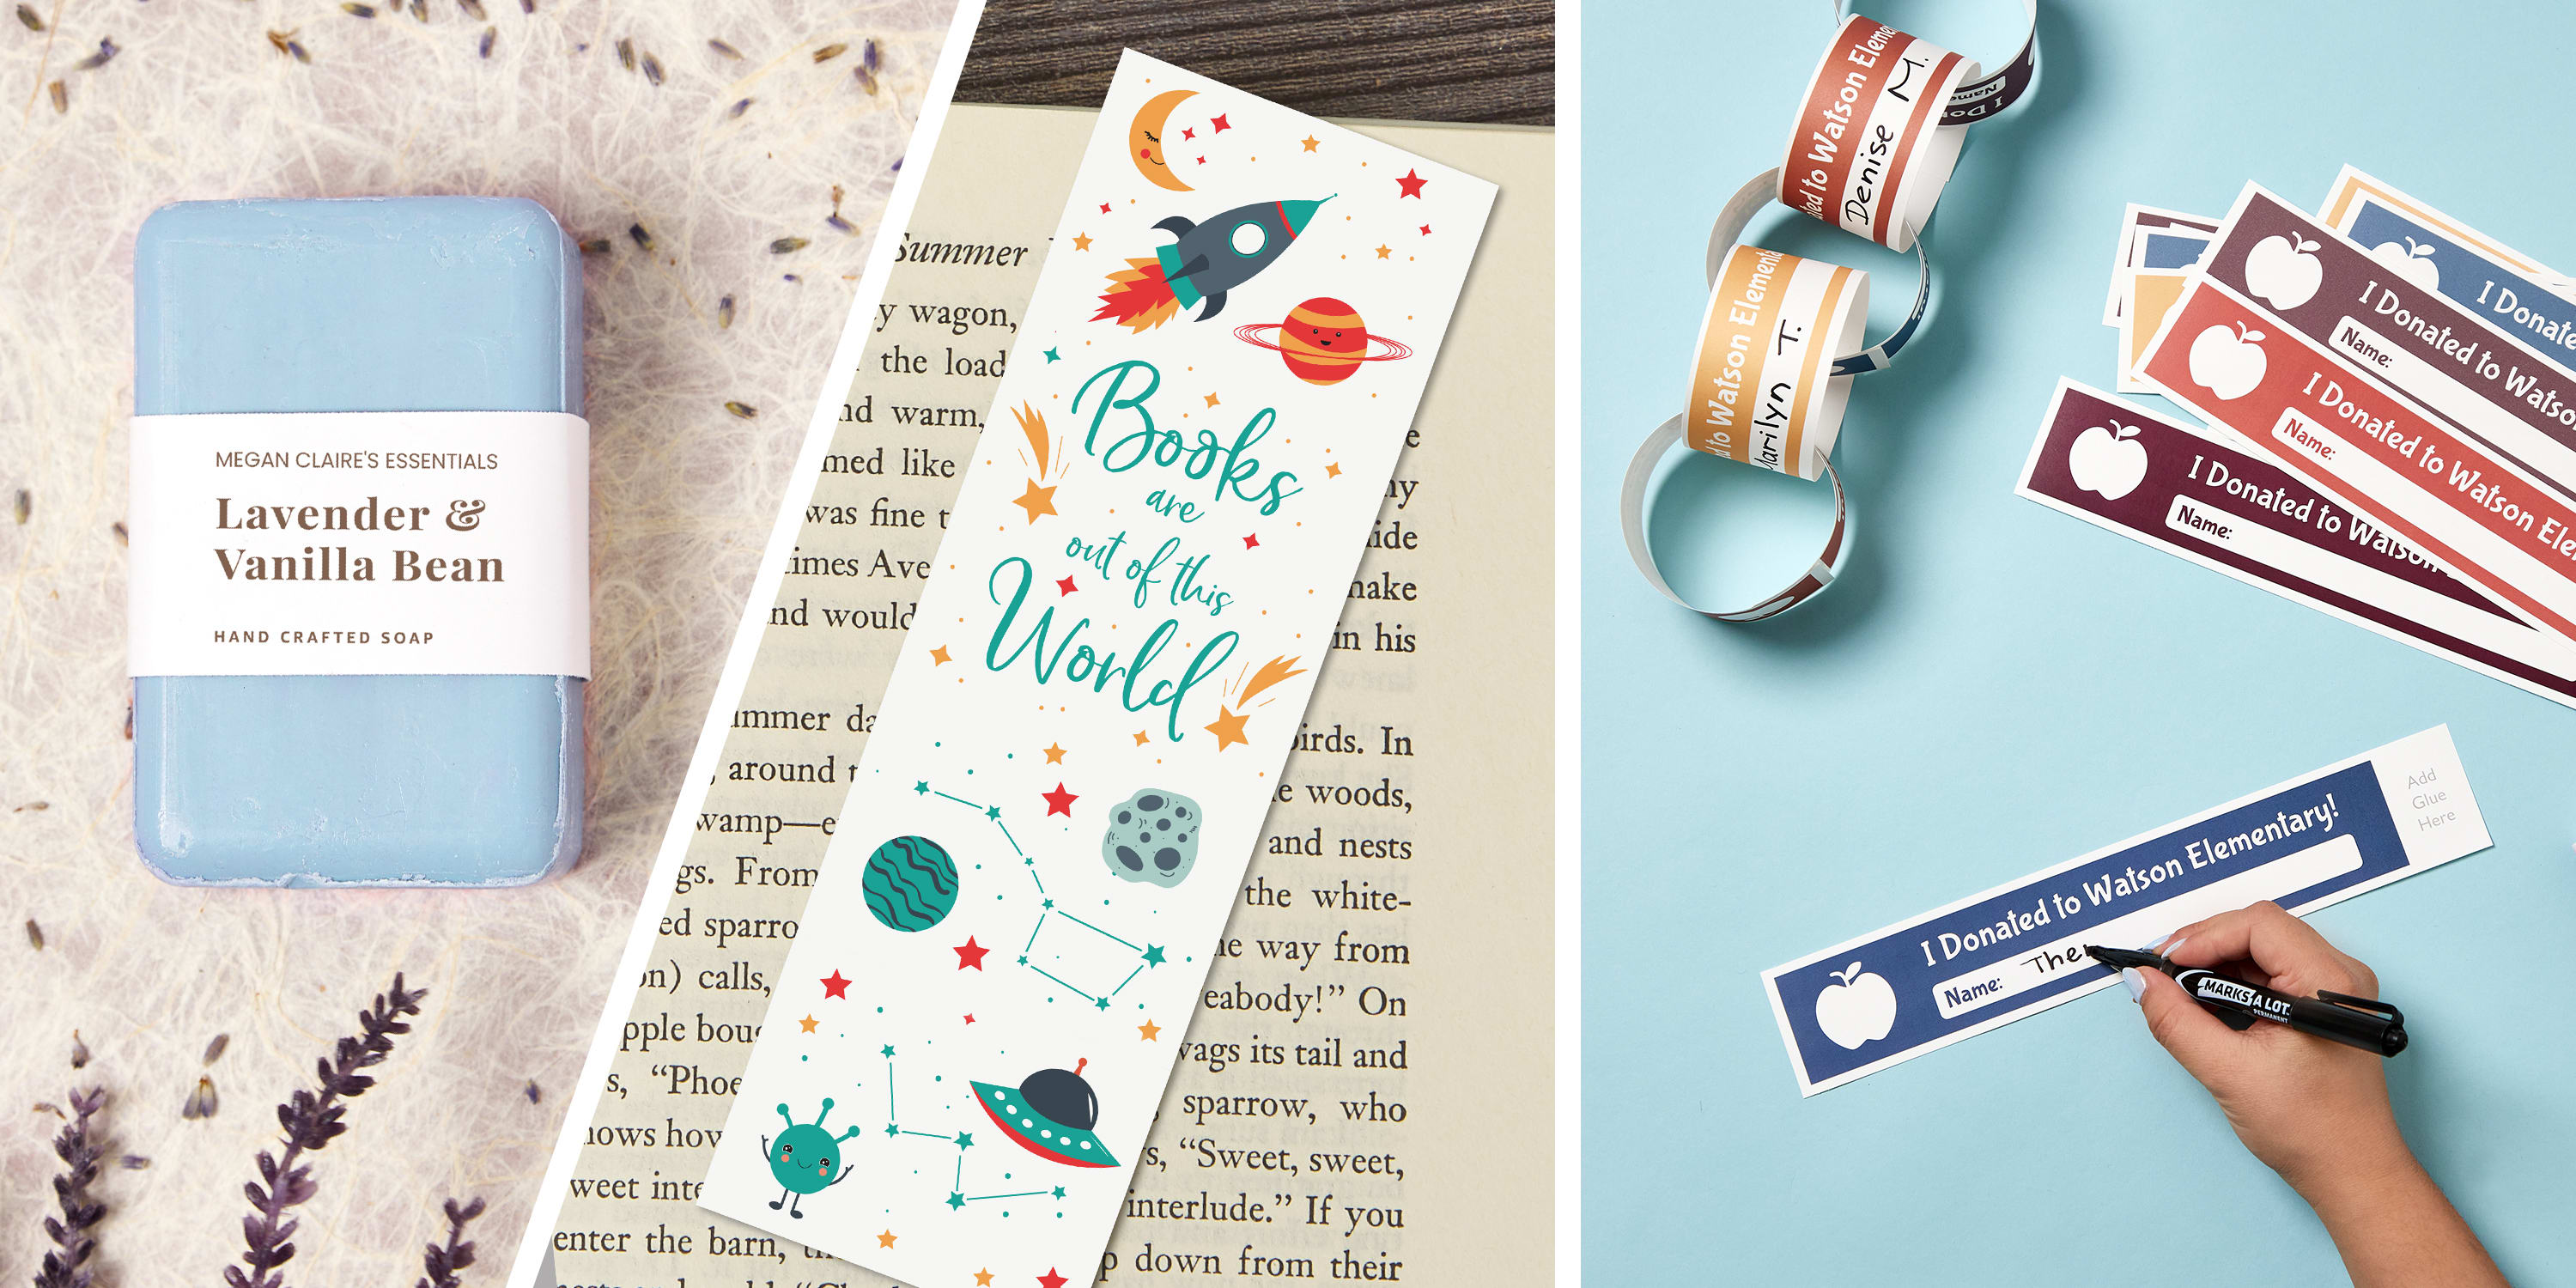
Think outside the binder
Binder inserts are essentially just printable pieces of cardstock pre-scored in thin strips, which come in handy for a variety of projects. Custom soap sleeves or wraps, bookmarks, and even paper chains are just a few ways to craft with inserts. We really love how teachers have used binder spine inserts to create donation paper chains for their schools.
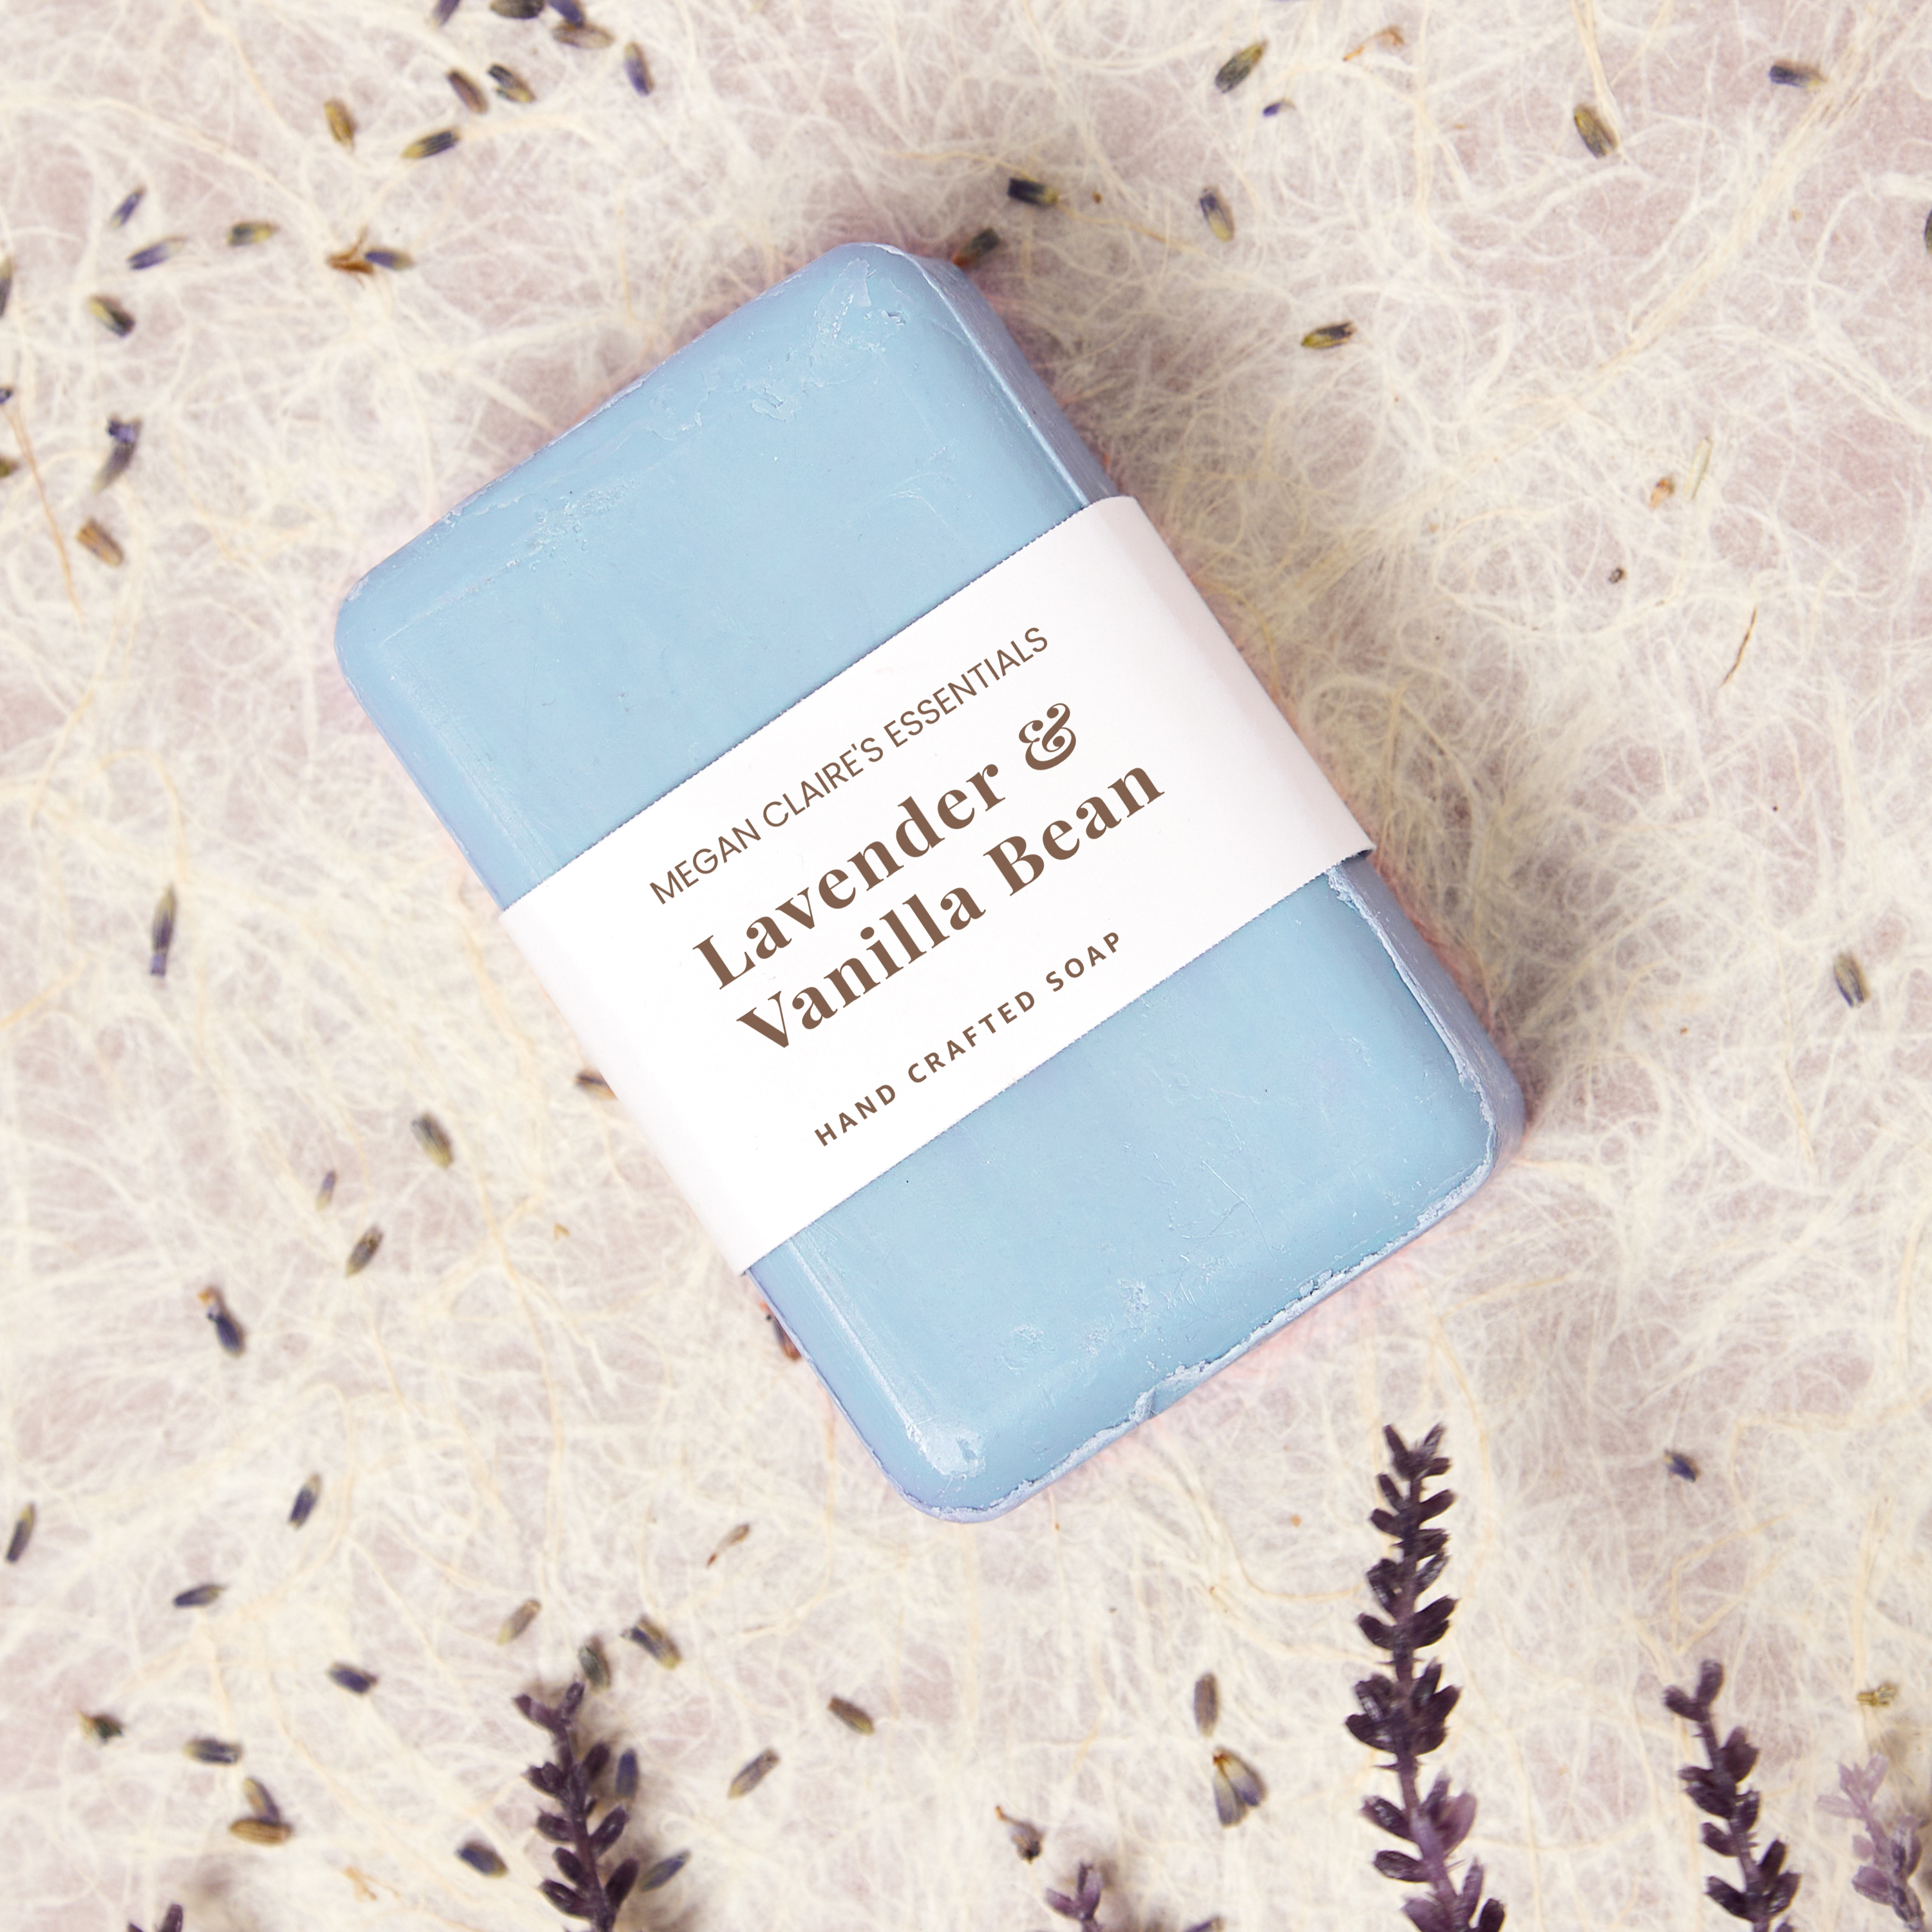
But perhaps the most useful way to use binder inserts is to create sleeve packaging for a small business or hobby business (selling at craft fairs, farmer’s markets, etc.). Consider labeling handmade soaps or bundles of soft goods like socks or scarves with a custom, branded sleeve. If you’re selling handmade or small-batch items, check out this article for more great ideas on product packaging trends.
You can also take a cue from small businesses and use printed binder inserts to make gifts and party favors stand out. Use them to create package sleeves for homemade gifts or to personalize small items for weddings, showers, and more. Bookmarks are also fun to personalize and gift. Let your imagination run wild designing printable binder spine inserts, or try one of our many free printable bookmarks.
Start making custom binder spines
Now you know how to choose the right insert, find the matching template, and customize your design. You’re ready to create custom binder spines that keep your binders organized and easy to identify.
Ready to design? Choose your binder size.


