

How to Create Save-the-Date Cards
Wedding date set? Check! Now let’s make sure your family and friends have plenty of advance notice to join the celebration. Sending your save-the-date cards (about four to six months before your wedding) is a thoughtful gesture of etiquette to remind guests to mark it on their calendars. Here’s how to create your own beautiful, personalized announcements using Avery cards and free online design tools. If you want a professional look and don’t want to print your cards yourself, follow the steps below but choose “Let us print for you” when you are done designing, and Avery WePrint, our custom printing service will deliver you beautiful, professionally printed cards in as few as 2 business days.
More articles you might like:
- Wedding Planning Tips and Free Tools for Your Big Day
- Create Custom Wedding Address Labels and More
- 11 Tips for Printing Beautiful DIY Wedding Cards
1) Open Avery Design and Print Online
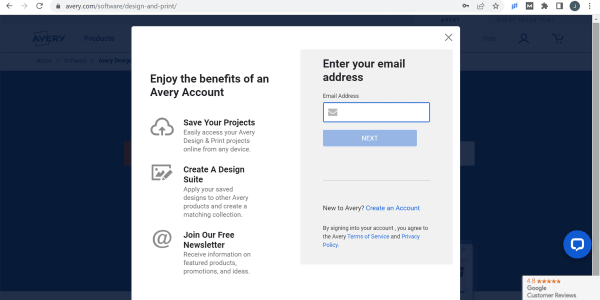
Avery Design and Print Online (ADPO) is our free online software for editing free Avery templates as well as creating your own designs. To start a new project, simply click the big, red “Start Your Design” button. Once you do so, you’ll be prompted to create a free account so that you can save your design.
While having the ability to save your design is great (who doesn’t like free cloud storage?), there are many more benefits to creating a free Avery account. First of all, you can edit, print, or reprint later. Moreover, you can also apply your saved design to other Avery products and share them via email. Not to mention the fact that you can even do a simple print right from your phone or tablet.
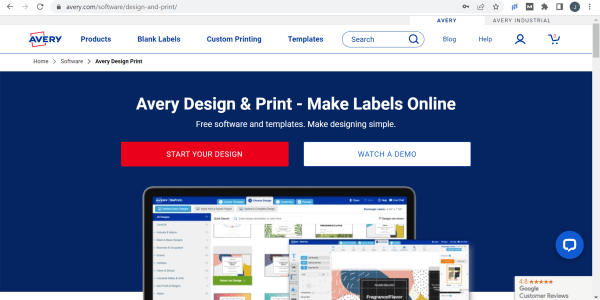
On the ADPO home screen you can also watch a demo to see it in use.
- Save your cards in the cloud
- Print, reprint, or edit later
- Share designs via email
- Apply saved designs to other products
- Print from your phone or tablet
2) Enter your Avery product number
The easiest place to find your Avery product number is right on the front of the package. If you don’t have the package but purchased your printable cards from Avery.com, you can view your order history by clicking the icon for your Avery account, then choosing “Orders.” If you are ordering custom printing cards, you can skip adding a product number and browse in ADPO to find the card you would like to use for your save-the-date cards.
For more in-depth help, check out these alternative ways to find an Avery product number. Or just give us a call at (800) 462-8379 to speak with one of our awesome Customer Care team members.
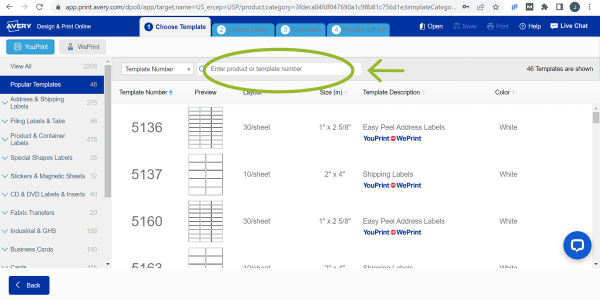
Enter your Avery product number in the search field. Or, use the menu on the left side to browse by product categories.
3) Choose the layout for your save-the-date cards
The variety of layout options for save-the-date card layouts depends on the product you choose. This can include the orientation (the direction of your images and text) on postcards, note cards, and greeting tags, as well as whether your design will be printed on one side or both sides of postcard products.
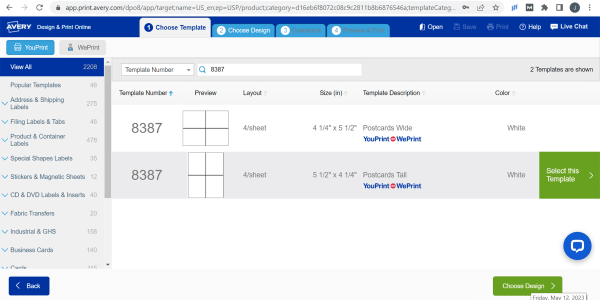
Choose “wide” or “horizontal” for landscape layout. Choose “tall” or “vertical” for portrait layout.
4) Pick a predesigned template to personalize
Select your design theme from the menu on the left and view designs on the right. Or, to use your own graphics, choose the blank template, which is the first option displayed.
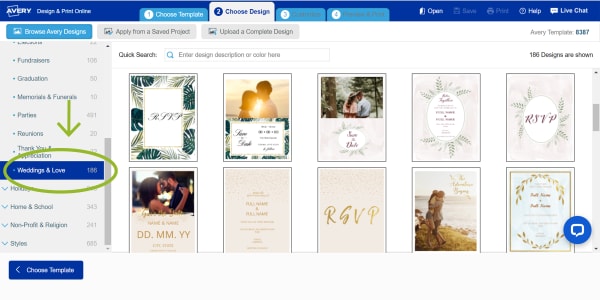
In the left-side menu, save-the-date card templates are located in the “Weddings & Love” category.
5) Customize your save-the-date cards
Whether you choose a blank template or a predesigned template, you can personalize the content and make it your own. ADPO editing tools allow you to rearrange elements of the design, add a personal photo or graphic, and enter custom text. For example, for save-the-date cards, you will need to enter vital information such as names, the date, time, and location, as well as the occasion (wedding, renewal of vows, anniversary party, etc.).
To change the existing graphic, click on the design to select it, and use the menu on the left to select another image from the Avery Gallery or from your own computer file.
To customize the text, click to select the text area and type in your text. Use the menu on the left to choose a different font, font size, or color.
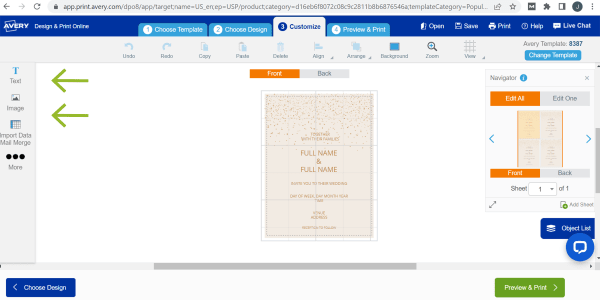
You can also add text or images by clicking the “Text” or “Image” buttons on the left side of the ADPO customize screen.
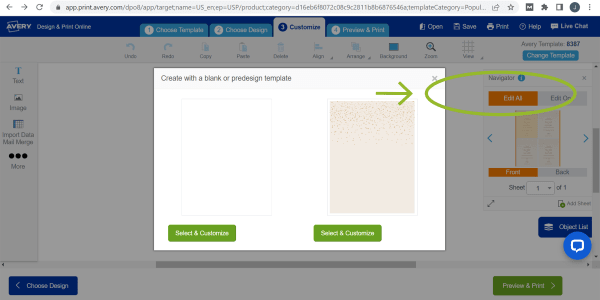
In the edit area, choose “Edit All” and “Back” to edit the design on the back of your save-the-date cards. You will see a pop-up that gives you the choice between a blank template for the back or one that matches the front of your card.
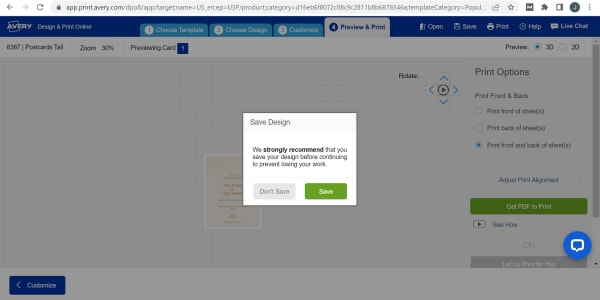
6) Preview, print and save
Click Preview & Print to review your design. You will see a simple preview of your save-the-date cards and two printing options on the right: Print it Yourself and Let Us Print for You (custom printing with Avery WePrint). To print on your home printer, click Print It Yourself. This will open advanced printing options and a button to Get PDF to Print. You can use the advanced printing options or just skip to getting the PDF.
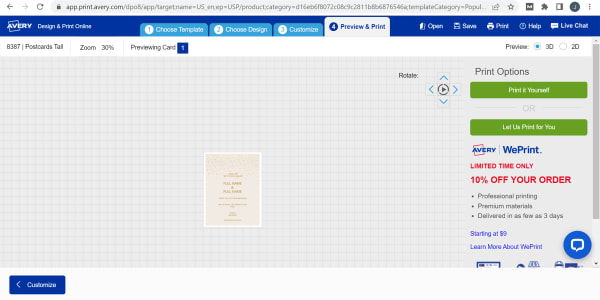
Print save-the-date cards yourself on your home printer, or order as few as 50 custom-printed cards and we’ll print them for you.
Whether you choose to print your cards yourself or let us print them for you, when you click one of those choices, you will be prompted to save your design. Then you can either move on to printing your PDF or ordering your custom-printed save-the-date cards.
Your designs are saved to your Avery account and stored in the cloud. You can access and reprint them from any smart device by logging into your account. Otherwise, log in on a desktop or laptop computer to make alterations.
Tips for printing save-the-date cards
There are four essential notes for successfully printing save-the-date cards. Firstly, follow the printing directions carefully. If you need help, this article writes out printing instructions step-by-step. Secondly, always review your PDF file thoroughly. Your PDF displays an exact preview of how your postcards will print. If you need to make any changes, click Edit My Design to go back to the editing screen.
Thirdly, change your printer settings to “Cardstock,” “Heavy Weight,” “Labels,” or “Specialty.” This will communicate that the sheets you are printing on are thicker than regular paper. Lastly, keep in mind that the exact steps for printing cards depend on the browser you are using. Fortunately, we have separate articles with instructions for printing from Firefox, Microsoft Edge, Safari, and Google Chrome.
Looking for wedding inspiration?
Our Instagram account and our Pinterest board for DIY wedding favors are great places to start. We also have an awesome gallery of wedding and bridal shower designs that are predesigned to cover a range of wedding needs. Simply choose your favorite wedding template and personalize it to create beautiful coordinating save-the-date cards, wedding invitations, labels for wedding favors, place cards, tags, thank-you cards, and more.
