Make branded chocolate bar wrappers online
Other articles you might like:
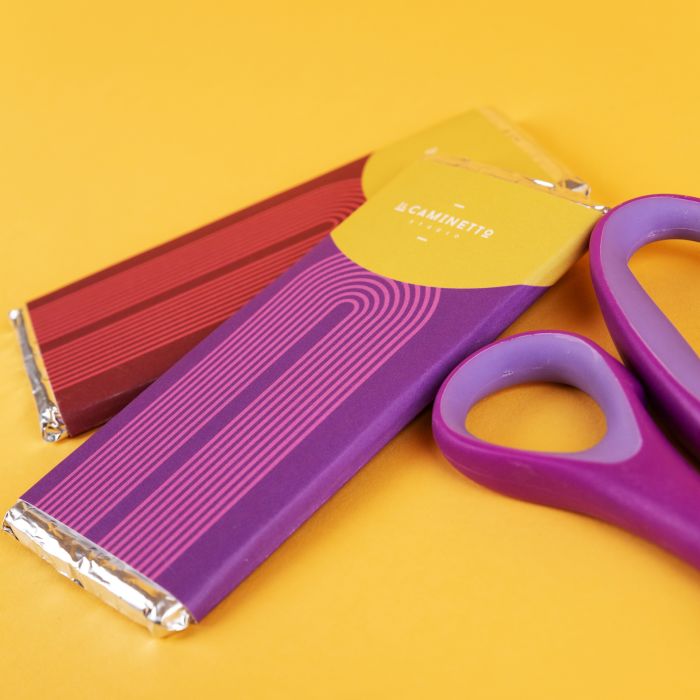
There’s nothing more classy than a gift of personalized chocolate. It’s perfect for inexpensive client gifts, welcome packages, and gifts with purchases. The opportunities are endless. So in this quick step-by-step, we’ll show you how to make custom candy bar wrappers using 5 x 7 custom labels from Avery or 5 x 7 cards for a sturdier wrapper.
You can save lots of money by ordering your chocolate bars in bulk and repackaging them with foil and your branding. These wrappers are great for standard 5 x 2-inch personalized Hershey’s® bars or the chocolate bar of your choice.
With the free candy bar wrapper templates from Avery, it’s easy to personalize your candy bars exactly how you want them. Just choose a 5 x 7 template or the size you need for your candy bar, customize the label, and order them or print them yourself.
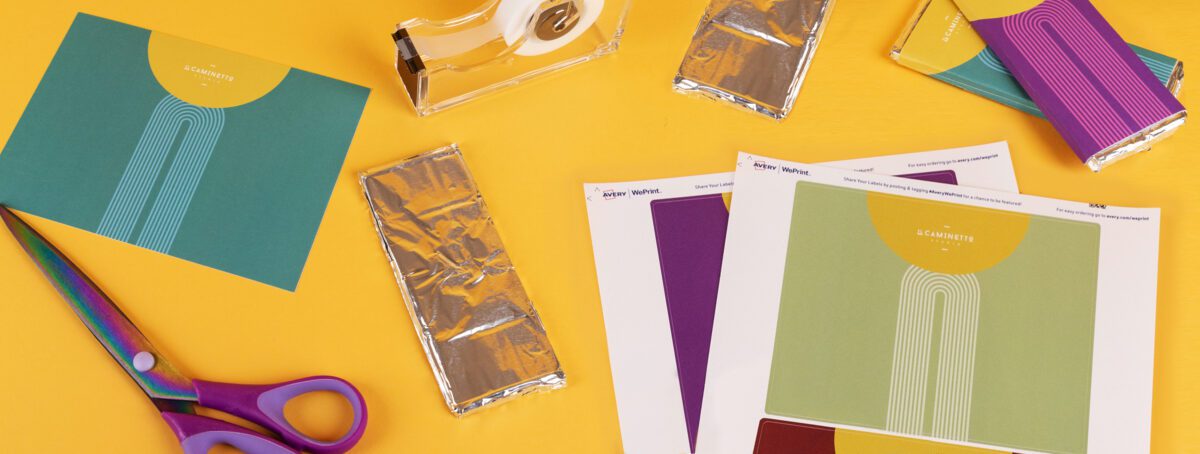
Supplies for custom candy wrappers
- Chocolate bars (5″x 2″ bars)
- Foil
- Custom cards or labels
- Tape
- Folding tool (scissors or bone creaser tool to create a sharp fold)
We used 5×7 custom printed labels and cards from Avery WePrint to get vivid, full-color professional printing. But you can also print them yourself using Avery 5×7 blank labels by the sheet.
Step by step
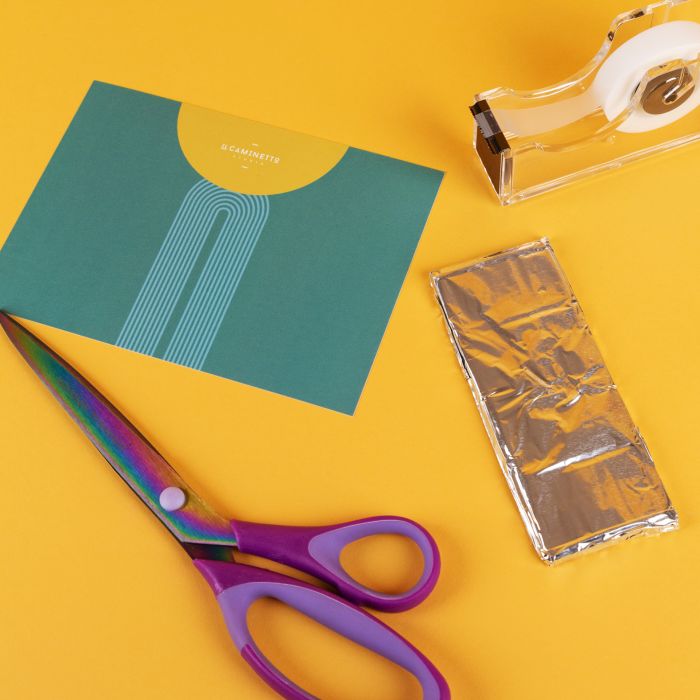
Remove the packaging from the chocolate bars and wrap them in the foil of your choice.
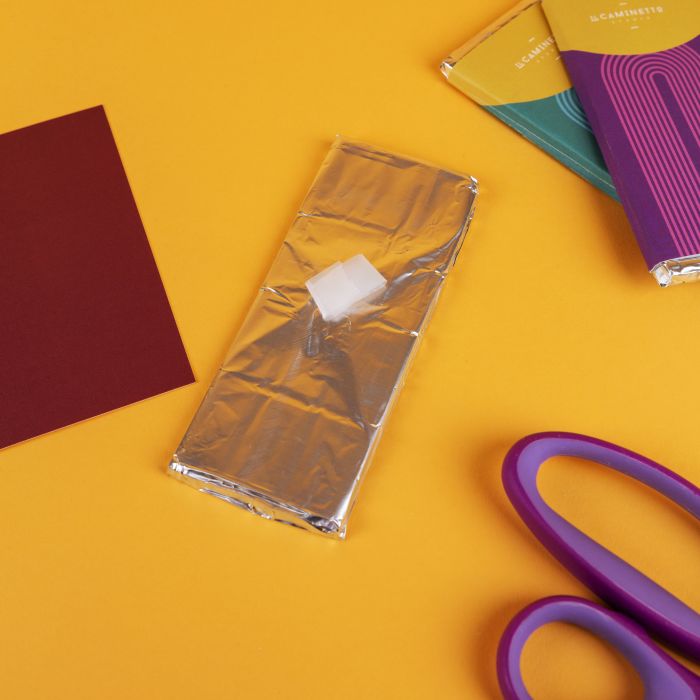
Secure the foil with tape or a branded label or sticker.
Wrap the custom label or card around your candy bar.
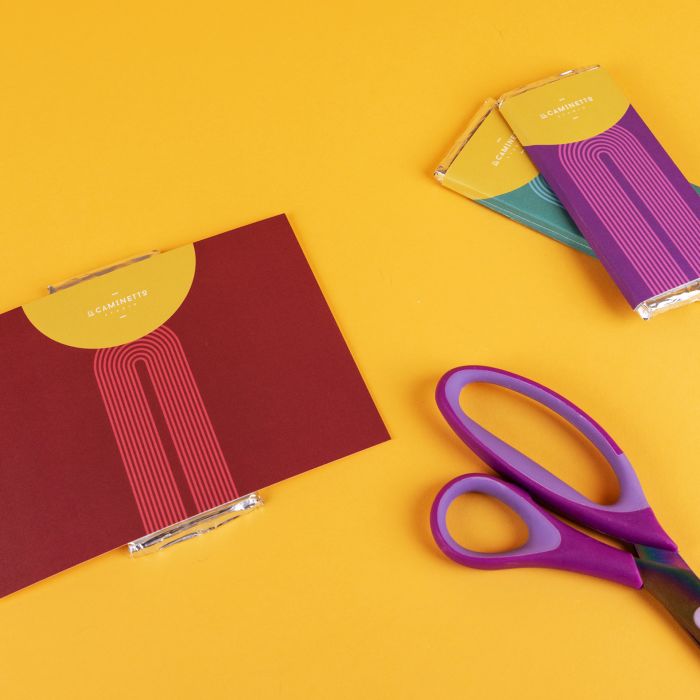
Fold the label or card around the bar. Use a custom label to secure it in place if you used a card and crease edges.
Get creative with your custom candy bar wrappers and have fun with the designs. If you have any questions or problems personalizing your template or ordering your labels, please reach out to our customer care team at (800) 942-8379 and they’ll be happy to help.
Also, make sure and tag us @Avery to show how your project turned out.