

Product Photography Tips
Our staff photographer shares tips for taking better product photos
Other articles you might like:
Your product photography is often the first thing potential customers see. Your photos need to engage them and get them to take action. They are extremely important to your success. Whether you’re using them on your website, putting them in publications, or sending them out on direct-mail postcards, your product images showcase the quality of your items and give a glimpse into your product line and/or store or e-commerce site. To help you produce more effective product images, our staff photographer Kevin Bohn put together some simple product photography tips that won’t bust your budget. From lighting, equipment, backgrounds and product setup, he has some easy ways to take great photos.
Find inspiration
Before beginning your shoot, plan out the look you want to achieve. Check out your favorite brands and other popular brands to see what you like about their product images. Then try to replicate them.
Search social media sites like Pinterest and Instagram, as well as e-commerce sites to see what images resonate best with you. Browse magazines and catalogs that showcase different looks and see what grabs your attention. It’s likely you’ll find a style that fits your brand and gives you a jumping-off point.
Create perfect lighting
You can create soft white lighting by making your own lightbox with PVC and white fabric. These items can be bought inexpensively at your local hardware and fabric stores. A simple clamp light works well, as the light will be diffused by the fabric. You can also find basic lightbox kits for under on Amazon.
Make sure to keep your shots simple with only one shadow. For light balance, buy a gray card. This will help adjust your exposure and white balance settings by providing a reference point and keeping colors consistent throughout the entire shoot.
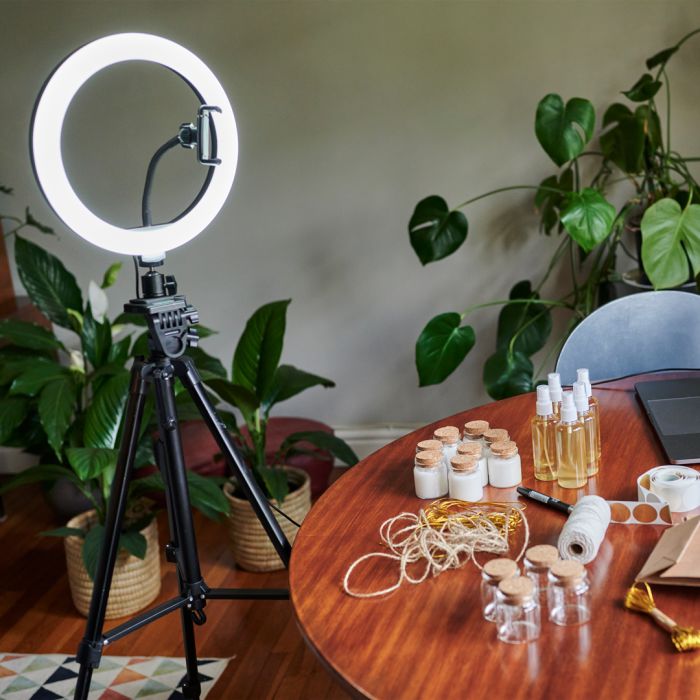
Another great option is ring lights. They are basically a ring of lights mounted on a tripod in a large circle. The center is hollow to allow you to place your camera through the ring to get maximum lighting while reducing shadows and glare.
You can place your light ring the ideal distance from your products to achieve the perfect lighting for all your product shots. Ring lights help you produce sharp, bright images for little cost.
Camera equipment
Experiment with different camera lens attachments for a variety of looks, especially if you’re using a mobile phone. When using a digital camera, 50- to 80-millimeter lenses are preferred. The wider the lens, the more distortion will occur.
Make your own studio space

While small products can be shot in a lightbox, making or renting a small location may be necessary for larger products or frequent photoshoots.
Check out warehouse space where you can rent a small corner as studio space for a more permanent solution. Or try an extra office, storage room, or conference room area for small or temporary use.
Professional photo backgrounds
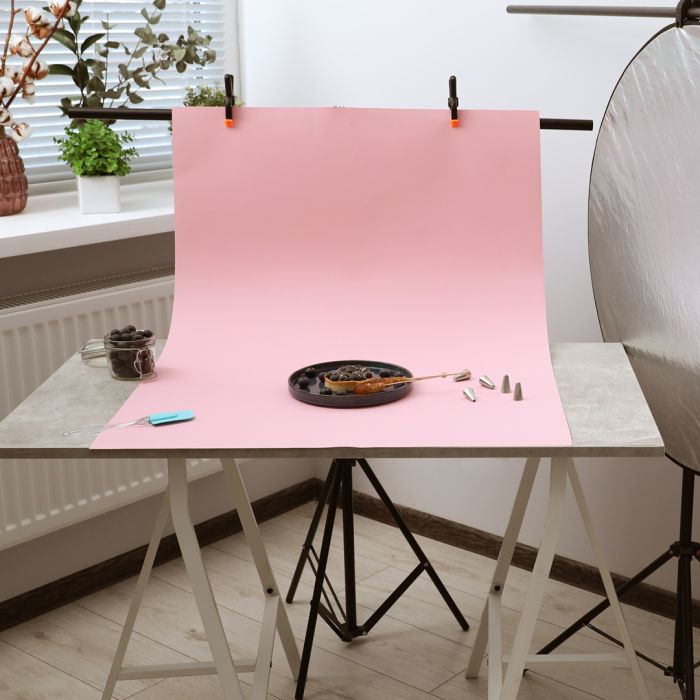
If you’re just getting started or want to experiment with different looks, use paper or cardstock that you can buy at any art supply or craft store. Try different backgrounds to get a variety of looks.
Once you’ve settled on a look, you can buy professional backdrops that you can use on a regular basis.
Product photography setup
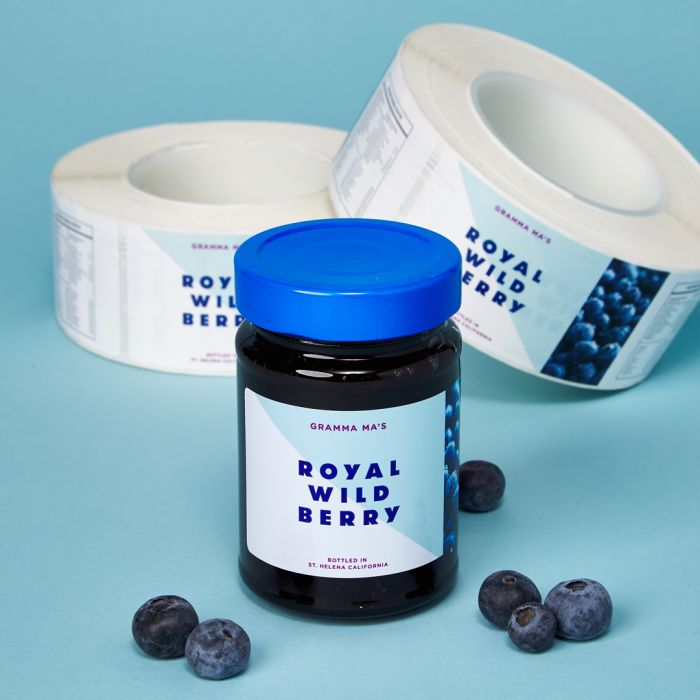
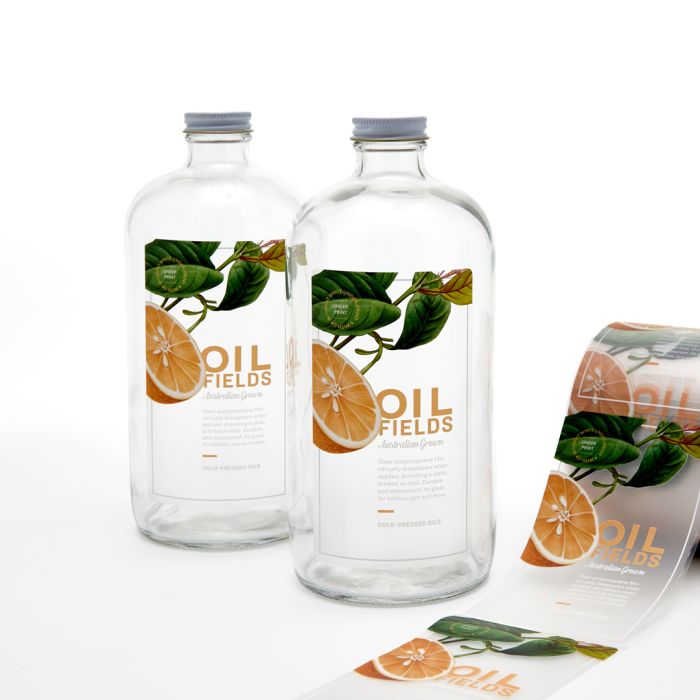
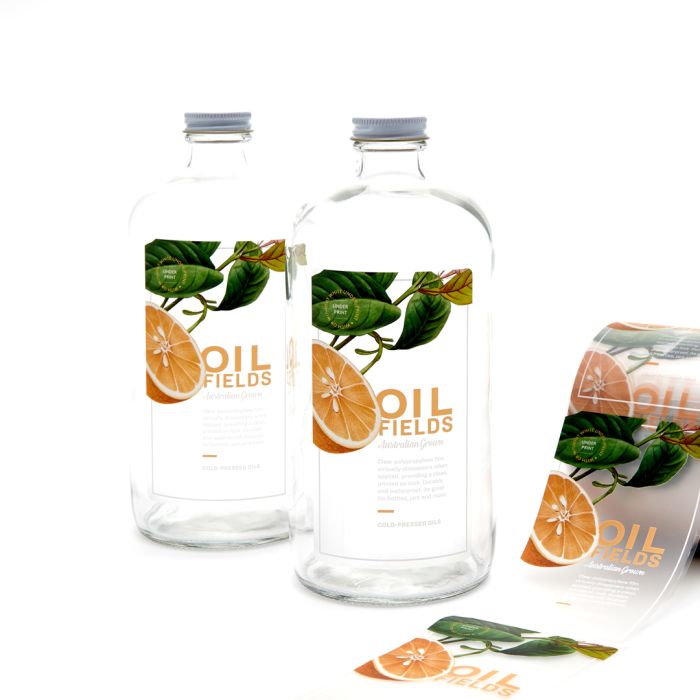
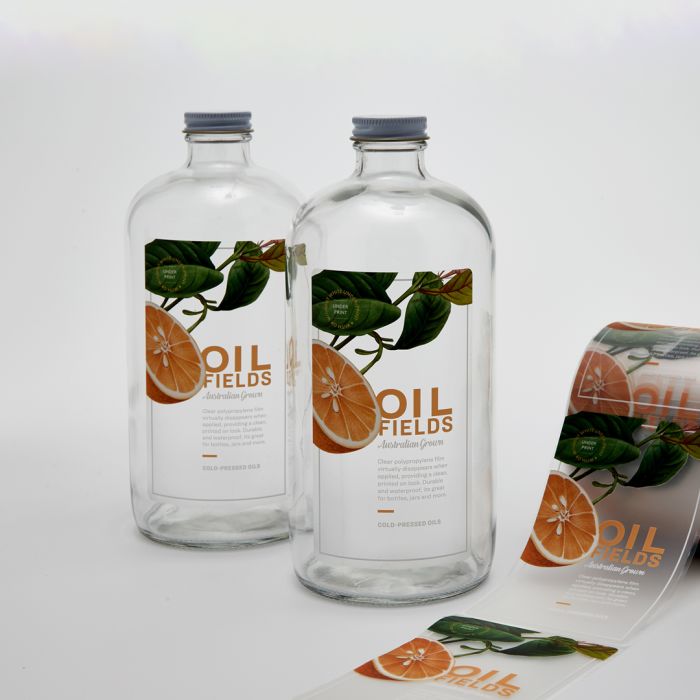
Frame your products using props that are relevant but remember, less is more. Don’t over-style your shots and always keep your product the focus of the image.
Try using portrait mode which blurs the background to put the focus on your product. This can be especially helpful if you are using a mobile phone to take your product photographs.
- Use the Rule of Thirds or Golden Ratio to get the best image composition
- Leading lines – lighting or background should “point” towards the point of focus
- Keep it simple and elegant
- Make sure you can see your product label
Larger photoshoots
When shooting large groups of products, make sure you’re organized. Group the products being photographed by similarities such as size or color to simplify camera changes. Shoot small products first, working up to large products if you’re doing one-by-one shots.
Retouching product photography
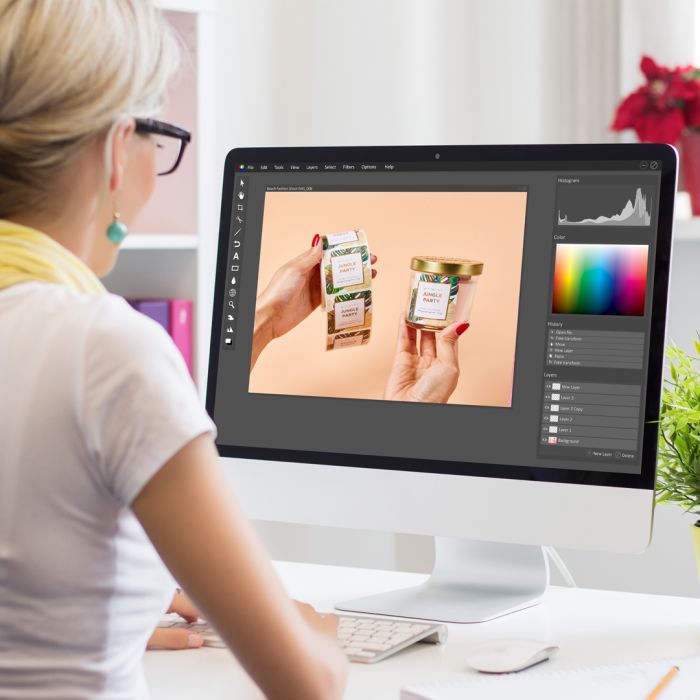
For color accuracy use automatic settings if you’re a beginner. Check your screen color for accuracy, as not all screens are created equal. At the very least, you need a 99% RGB screen for editing photos.
You should also know how to read your histogram in your camera or software program. It shows whether your image is under or overexposed. Keep your background color consistent and watch for reflections, especially when featuring shiny objects.
Before cropping your images, know where you will be using the images and if they need to be square, vertical or horizontal, and what sizes.
For large quantities of images that need retouching, consider hiring a freelancer using creative agencies or a freelance site like Upwork.
Take a class
Look for a photography class at your local community college or find a small local studio that offers classes. You can also find webinars and YouTube tutorials that can help with photography tips and tricks.
Want to upgrade your label game before doing your photoshoot? Avery offers a variety of ways to order professionally printed labels or blank printable labels. With our custom labels from Avery WePrint, you get premium labels printed on top-of-the-line digital printers that you can customize and order online in minutes. If you want to print your labels yourself, try our blank labels or our in-store packs.
