Change orientation or create diagonal text to make product labels & cards stand out
Other articles you might like:
If you’re having trouble getting the exact look you want for your retail products and promotional items, Avery Design & Print allows you to easily rotate text and graphics so you can customize your product labels, business cards, and other marketing items to make them stand out on shelves and online. We’ve put together some simple steps to help you easily rotate text and graphics on your products.
There are two ways to rotate text and graphics 90 degrees when you’re designing your product label or cards using Design & Print. You can either select a template already in your desired landscape or portrait format and design your label from scratch, or you can choose a predesigned template and simply rotate the elements already in the templates.
Select a blank template in your desired format
Log into Design & Print and select the template for the product you’re using. You will have the option to choose either a tall or wide blank template to use. Then simply import your assets and add your text to create your desired label or card.
Use a pre-designed template
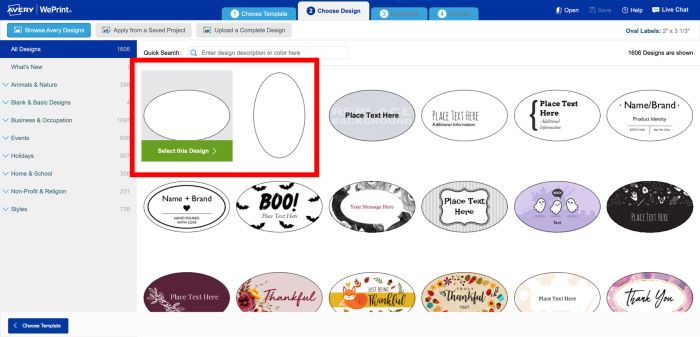
If you choose to use one of the professional designs from Avery, it’s simple to rotate the design to your desired format.
First, choose your favorite design.
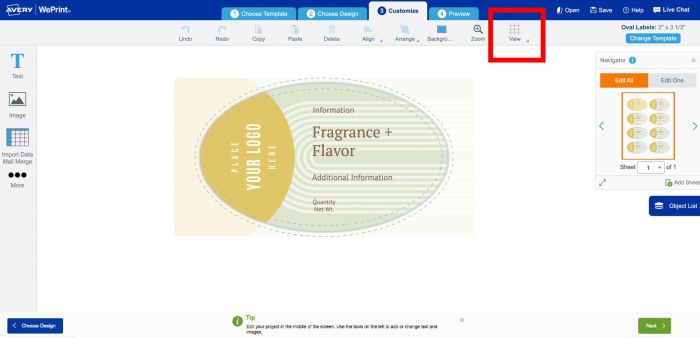
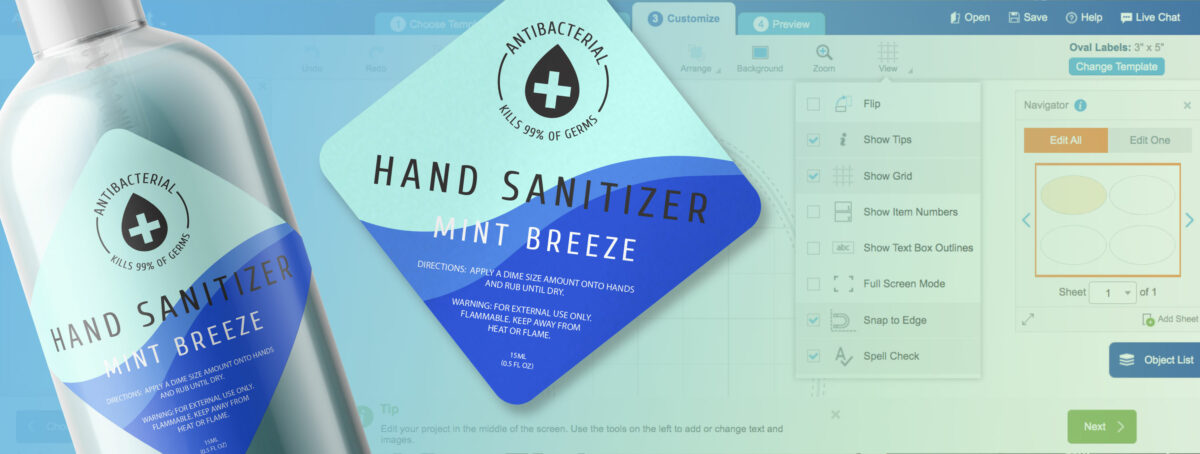
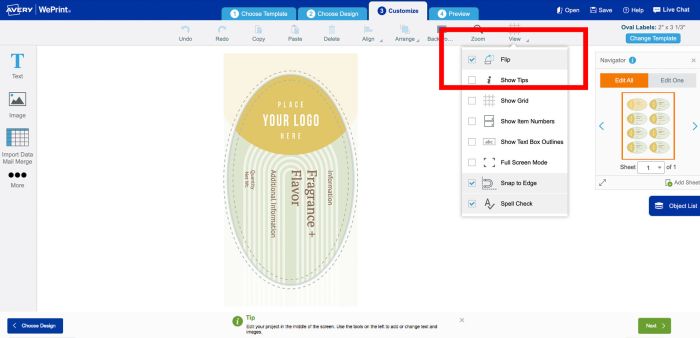
On the right side of the top toolbar, click View. A drop-down menu will give you several options. Select Flip to rotate your canvas 90 degrees. This will help you visualize your design in the orientation you want.
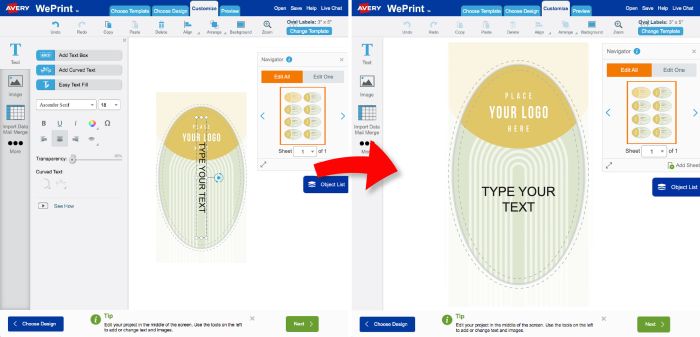
Now rotate your artwork and text. Click in your text box. Then select the round arrows to rotate the selected item until it matches the orientation of the template.
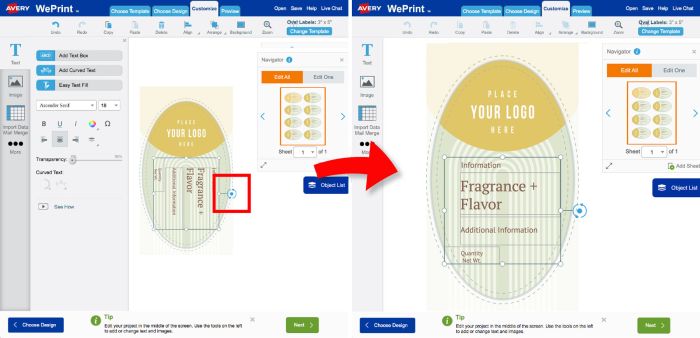
Once the original assets are in the correct position, feel free to add any additional text or images you need. Follow the previous step to rotate the new text or images as you add them.
3. Upload your artwork
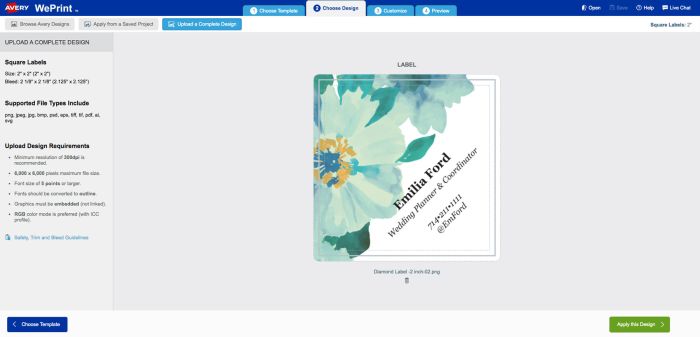
In the top toolbar, select Upload Your Complete Design.
A popup will appear. Select your desired orientation.

Drag & drop or upload your artwork.
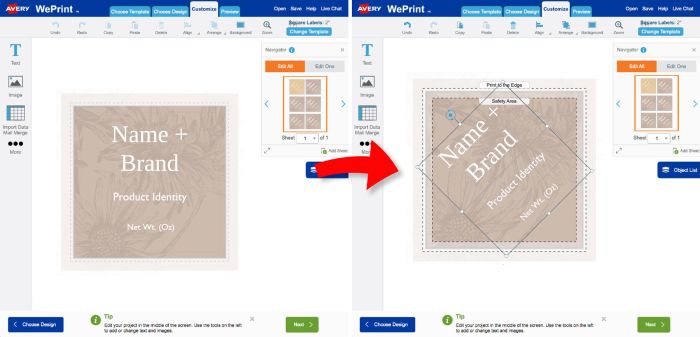
Design diagonal or diamond shapes
To create a design that requires less than a 90-degree rotation, you can use the previous steps to rotate your assets to the desired orientation but you cannot rotate the view. For this reason, uploading artwork that is already in the desired size and orientation for your product is ideal. Follow the examples below.
Choose from Avery downloadable templates that you can use with the following software:
- Microsoft Word
- Adobe Photoshop
- Adobe Illustrator
- Adobe InDesign
- Adobe PDF
- Apple Pages
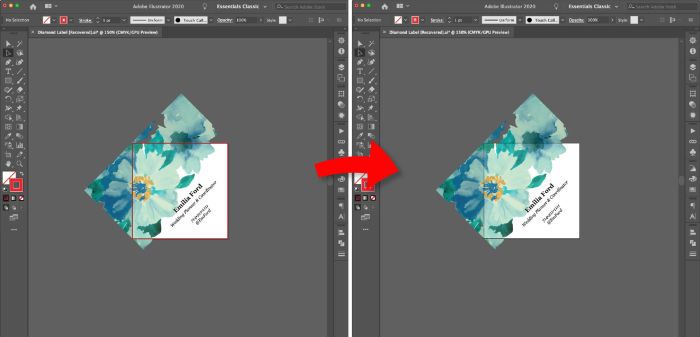
For this example, I used Adobe Illustrator, but any image editing software that allows a custom canvas and the ability to rotate will work.
When designing, I recommend making a template of your canvas and overlaying it over the artwork to make sure you have the desired coverage for the product. Make sure the artwork is big enough to fill the template.
You can also create your own templates, using the measurements of your desired product and adding a .25″ bleed.
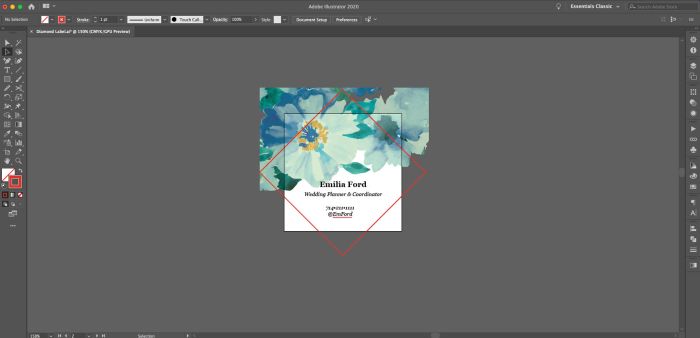
Once your design is complete, use your template to align it with your canvas/product and rotate it to fit. When you have it aligned to your canvas, delete your template.
Save your file for upload. Avery Design & Print supports png, jpeg, bmp, psd, esp, tiff, tif, pdf, ai, and svg files. Once your image is saved, import it into Avery Design & Print using the previously mentioned method.
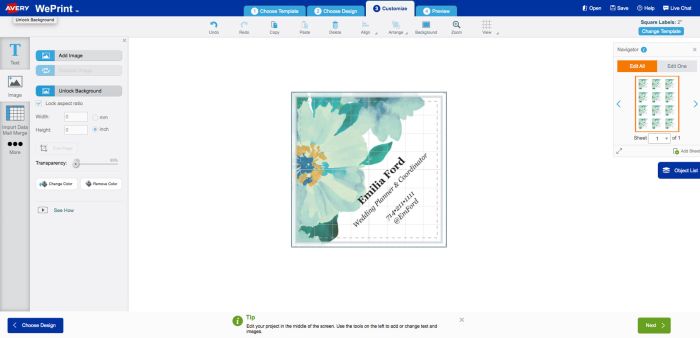
If the design is complete and requires no additional editing, you can use Upload Your Complete Design in the toolbar.
If you have some additional edits, login into Avery Design & Print and select the blank template for your product. Import your image and select Set As Background to lock the image as a background. Then you can continue editing your design.
If you’re just starting out, and need some design inspiration, check out How to Design a Logo for Your Business and How to Pick the Right Font for Your Labels.
If you have any questions, please feel free to call our awesome Customer Care Team at (800) 942-8379 and they’ll be happy to help you out.
Hi
I have been buying the round labels E3613 and using the template online for my labels.
I use the same template every time and just edit and save it accordingly. Today I made some labels but they all printed out of line and were all over the place. Used the same pc and printer so unsure why this has happened. Also I downloaded another template in case I had an old version but was unable to copy and paste my design into it. My design is just made on word. Please can you advise? Many thanks. Celia
Hi Celia,
The product number you have provided is from our UK division. Please make sure you are printing your template at avery.co.uk. Or reach out to our UK support team at hello@avery.co.uk or 0800 80 50 20. They should be able to help you. Thanks for reading!
I have been trying to create a label with curved text. I got the top to curve upward and around, but when I added a new curved box for the bottom it only allows me to type the text upside down. I watched the video that shows options that should appear to the left to chose from, but for some reason the only options it shows is, over the top, and then one that shows ABC also going over the top, like an upside down U. I just tried to hit those 2 options and doesn’t appear to look any different.
I have used curved texts in other projects with no problem about a year ago, but now it is not allowing me. Please advise.
Thank you
Hi Deanna,
On the left menu of the design canvas, you should see several curve text options. You can click on the curve option to be on the left, right, top or bottom. Please check out this article for more help. If you still need help, please call our Customer Care Center at (800) 462-8379 and they can walk you through it step by step. Please let us know if you need anything else. Thank you for reading!