

Take the Mystery Out of Mail Merge
Running your own business, organizing a big event, or sending out wedding invites? Getting addresses and other info onto your labels can feel overwhelming—but with mail merge, it doesn’t have to be. Mail merge works for all kinds of projects, from address labels to product packaging to name badges, so you can get it done quickly and professionally.
This guide will walk you through how to do a mail merge for labels, including the easiest way to print Avery labels from Excel. Mail merge can take the stress out of personalizing multiple labels, so you can go from spreadsheet to polished, professional results in just a few clicks.
What is mail merge?
Essentially, mail merge is a simple way to print personalized items like address labels, name badges, or shipping labels, without having to manually enter each one. It connects a list of information, like names and addresses from a spreadsheet, to a label template or other template so that each item prints with the right details. It takes just a few clicks to go from spreadsheet to polished, professional-looking labels.
Whether you’re using Microsoft Word or Avery mail merge through the free Avery Design & Print software, mail merge helps you go from spreadsheet to perfectly printed labels—fast. If you’re just getting started sending packages for your business, check out our article to help you find the easy shipping workflow you’ll wish you started with.
Start with the essentials
If your data consists of handwritten names and addresses, scribbled notes, or torn-off return address labels, no worries—we’ll help you turn it into one clean, consolidated mailing list. It’s time to ditch the paper trail and create one clean, consolidated mailing list to save time (and frustration) down the road.
All you need to get started is a spreadsheet program, your mailing info, and the right tools to turn that list into labels. Whether you’re printing for business, events, or personal projects, these essentials will set you up for success:
- Address labels like Avery 5160 or 8160
- Microsoft Excel, Google Sheets, or another spreadsheet program
- Microsoft Word or Avery Design & Print
Pro Tip: Don’t have a spreadsheet yet? Use one of our pre-formatted files for Microsoft Excel or other programs to help you get up and running quickly.
How to do a mail merge for labels
Mail merge is the fastest way to turn your contact list into professional-looking labels—whether you’re working in Microsoft Word or using Avery Design & Print. Here’s how to get started, step by step.
Option 1: Microsoft Word + Excel
If you’re managing a large list of names and addresses in Excel, Microsoft Word is a great option for mail merge. It’s a familiar tool for many users, and ideal for managing large contact lists.
- Open Word and go to the Mailings tab.
- Click Start Mail Merge > Labels, then select your Avery product number (like 5160).
- Choose Use Existing List, and upload your Excel file.
- Insert your merge fields into the first label.
- Click Update Labels, then Preview Results.
- When everything looks right, print your labels.
Watch our step-by-step video showing exactly how to print Avery labels from Excel using Microsoft Word.
Option 2: Avery Design & Print Online
If you’re looking for a simple, browser-based tool that handles everything in one place, Avery Design & Print Online is the way to go. It’s free, user-friendly, and designed specifically for Avery products.
The Avery mail merge tool within Avery Design & Print makes it easy to apply your contact list to any Avery label template without needing to install or learn new software. You can easily create your label layout, upload your contact list, and apply your data with just a few clicks.
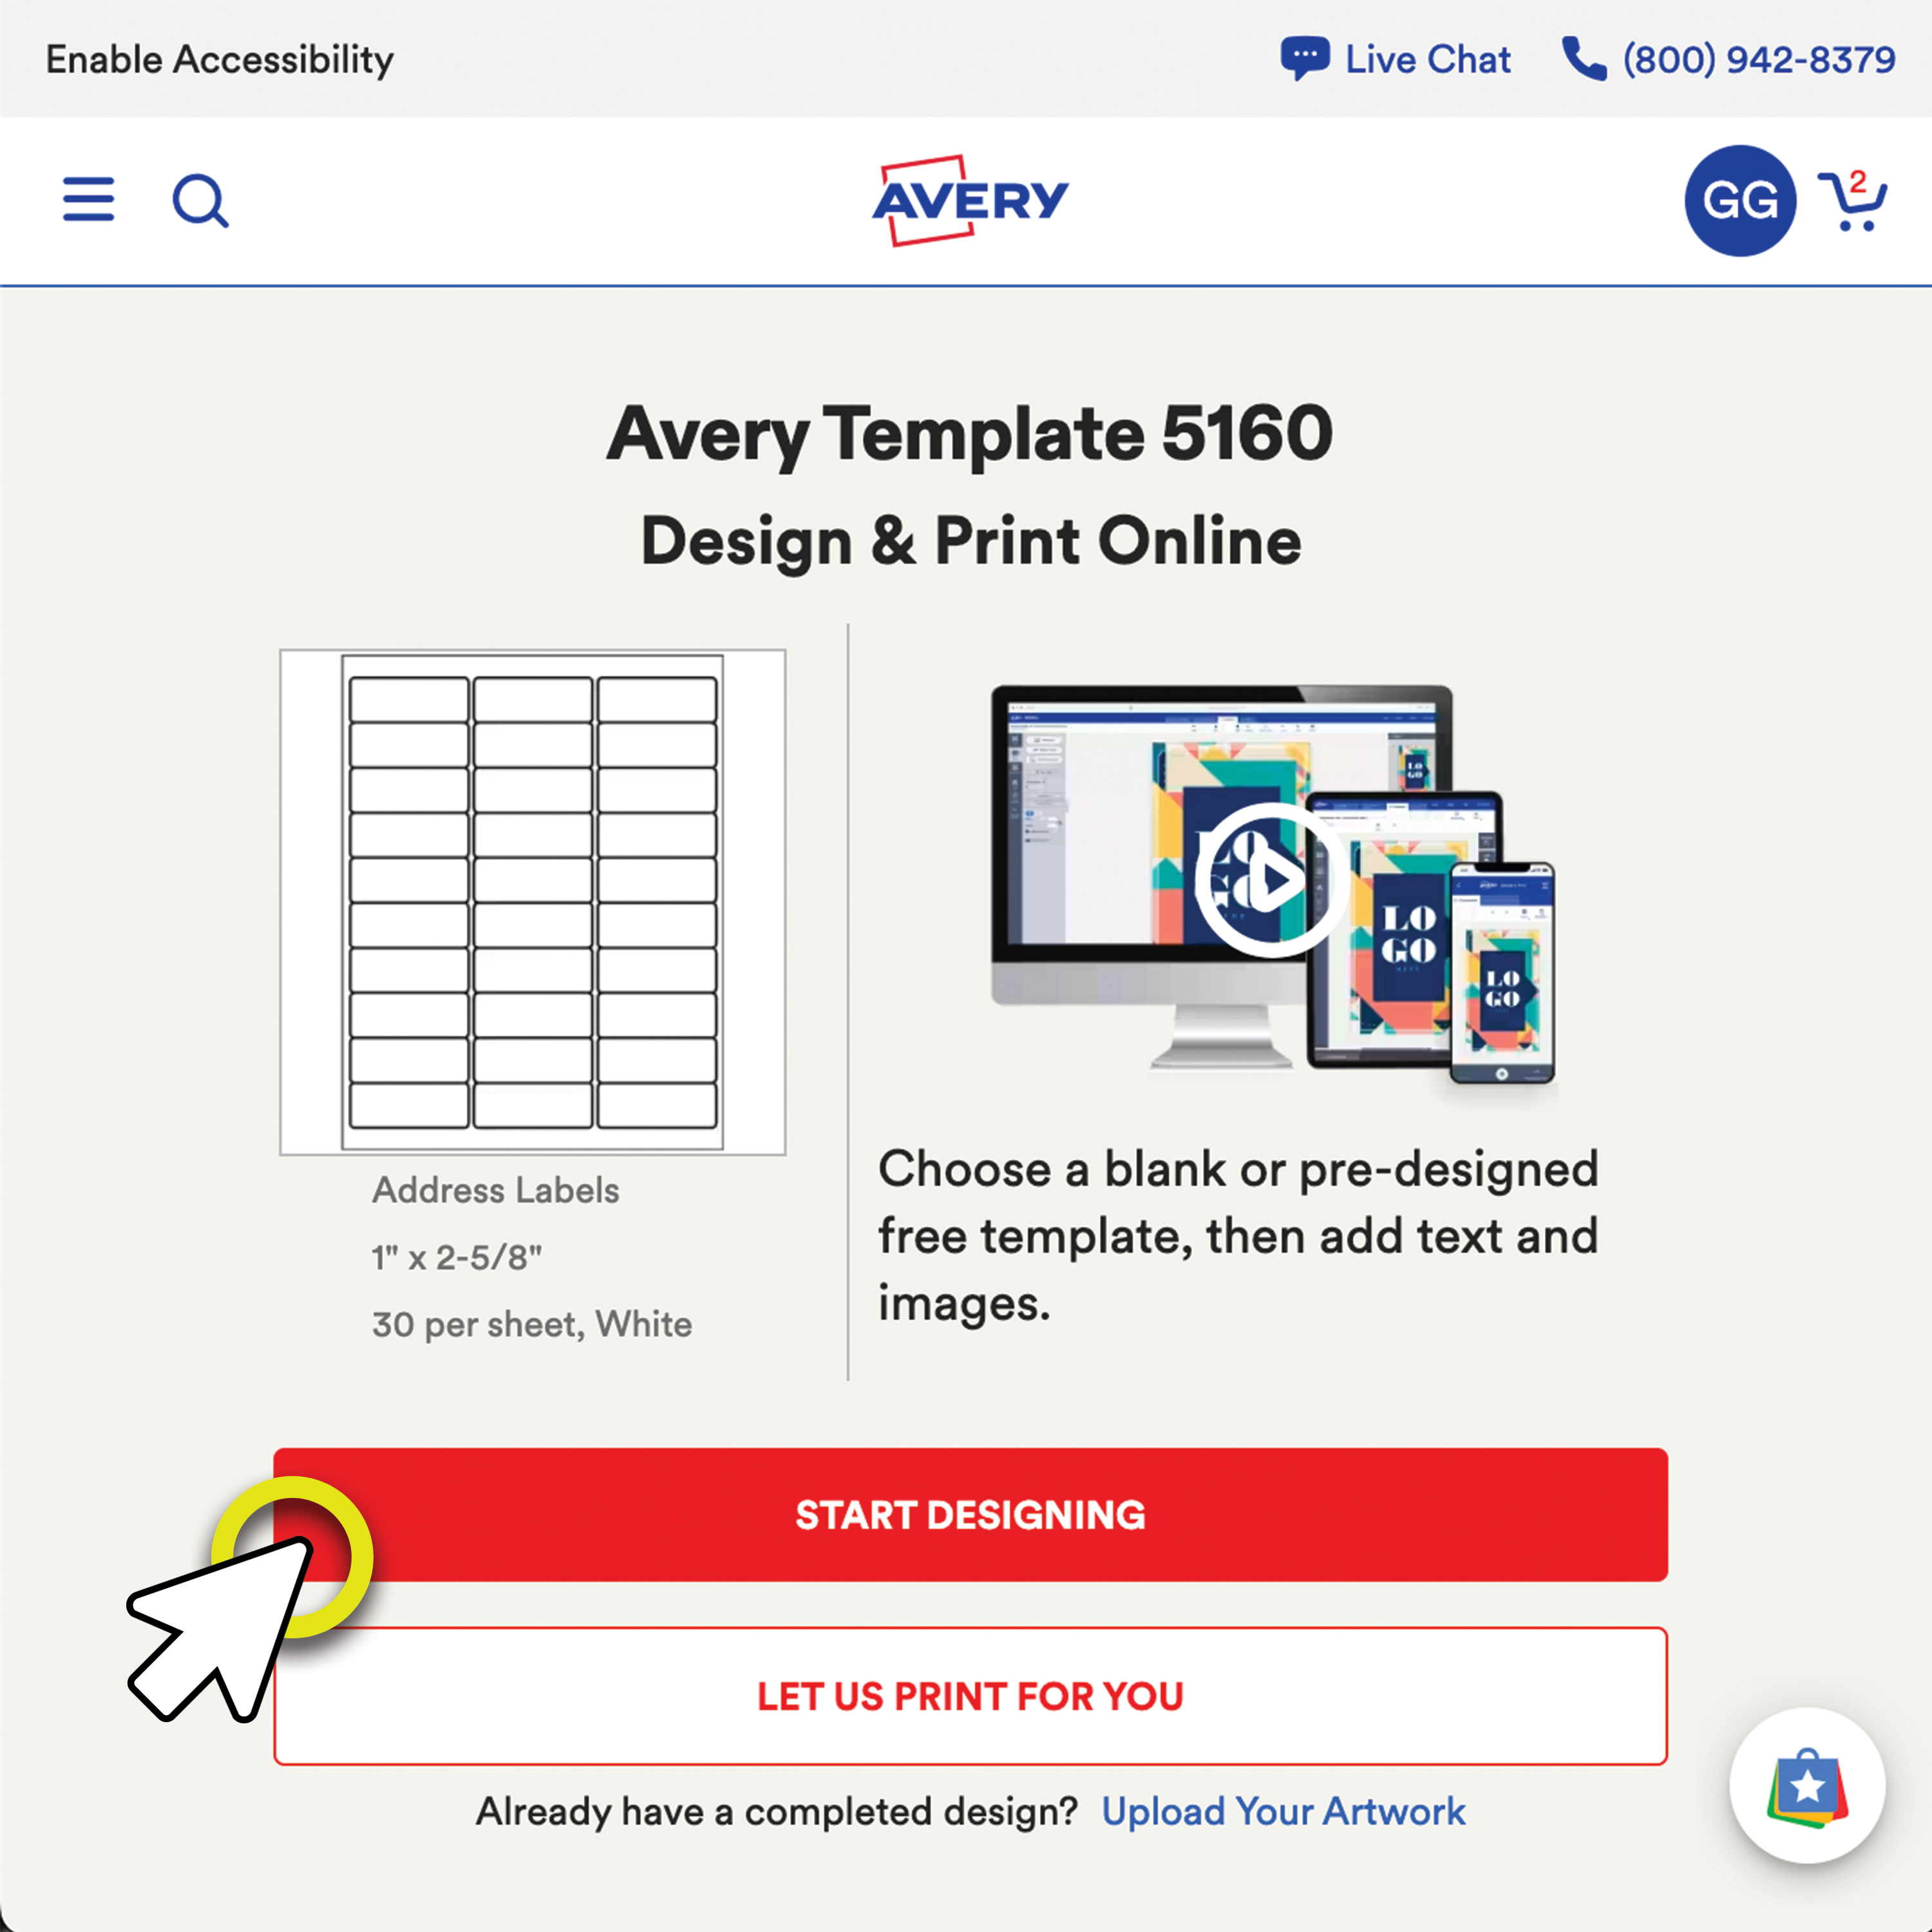
On the template page, enter your Avery product number (like 5160), then click the big red “Start Designing” button to open Avery Design & Print.
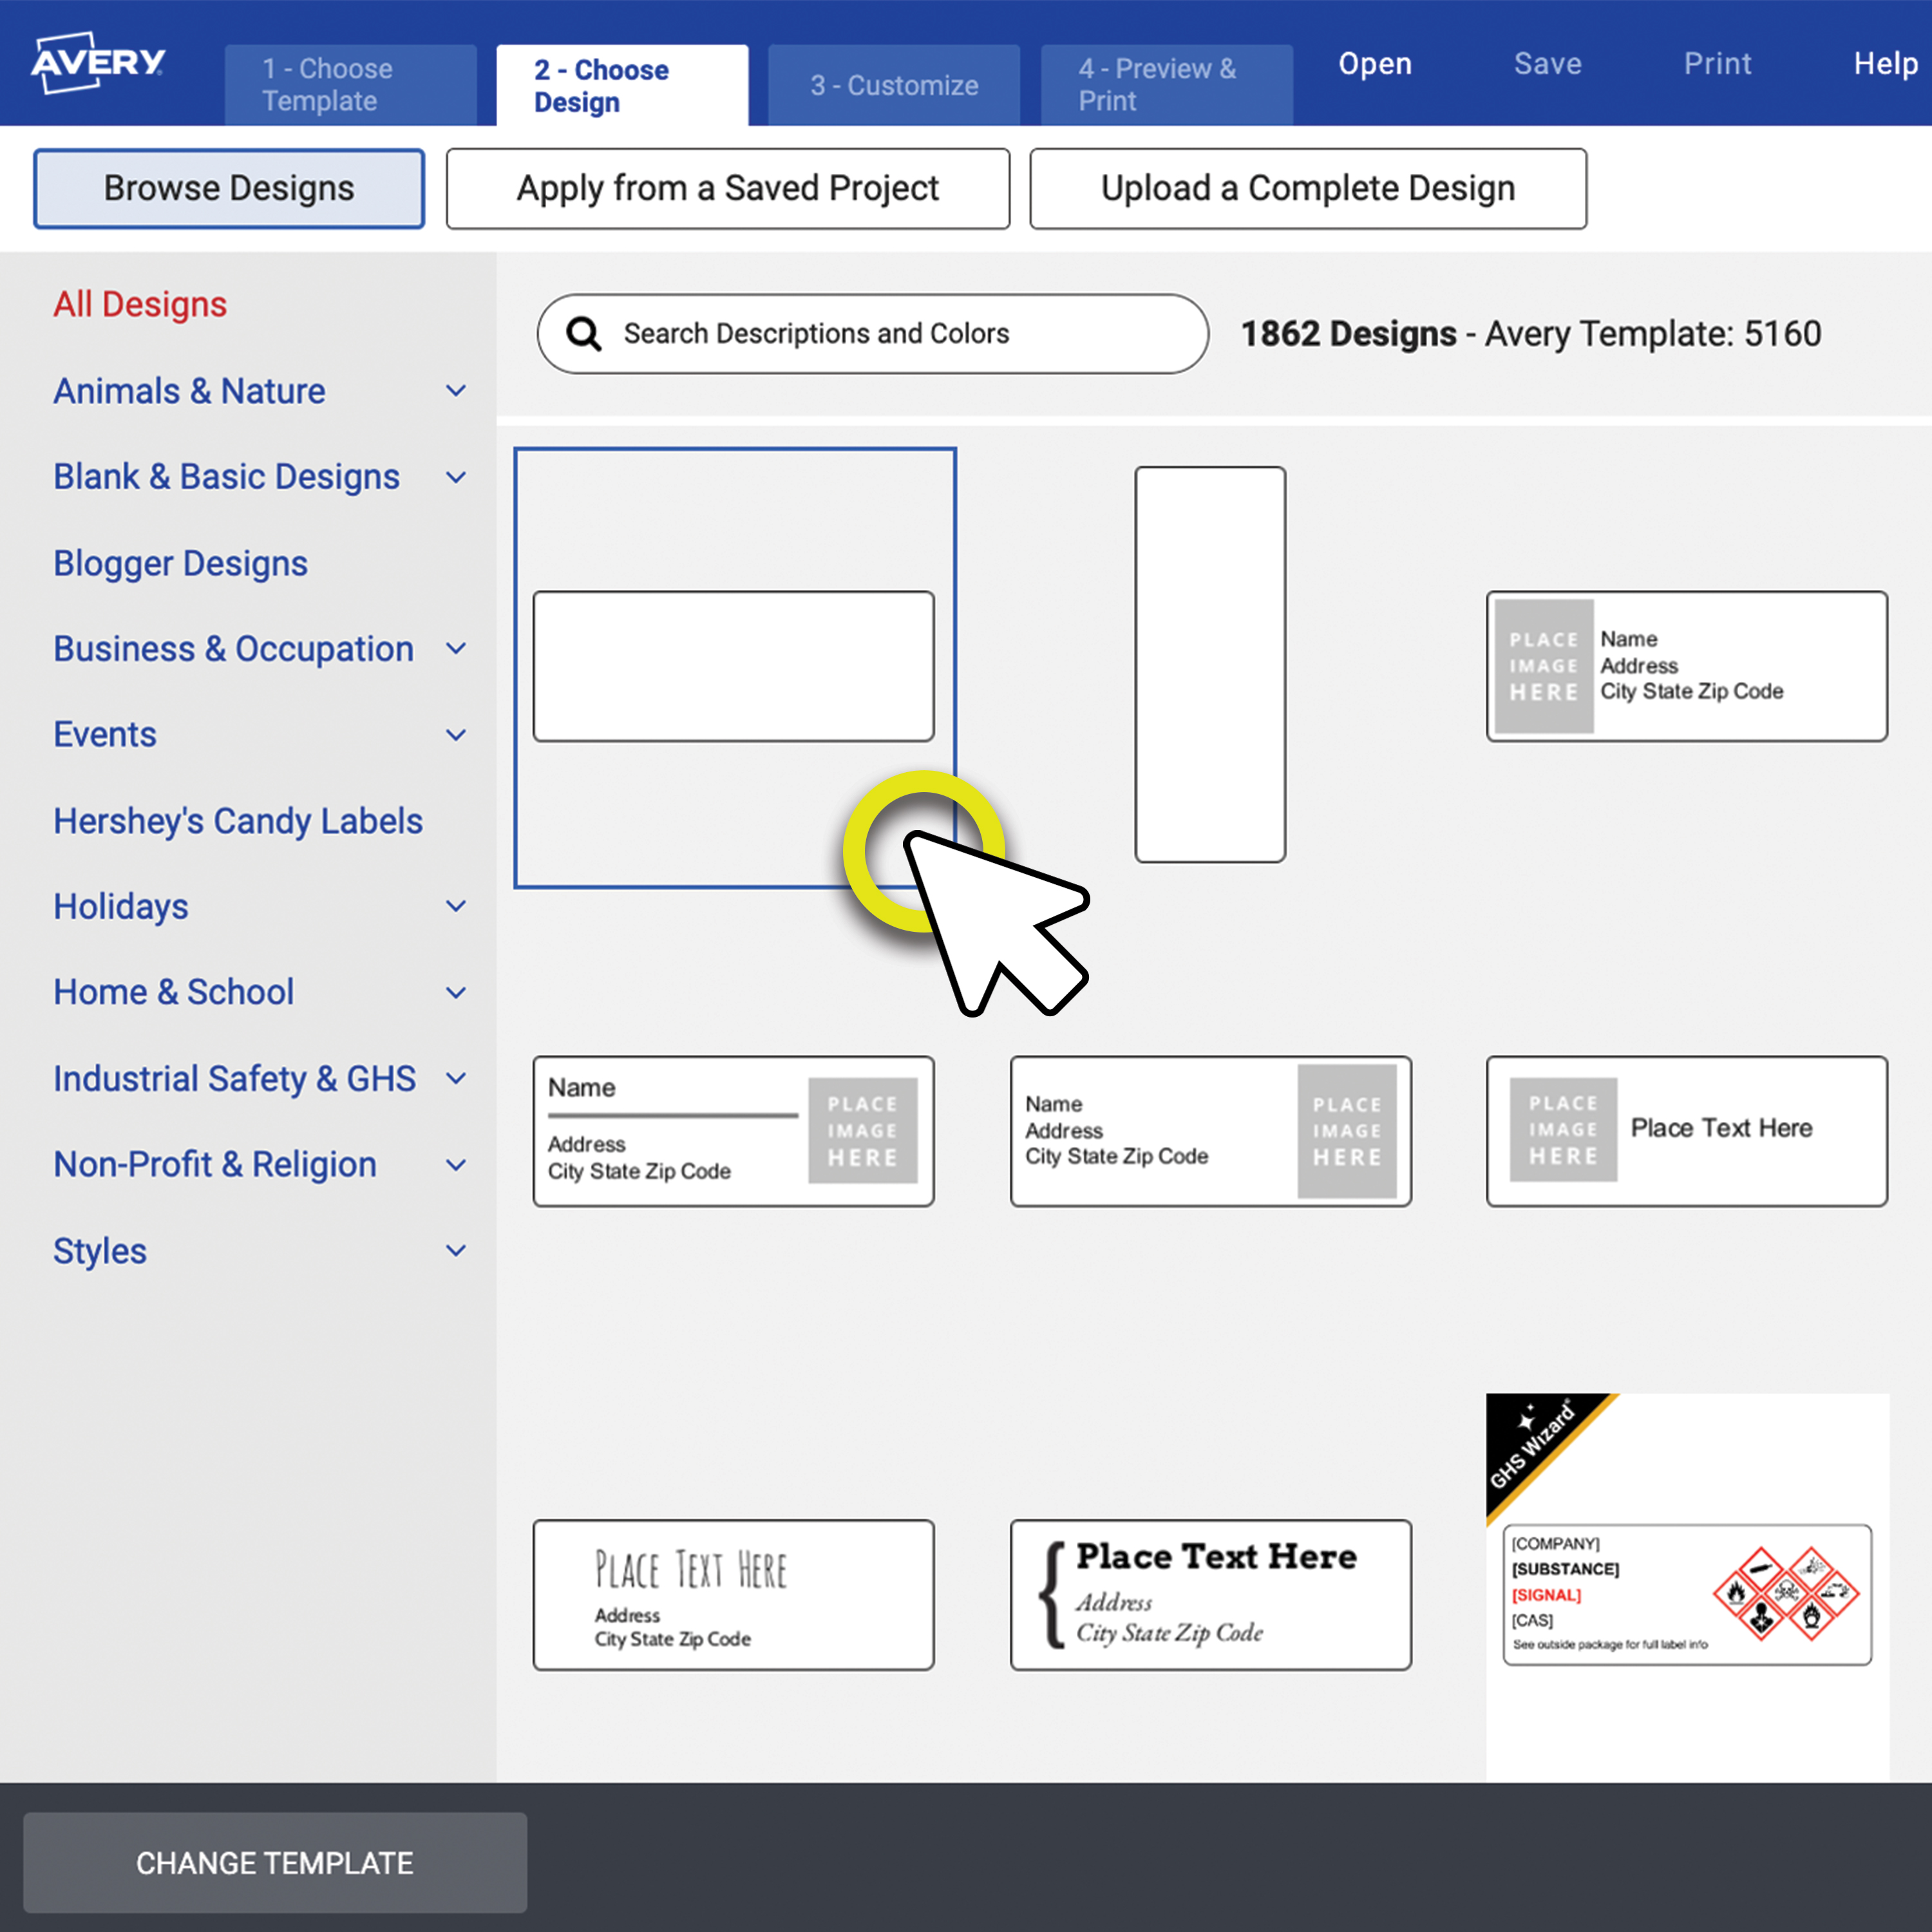
Use the left-hand menu to browse by category, then select the label template you want to use. Click “Customize Design” to begin editing your layout.
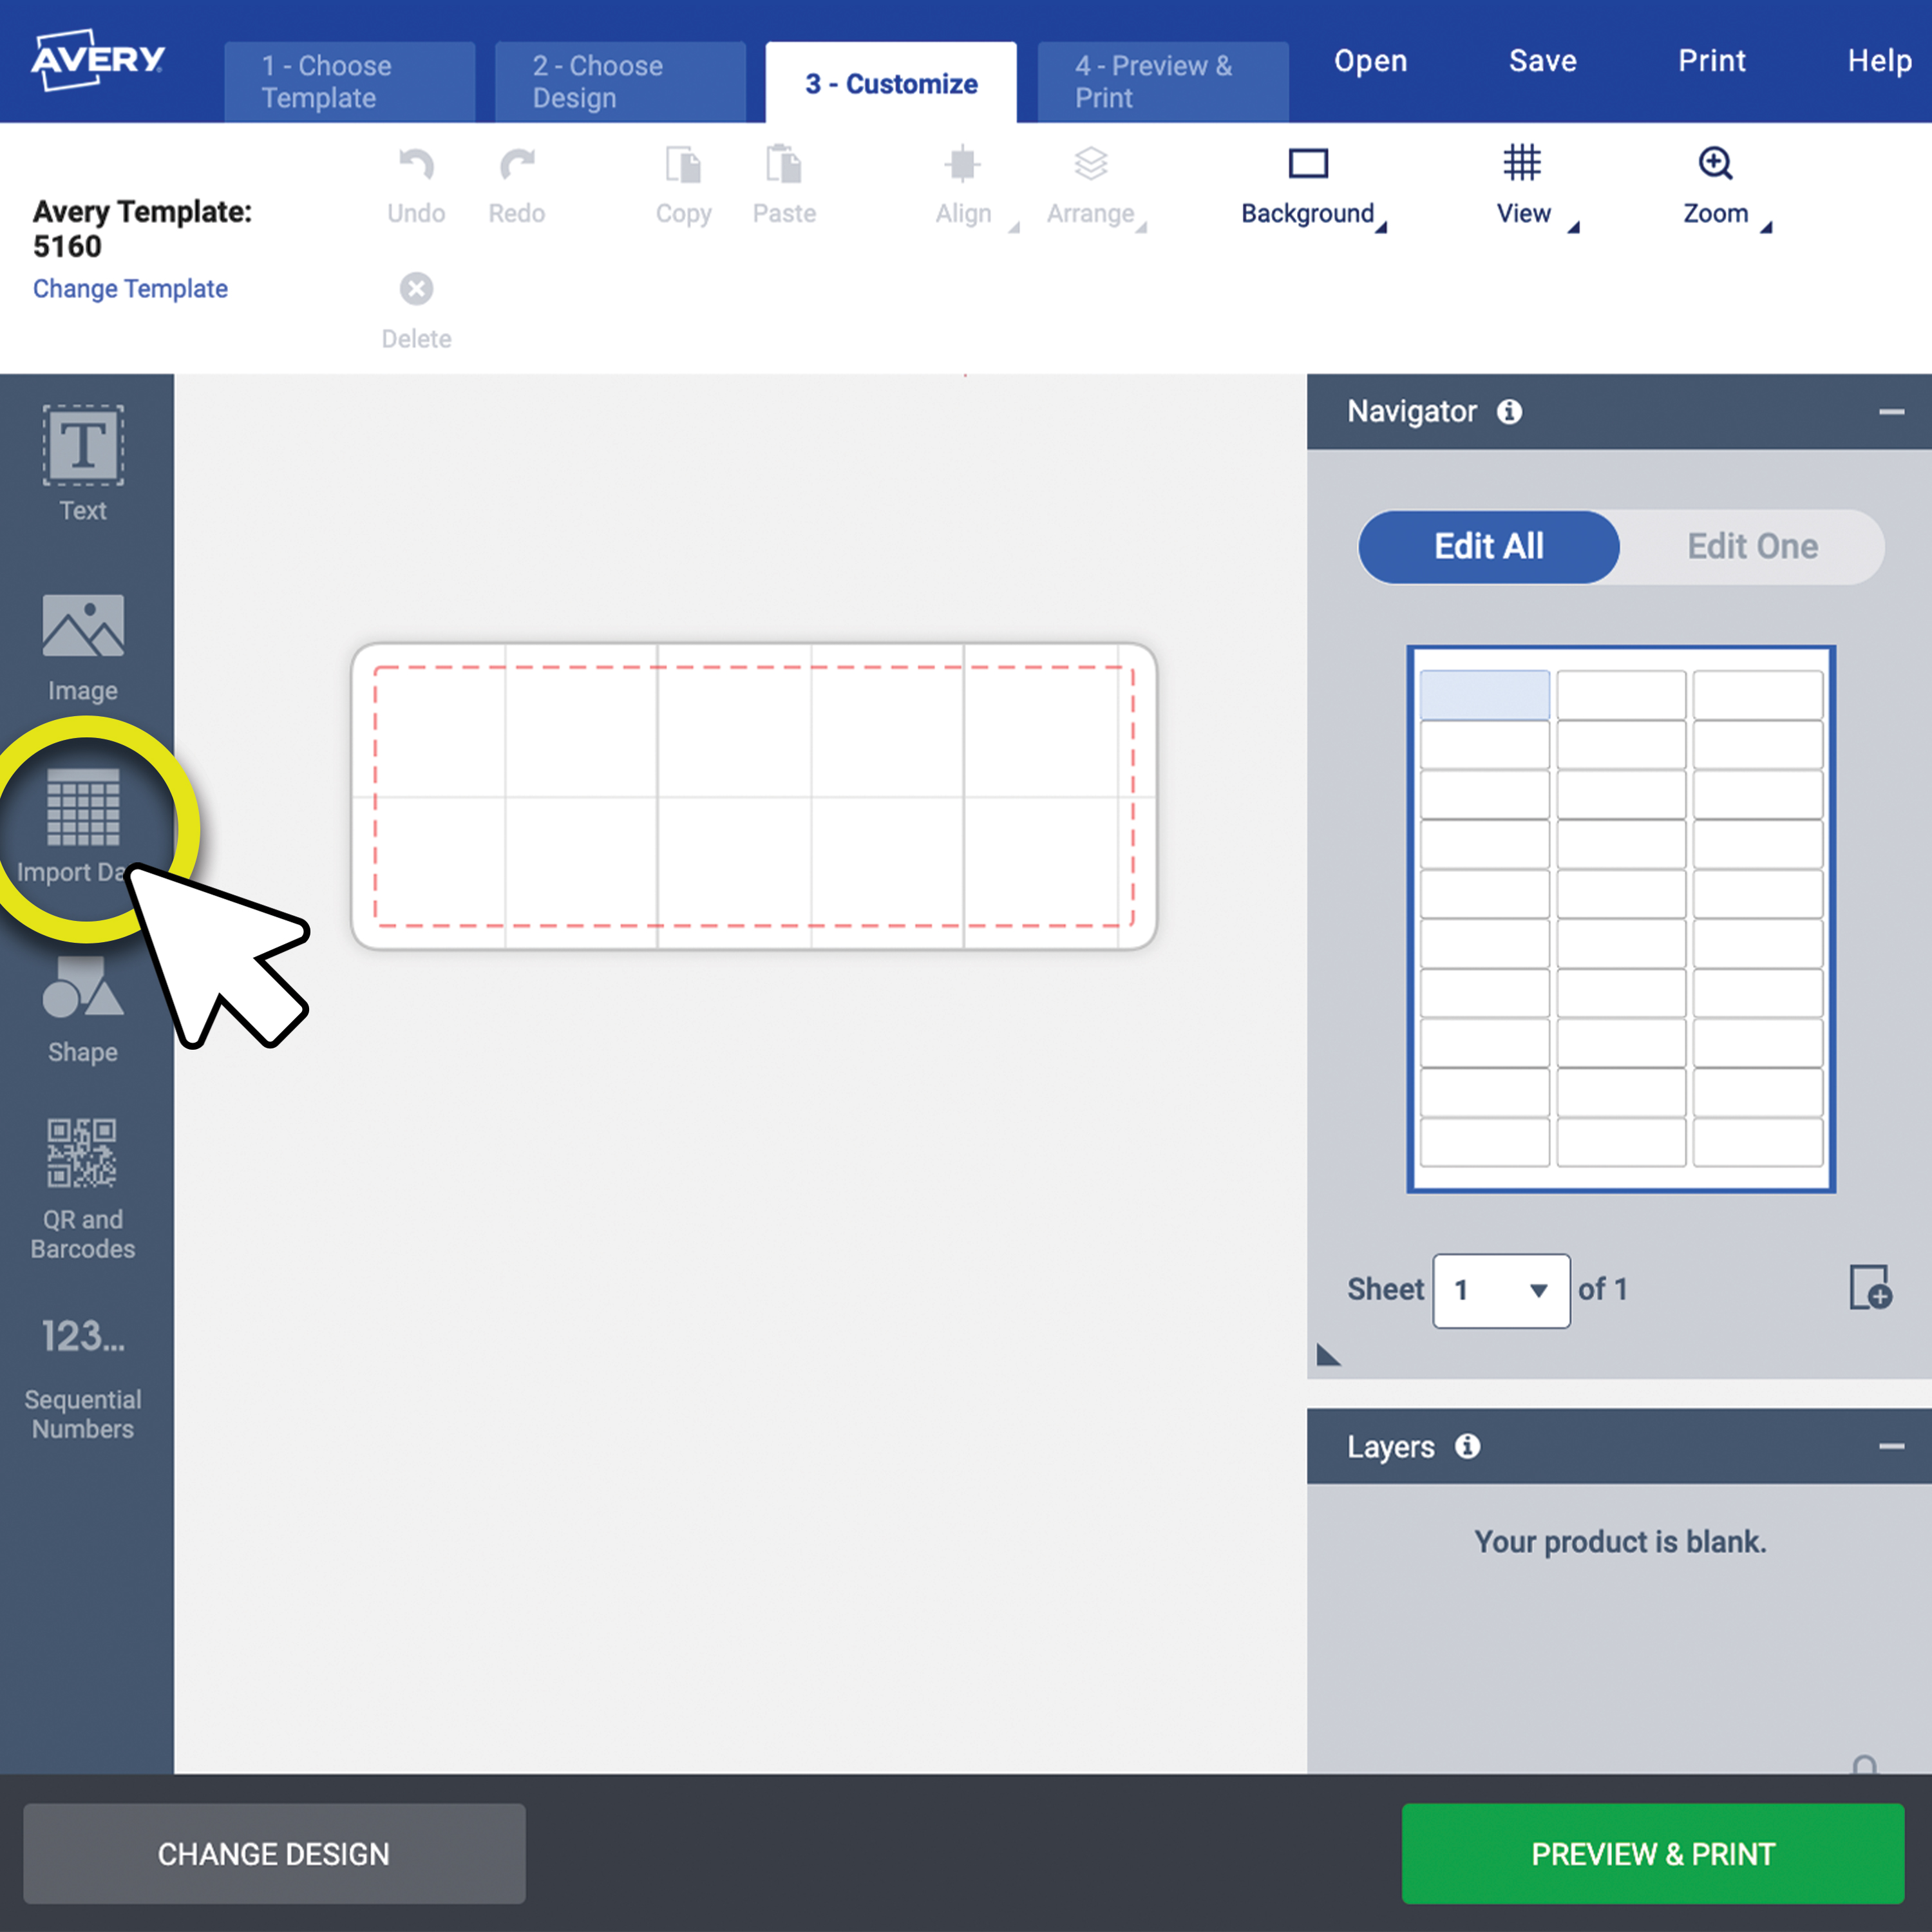
From the left-side menu, click “Import Data” and then select “Start Import/Merge” to upload your spreadsheet.

Upload your spreadsheet, then drag and drop your data fields into the correct order. Click “Next” once everything is set up.
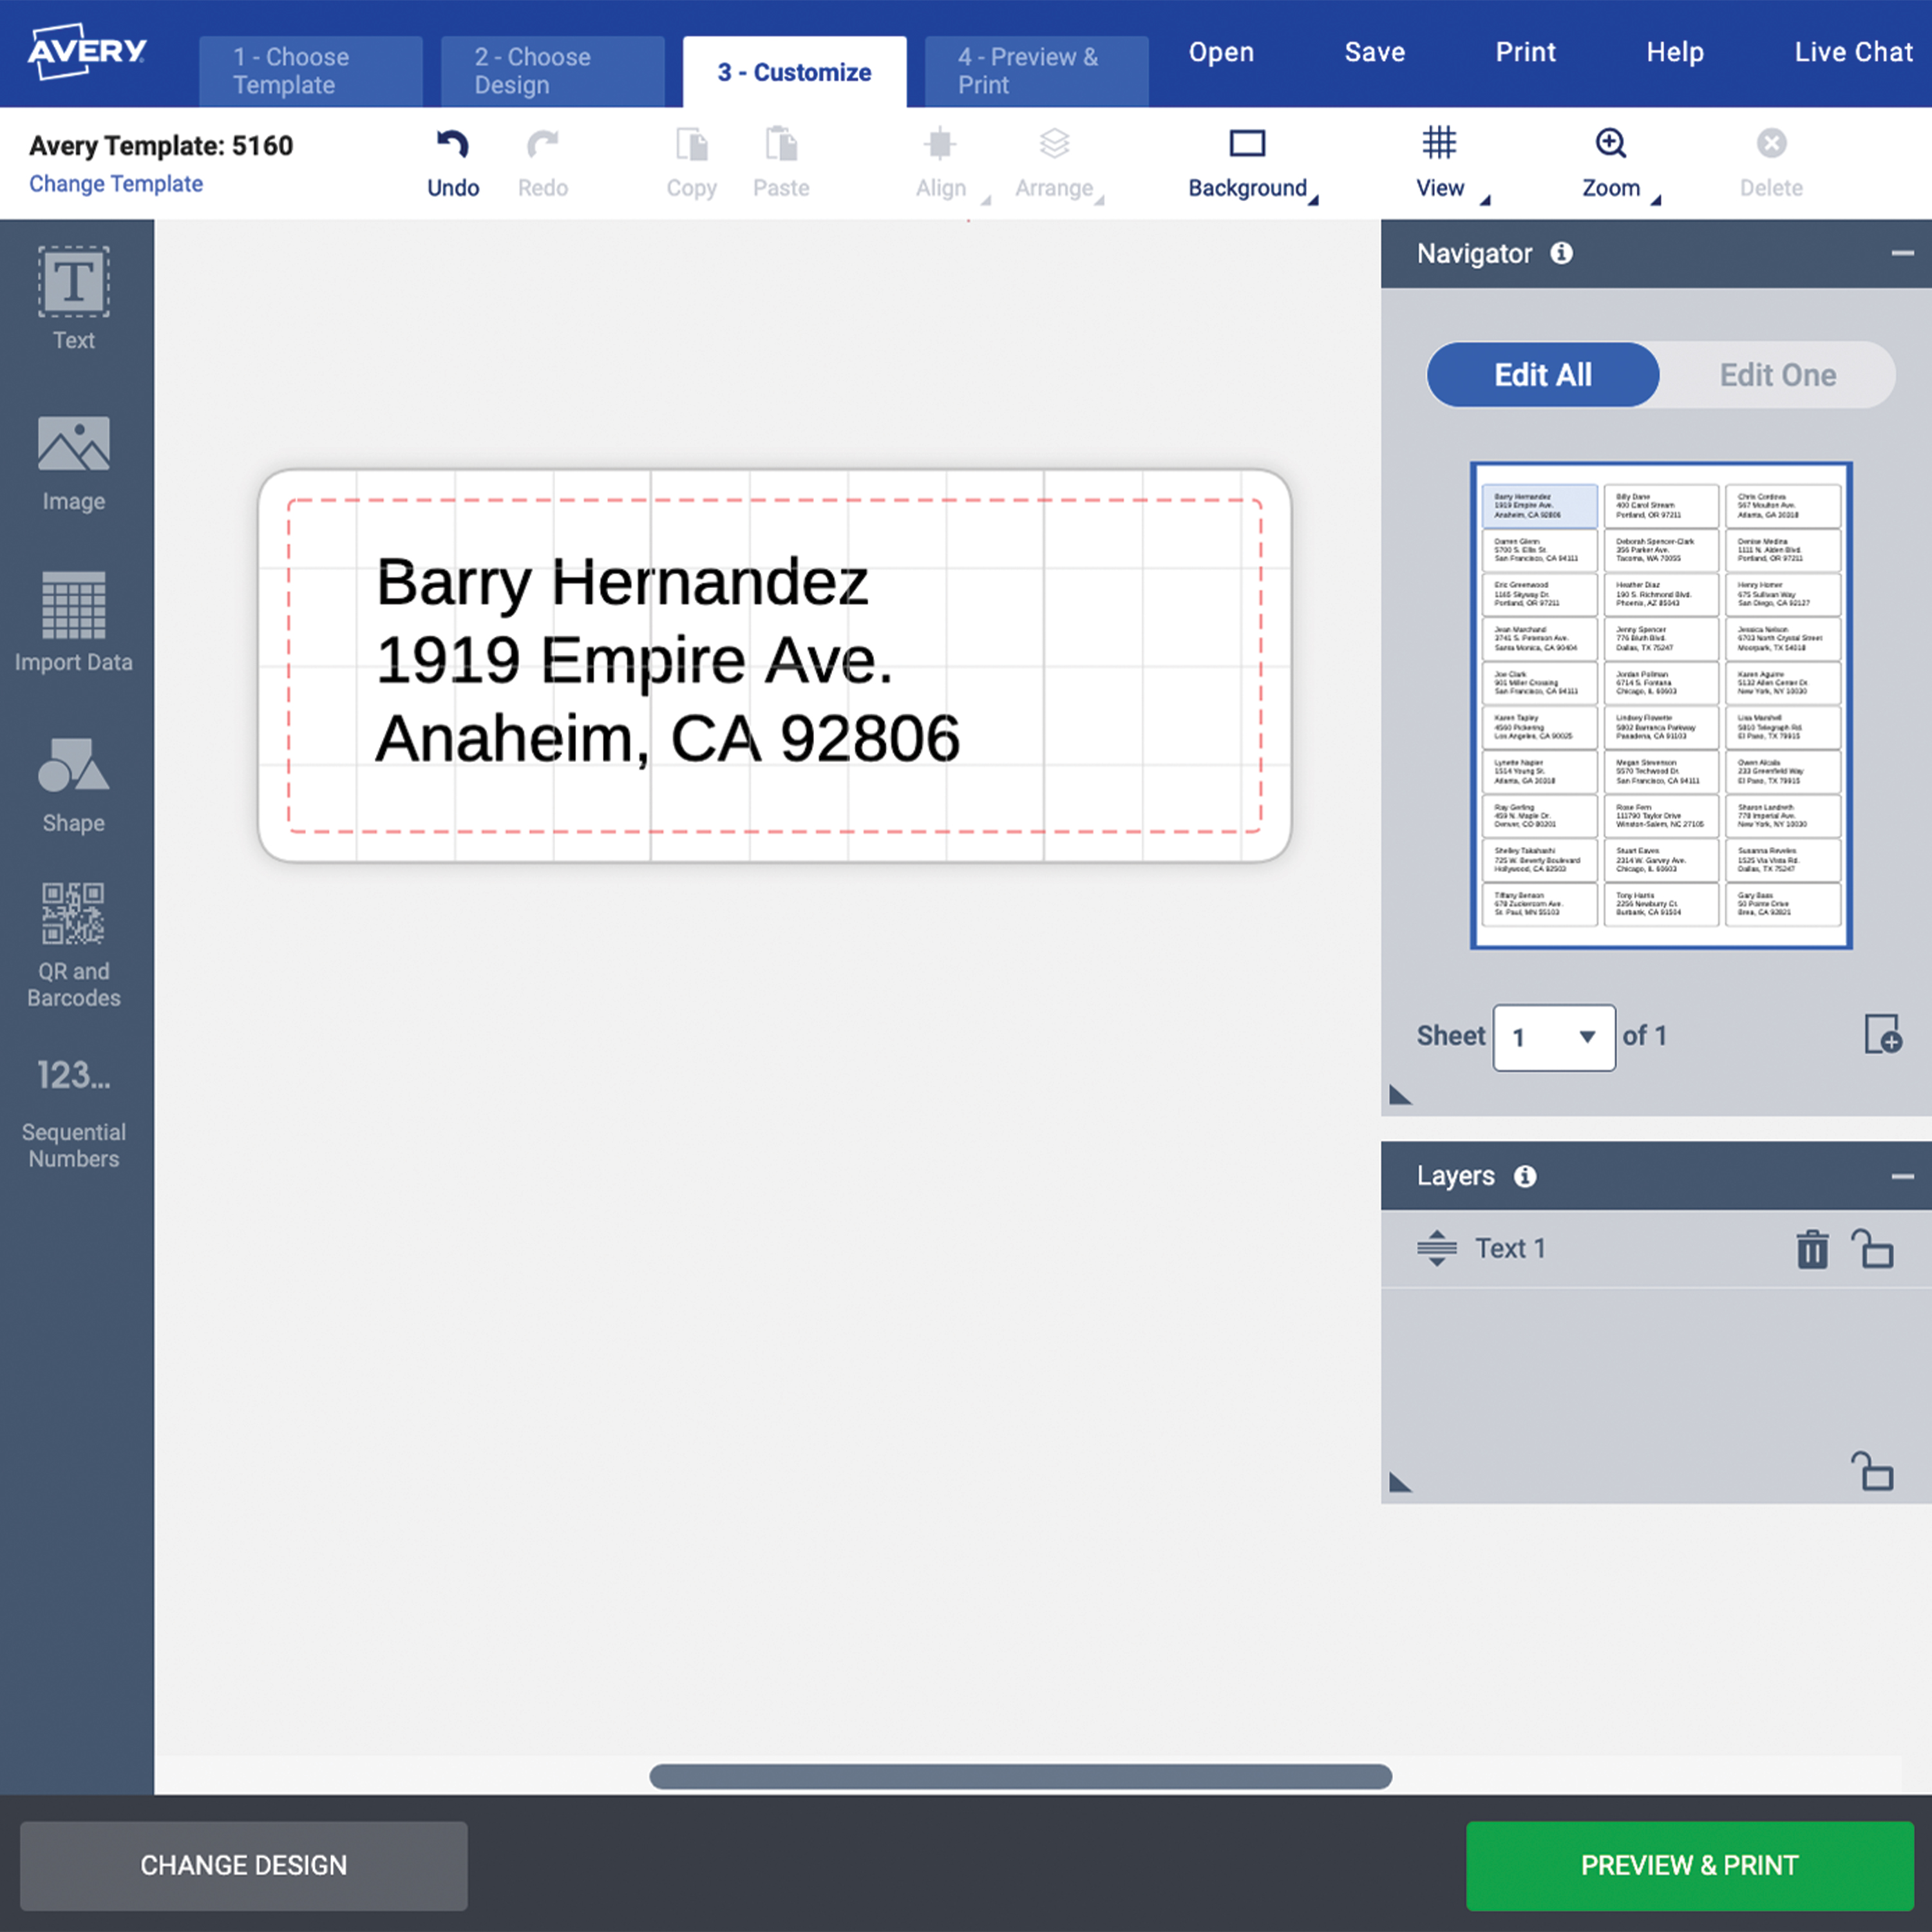
Preview a single merged label and check the formatting. You can edit the layout or text before moving on to the full sheet view.
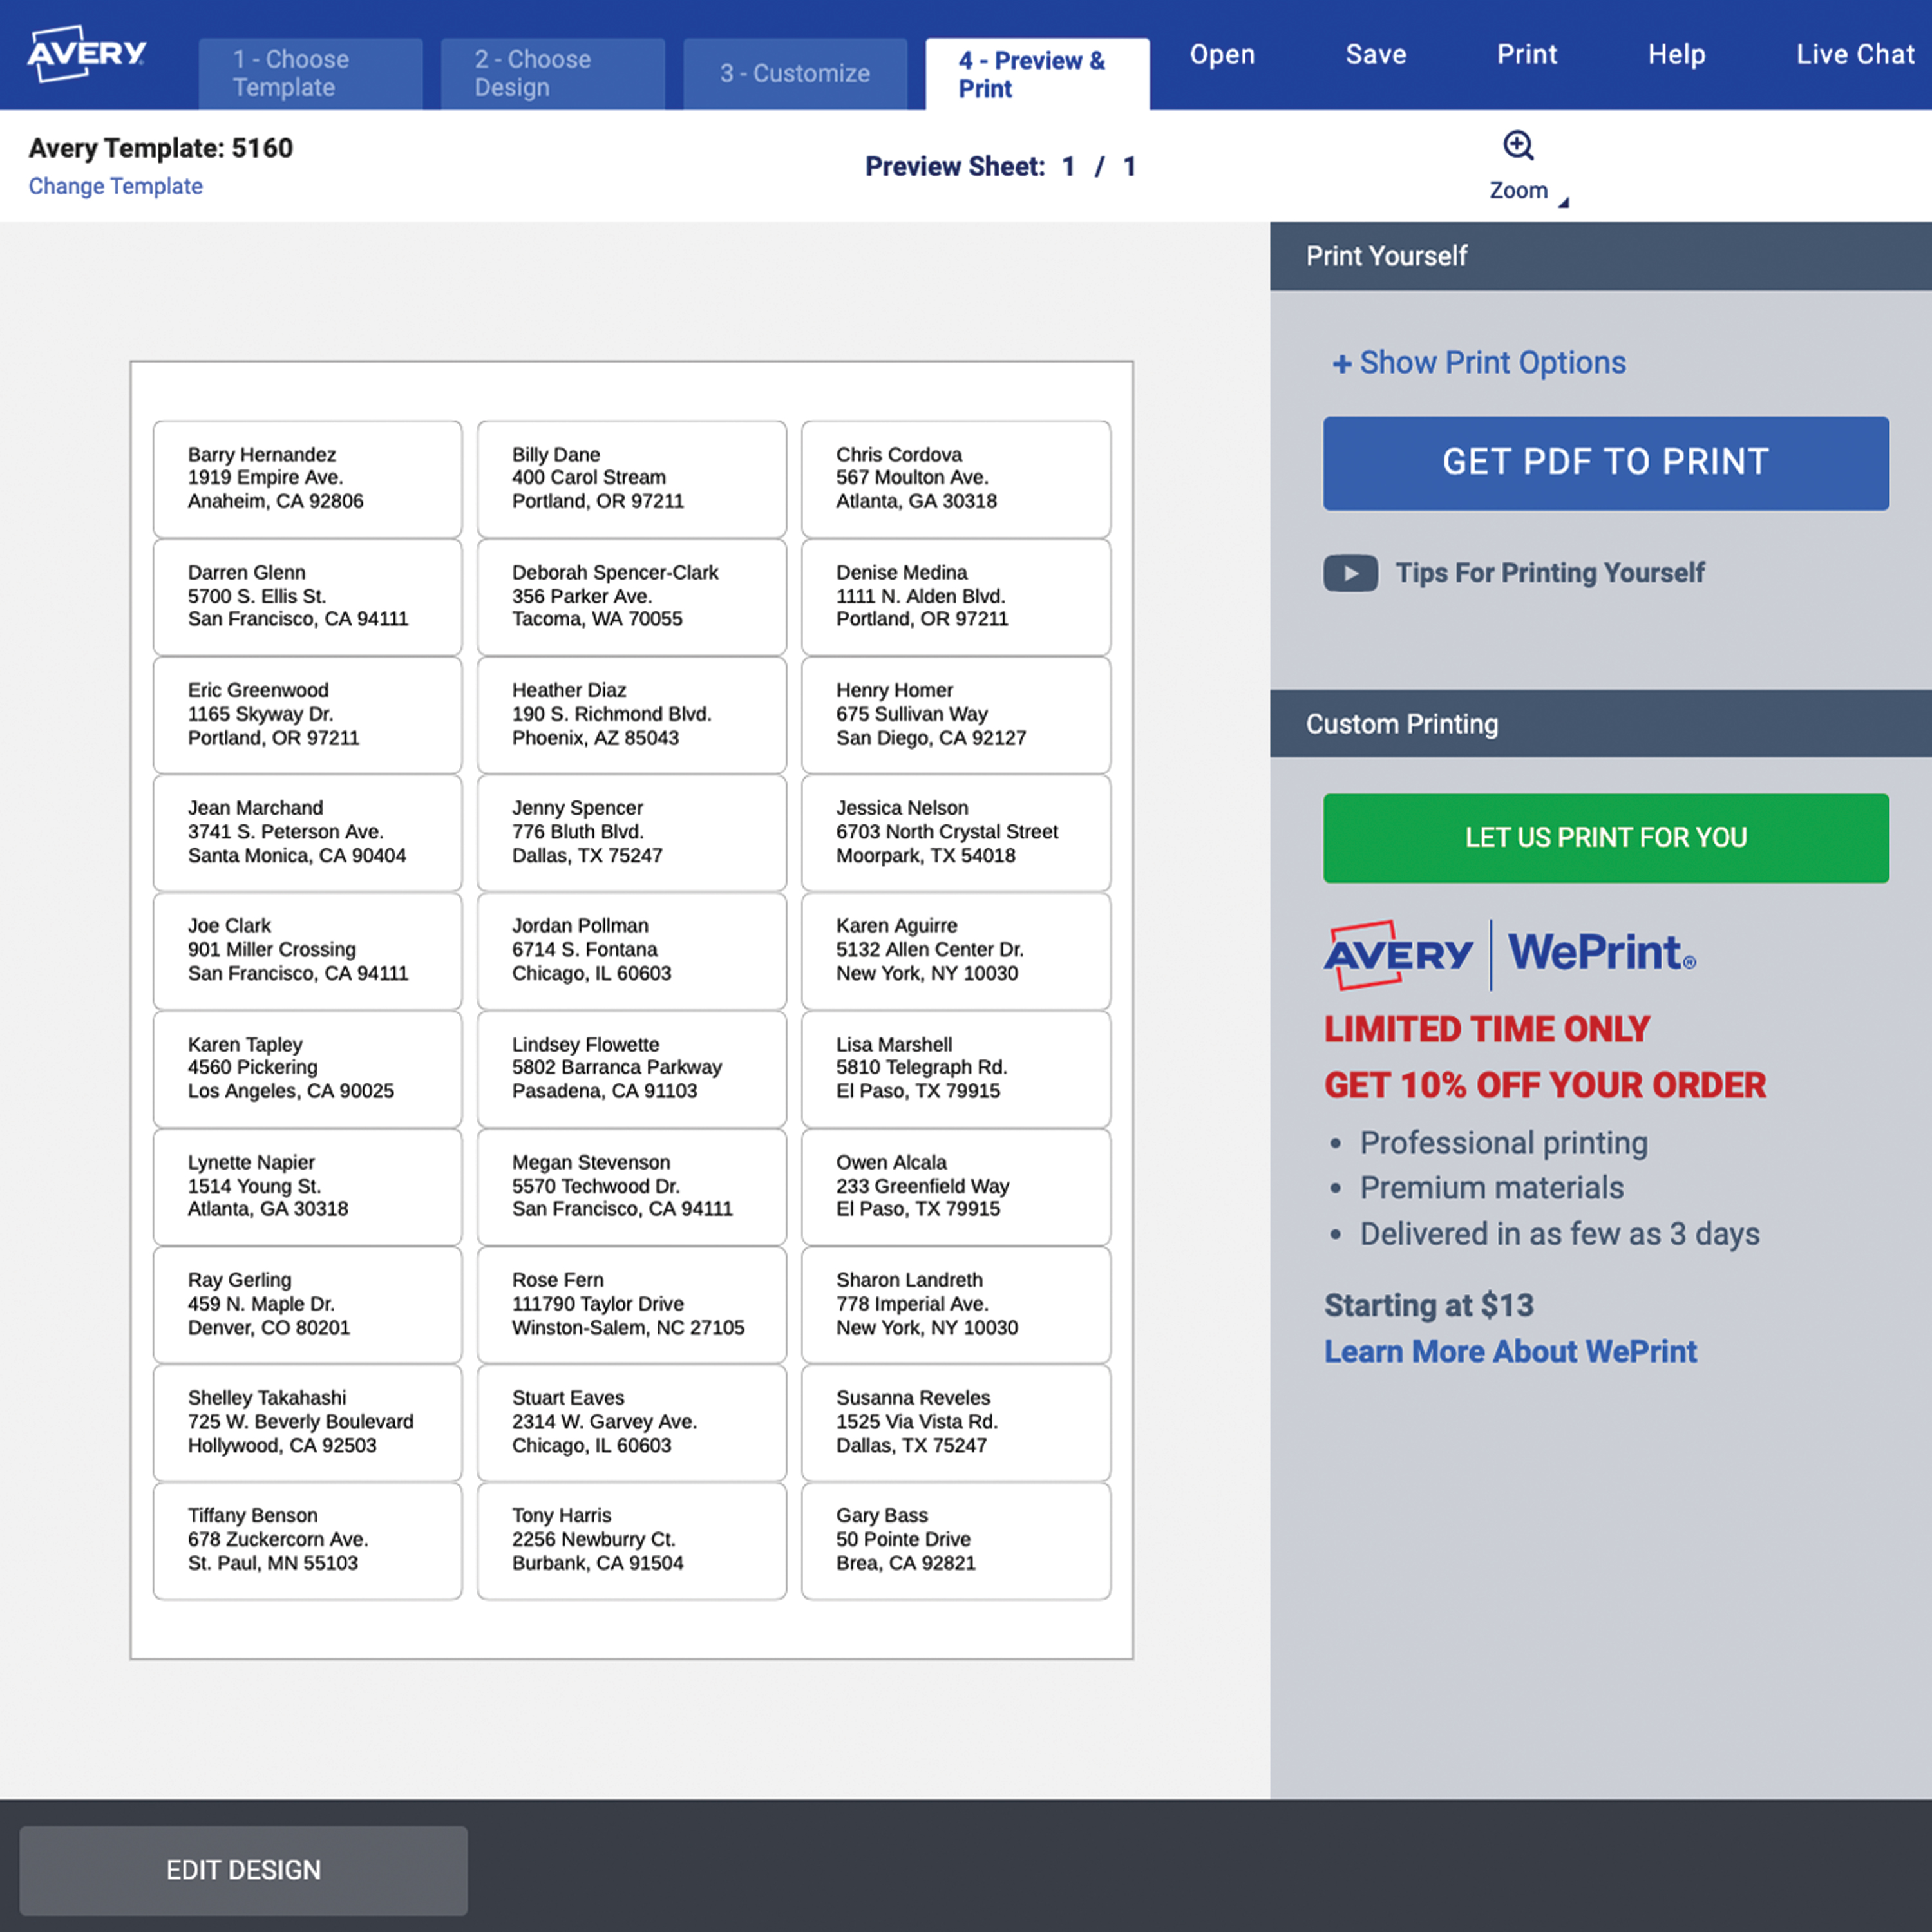
Finally, review all your merged labels on one sheet. Make any last edits, then download your PDF to print yourself or place your order with Avery WePrint.
Pro Tip: To print Avery labels from Excel or another program, make sure your spreadsheet has clear column headers like Name, Address, City, and ZIP Code. This helps the software place your data correctly on each label.To print Avery labels from Excel or another program, make sure your spreadsheet has clear column headers like Name, Address, City, and ZIP Code. This helps the software place your data correctly on each label.
Troubleshooting tips
If something doesn’t look quite right when you print your labels, don’t worry, it’s usually a quick fix. Below are a few common issues and how to solve them:
- Formatting looks off
- Double-check that you selected the correct Avery template and that your page margins match the default settings.
- Missing data fields
- Make sure your spreadsheet includes clear column headers (like Name, Address, City, etc.) and doesn’t contain any blank rows.
- Labels not lining up on the sheet
- Check your printer settings—especially paper size and scaling. We recommend printing a test sheet on plain paper before using your labels.
- Text getting cut off
- Reduce the font size or adjust the text box margins within your design. Make sure long addresses fit the layout.
- Merge fields not displaying correctly
- Double-check that your spreadsheet column headers match the merge fields you’re inserting. Avoid using special characters in header names.
Mail merge FAQs
Got questions about mail merge? You’re not alone. From software options to spreadsheet compatibility, here are quick answers to some of the most common things people ask when printing Avery labels with mail merge.
- How do I do a mail merge for labels?
- Upload your contact list to Word or Avery Design & Print and the tool fills in each label. See the full step-by-step above.
- Can I print Avery labels from Excel using mail merge?
- Not directly. You’ll need to use Word or Avery Design & Print to merge your Excel data into a label layout.
- Do I need special software to mail merge Avery labels?
- No special software needed. You can use Avery Design & Print Online (free, browser-based) or Microsoft Word—whichever fits your workflow. No downloads required.
- How do I make sure my labels print correctly?
- Always use the correct Avery template, double-check your printer settings, and print a test sheet on plain paper before using your labels.
- Can I use AI to help with mail merge?
- Absolutely! Tools like ChatGPT or Excel Copilot can help you generate sample data or clean up contact lists before doing a mail merge.
- Can I use Google Sheets for a mail merge?
- Yes. Just export your Google Sheet as a .CSV or Excel file and upload it into Word or Avery Design & Print.
Final tips
Now that mail merge is no longer a mystery, it’s time to put it to work. Head over to Avery Design & Print Online to start creating labels that look as good as they perform. Once you create your own data list and become a pro at mail merge and variable data, you can use these same steps for adding text to product labels, names on name badges, tracking information on storage boxes, and much more.
And if you ever get stuck or just want a little extra guidance, our Customer Care team is here to help. You canchat with us live on our website or call (800) 462-8379. We’ll walk you through the steps and make sure everything goes smoothly from start to finish.

