

How to Make Wine Bottle Labels: A Complete Guide
TTB wine label requirements plus easy steps to create standout designs
Whether you’re launching your vineyard’s first vintage, designing a private label, or adding a personal touch to wine bottles for weddings and corporate events, creating the perfect wine label is key. This guide walks you through everything from meeting mandatory TTB requirements for retail wine labels to easy steps for designing stunning custom labels for any occasion.
What to include on your wine bottle labels
Required on your brand label
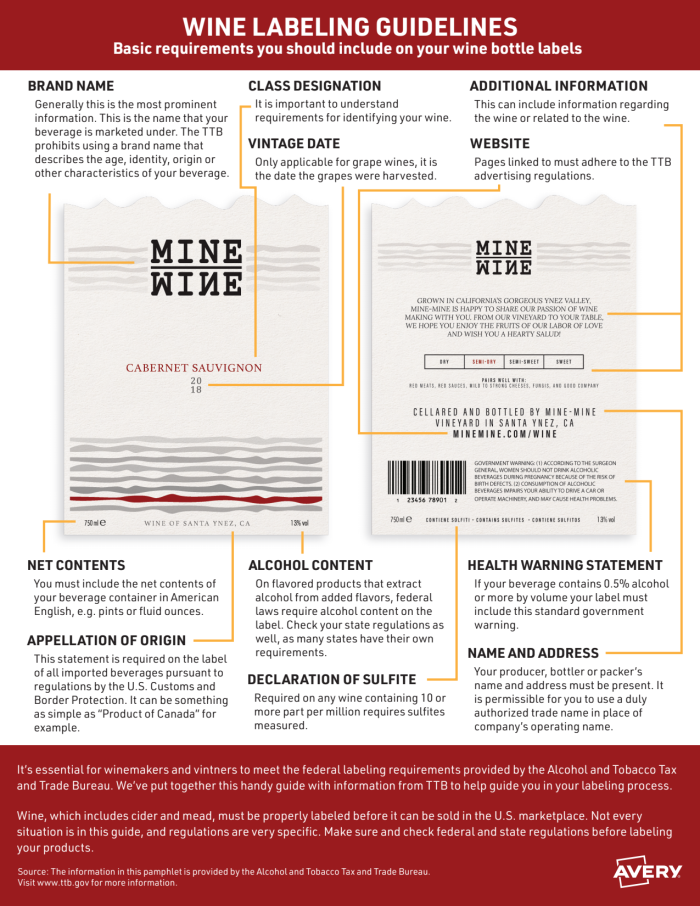
Brand Name
Your brand name is the most prominent feature on your wine label. This is how your wine or wine line is marketed. If no brand name is used, the name of the bottler, packer, or importer can serve as the brand name. Avoid names that might mislead consumers.
Class or Type Designation
This describes the category and type of wine, as specified by TTB regulations under 27 CFR 4.34. Examples include broad classes like Grape Wine and specific types such as Muscadine.
Appellation of Origin
Indicating where the fruit for your wine was grown, this term reflects compliance with specific production standards. It is mandatory if certain origin-related claims are made on the label.
Percentage of Foreign Wine
Required only if your label references foreign wine content.
Required on Any Label
Alcohol Content: For wines above 14% alcohol by volume (ABV): a numerical alcohol statement is mandatory. For wines between 7–14% ABV: alcohol content can be optional if “table wine” or “light wine” is used as the type designation.
Vintage Date: Mandatory for grape wines, this indicates the year the grapes were harvested.
Net Contents: The container volume can appear on the front, back, or side label—or even embossed into the bottle.
Name & Address: For U.S. wines: Include the name and address of the bottler or packer, preceded by “Bottled by” or “Packed by.” For imported wines: Use “Imported by,” followed by the importer’s name and principal address. Additional terms like “Produced by” or “Vinted by” are optional.
Sulfite Declaration: Wines with 10+ ppm of sulfur dioxide must include a “Contains Sulfites” statement to warn consumers who may have allergies or sensitivities.
Mandatory Health Warning: The following warning label must appear on all alcoholic beverages in the U.S. with 0.5%+ ABV: “GOVERNMENT WARNING: (1) According to the Surgeon General, women should not drink alcoholic beverages during pregnancy because of the risk of birth defects. (2) Consumption of alcoholic beverages impairs your ability to drive a car or operate machinery, and may cause health problems.”
Country of Origin: For imported wines, this label indicates the wine’s country of production and complies with U.S. Customs requirements.
Color Ingredient Disclosure: Wines containing FD&C Yellow #5, cochineal extract, or carmine must include statements like “Contains FD&C Yellow #5” or “Contains Carmine.”
Making Your Wine Labels
Follow these simple steps to craft the perfect wine labels, whether you’re preparing them for retail shelves or a personal celebration:
1. Measure your bottles to find the perfect label size
Wine bottles come in a variety of shapes and sizes, so precise measurements are key to ensuring a proper fit. Labels work best on the smooth, cylindrical section below the bottle’s shoulder, as most labels can’t adhere properly to tapered surfaces.
For home brewers recycling bottles, stick to bottles of similar shapes to streamline your labeling process. If there are existing labels, check their dimensions to guide your new design.
Once you’ve determined the right size, test your design with blank labels or paper before placing your order. Avery offers a range of label sizes that can be customized for any bottle shape, all at no extra charge for custom dimensions.
2. Select the ideal wine label shape
High-shoulder bottles pair well with portrait-oriented labels in rectangular, oval, or arched shapes. Wider bottles with sloping shoulders may work better with landscape labels in similar shapes. Square or round labels are versatile and can add a unique touch to almost any bottle.
3. Pick the perfect wine label material
Whether you’re printing labels at home or opting for professionally printed Avery WePrint labels, choosing the right material is essential. For a premium finish, try metallic, holographic, or Estate #9 paper for a sleek, standout appearance. For chilled wines, use waterproof labels to keep your designs looking pristine.
5. Design and order your wine labels
Wine label design is easy with the Avery online design tool. It allows you to use a ready-made template and adapt it, or you can upload pre-prepared artwork. Once you’ve finished designing your wine label, proof it and then have someone else proof it. A second or even third pair of eyes is always useful.
To experiment with different designs, just order a sheet or two to see what you like best. Or print examples at home, keeping in mind that the colors, text, and images on our professionally printed labels will be much sharper and richer.
6. Prepare your wine bottles
Your wine bottle labels need to be on a clean, dry, smooth surface. If you’re using recycled wine bottles or you’re customizing pre-bought wine, you’ll have to remove the existing wine labels and any residue.
You also need to sterilize your bottles. If you don’t have a sterilizer, you can swill them thoroughly with boiling water after washing them, or place them in the oven. Recommended times range from one hour at 338°F to 12 hours at 250°F.
Make sure your wine bottles are dry and at room temperature before you start applying the labels.
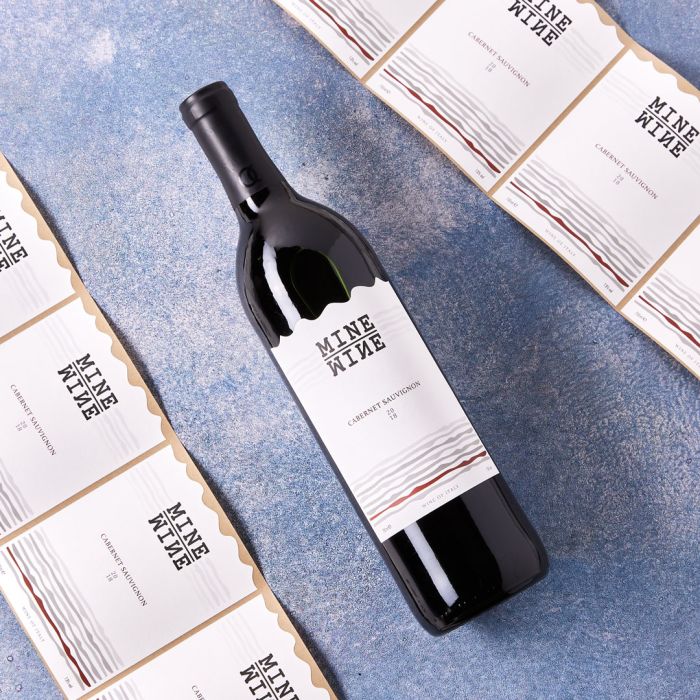
7. Apply your labels
It may take a bit of practice to get your labels horizontally straight onto the curved surface of a wine bottle. If your wine bottles are going to be displayed in a row, getting the label in exactly the same position on each bottle can be a challenge. People have come up with all kinds of ingenious methods to achieve this.
One solution is to place a label on one bottle and use it as a positioning guide for the rest. Some people prefer to mark the bottle and label positions on a piece of paper or wood since bottles tend to roll. If your bottles have a visible seam, it can be a useful guide to help you apply your labels straight. But don’t try to place the label over the seam.
Design Tips for Wine Labels
Creating an impactful wine label goes beyond compliance—it’s about visually communicating your brand’s story and connecting with your target audience. Follow these tips to ensure your wine label stands out on the shelf or at an event.
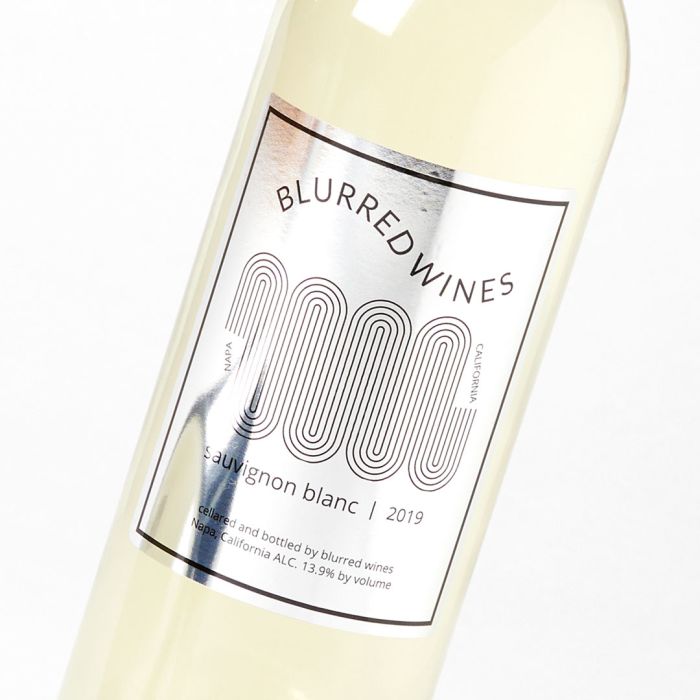
Reflect your brand with colors and fonts
Your choice of colors and fonts should align with your wine’s identity and audience.
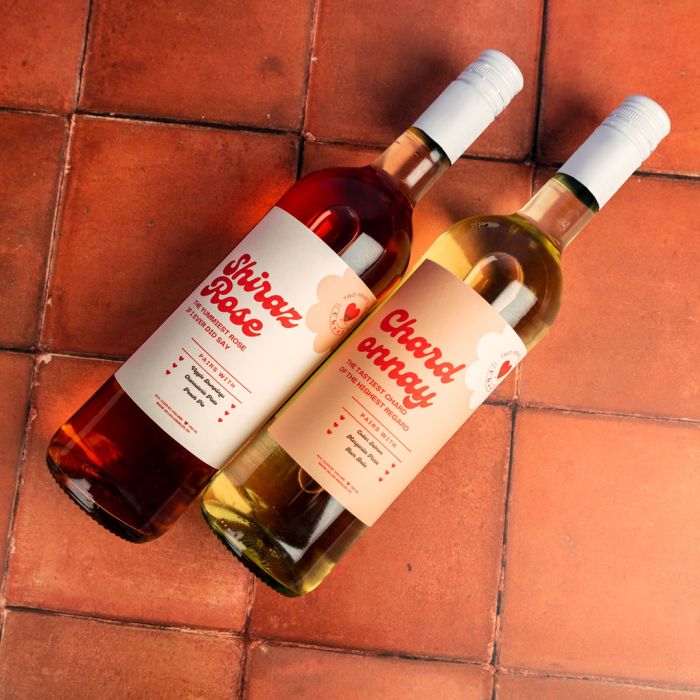
Colors: Deep reds, rich golds, and dark greens can convey sophistication and elegance, ideal for high-end wines. For organic or eco-friendly wines, earthy tones like browns, greens, and muted yellows evoke nature and sustainability. Bright and playful colors can appeal to a younger audience or casual drinkers.
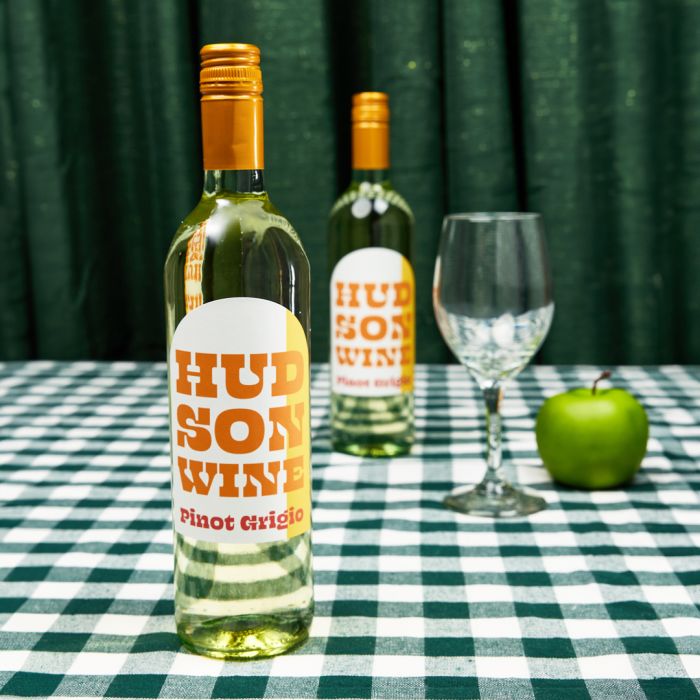
Fonts: Use serif fonts like Garamond or Baskerville for a timeless, classic look that conveys tradition. Modern sans-serif fonts like Helvetica or Futura can signal innovation and approachability. For a rustic or artisanal feel, consider handwritten or calligraphic styles—but ensure they’re easy to read.
2. Incorporate eye-catching graphics
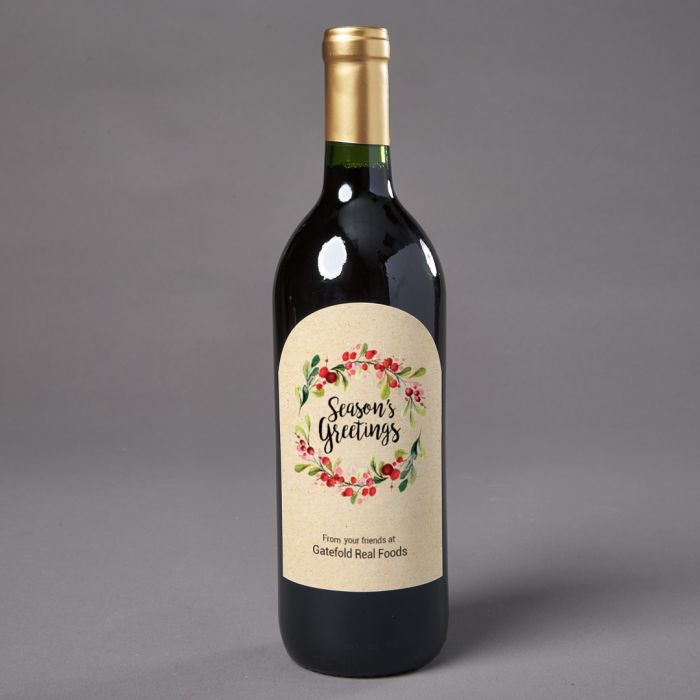
Visual elements are key to making your wine labels memorable. Seasonal themes can make your label more appealing for holiday sales or limited-edition releases, like snowflakes for winter wines or flowers for spring releases.
Consider illustrations or patterns that reflect the wine’s origin, such as a drawing of your vineyard or local landmarks. Or use abstract designs to evoke the wine’s flavor profile—soft swirls for a smooth wine or bold lines for a full-bodied variety.
3. Highlight unique features
Differentiate your wine by showcasing what makes it special. Showcase awards or certifications that can instill confidence and elevate your brand’s perceived quality. Place them prominently but tastefully on the label.
If your wine is made with organic grapes, include a badge or icon that signals this to eco-conscious buyers. Highlight specific processes, like barrel aging or handpicking, that add value to your product.
4. Experiment with shapes and layouts
Your label’s shape and layout can dramatically impact its appeal. Non-traditional shapes like arches or intricate die-cuts can make your wine stand out on the shelf.
Balance the placement of elements like the brand name, imagery, and mandatory information. The brand name should be the focal point, with other details supporting the overall design. Consider a front-and-back label approach to separate the visual elements from compliance details, keeping the front clean and striking.
5. Test your design before printing
Once you’ve created a design, test it to ensure it meets your expectations. Get feedback from colleagues, friends, and customers to refine the design further. Print a draft label and apply it to a bottle to check the size, placement, and overall look. Place the bottle among others to see how it stands out and whether your branding is clear.
Conclusion
Creating wine bottle labels involves balancing TTB compliance with standout design. By understanding the requirements and following the tips above, you can craft labels that meet legal standards and captivate customers.
If you have a question or need assistance ordering or designing your wine label, call us at (800) 462-8379. Our amazing customer service team will be happy to help you with all your wine label questions.

