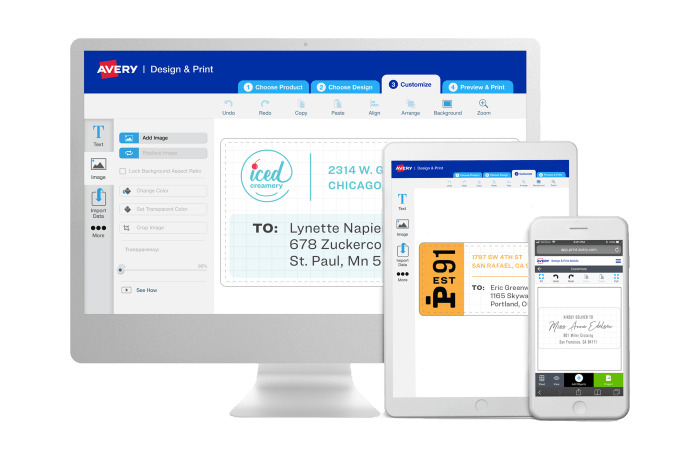


Avery Design & Print Online
Create & print custom designs for any printable Avery product
- Choose from thousands of professional designs and blank templates
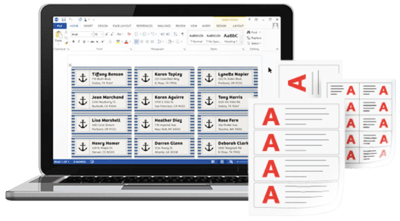
- Quickly import contacts or data with mail merge
- Free mail merge and barcode generator tools
- Personalize with custom fonts, colors and graphics
- Save projects online or to your computer
- Easily share projects links via email