

How to Pick the Right Font for Your Product Labels
Not sure which font to use on product labels? Learn how to choose readable, on-brand fonts that work at small sizes and across materials.
What is the best font for labels?
Quick answer: The best font for product labels is one that stays easy to read at small sizes, fits your brand personality, and prints clearly on your label material. Sans serif fonts are usually the most readable for body text, while serif or script fonts work best as accents when used sparingly.
When I’m designing labels, font is one of those details that can either pull everything together—or quietly throw the whole design off. It’s not always the most exciting part of the process, but it makes a huge difference. The font you choose can change how your product feels, how easy it is to read, and how professional it looks once it’s printed.
Over time, I’ve learned that choosing a font isn’t just about style. It’s about finding something that fits your brand, works at small sizes, and still looks good on the actual label—not just on your screen.
If you’ve ever felt stuck scrolling through font options, this should help you narrow things down.
New to typography and fonts? Start here
If you’re new to typography, a couple of quick basics can make choosing a font a lot easier. When I first started working with fonts, I remember getting tripped up by terms like “typeface” and “font.” They’re often used interchangeably, which can make things more confusing than they need to be.
What’s the difference between a typeface and a font?
Quick answer: A typeface is the overall design of a set of letters, while a font is a specific version of that design—like bold, italic, or light.
In practice, most people just say “font” for both, and that’s completely fine. When you’re choosing a font for your labels, you’re really just choosing a style that looks right and works well—no need to get too technical with it.
Common font styles (and when to use them)
I don’t usually start by thinking about technical categories when I’m choosing a font. Instead, I think about the overall look I’m going for. That said, most fonts fall into a few general styles. Knowing the basics can make it a lot easier to narrow things down instead of scrolling endlessly.
Serif fonts: classic and trustworthy
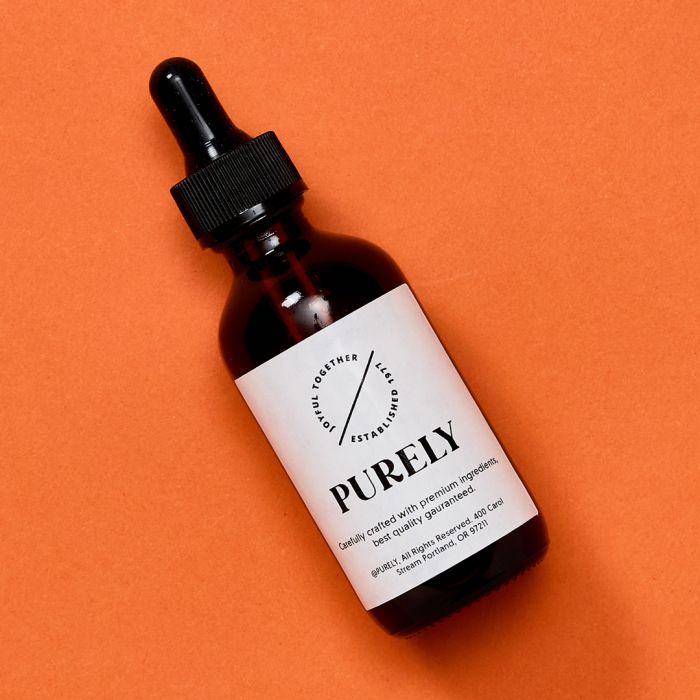
Serif fonts add a classic, elevated feel that works especially well for premium or minimalist products.
Good for:
- Wine labels or formal designs
- Premium or luxury products
- Food labels with a traditional feel
Those little lines at the end of letters are called serifs. Serif fonts tend to feel more traditional, polished, and a little more formal. Times New Roman is a great example of a traditional classic.
Fun fact: Serif fonts originated from Roman inscriptions and calligraphy, and became popular with the spread of printed media (newspapers, books, magazines, etc.). Many people believe those small strokes help guide the reader’s eye across the page, but that hasn’t really been proven either way.
I usually reach for serif fonts when I want something to feel more classic or elevated.
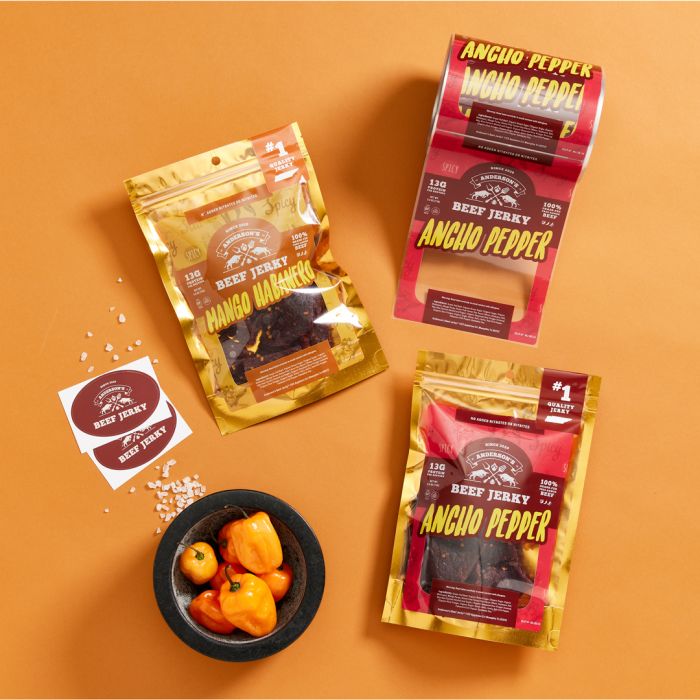
Sans serif fonts: clean and easy to read
Sans serif fonts keep things clean and easy to read, making them a great choice for modern, approachable designs.
Good for:
- Shipping or address labels
- Modern or minimalist branding
- Ingredient lists and instructions
Sans serif fonts don’t have those extra strokes at the ends of letters, which gives them a cleaner, more modern look.
When I’m working with smaller labels or anything that needs to be read quickly, this is usually where I start. They tend to hold up better at smaller sizes and stay readable across different materials.
Script fonts: elegant and expressive
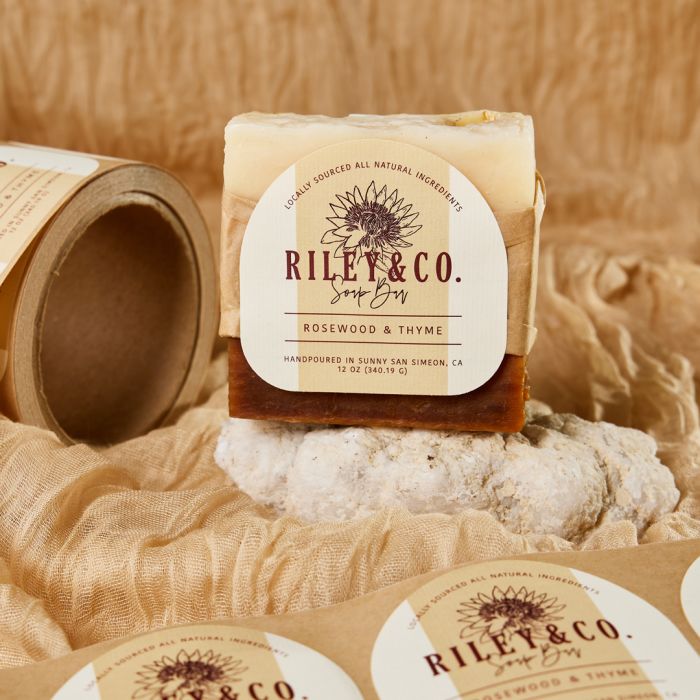
Script fonts add elegance and personality, especially when used as an accent alongside more readable text.
Good for:
- Product names or logos
- Wedding or event labels
- Adding a more personal or premium feel
I get it—script fonts are beautiful. And they mimic cursive or handwritten lettering, so they can add a lot of personality right away. For those reasons, people often gravitate to script fonts first. They’re pretty and feel special, so it’s tempting to use them everywhere.
However, when I’m designing labels, I usually use script fonts more as an accent than a main font. They can look great for product names or branding, but they can get hard to read pretty quickly, especially at smaller sizes.
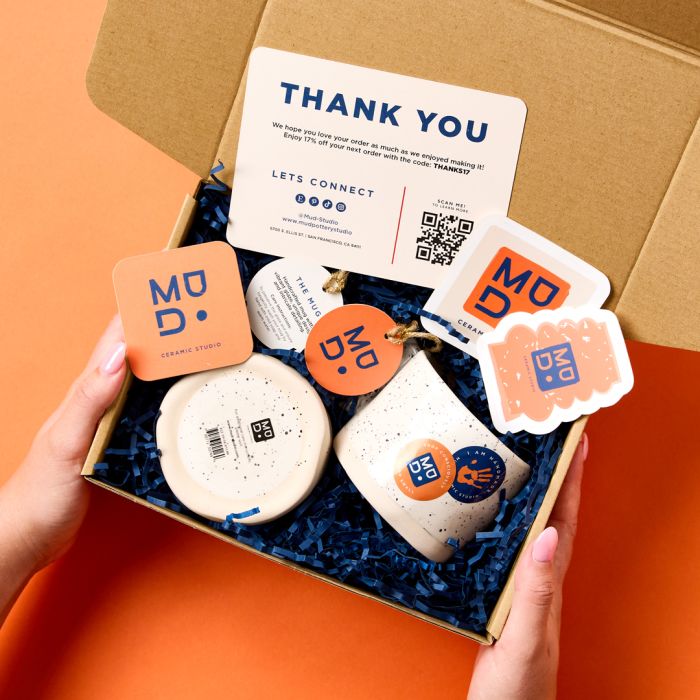
Handwritten and decorative fonts: fun and playful
Decorative fonts are bold and expressive, making them great for grabbing attention in small doses.
Good for:
- Handmade or small-batch products
- Craft projects and gift labels
- Seasonal or themed designs
This is another style of fonts where less is more. Handwritten and decorative fonts are all about personality. They feel more creative for sure and can add casual, playful, bold, or themed vibes depending on the style.
In fact, these are the types of fonts that I experiment with the most when I’m designing labels for something handmade or more personal. They can really help bring a brand to life. That said, it’s easy for things to get a little busy if you rely on them too much. I’ve found they work best when they’re balanced with something simpler.
Tip: Much like script fonts, decorative fonts need balance. Try pairing a decorative font that’s full of personality with a clean, simple font so everything stays easy to read.
Explore font options in Avery Design and Print Online
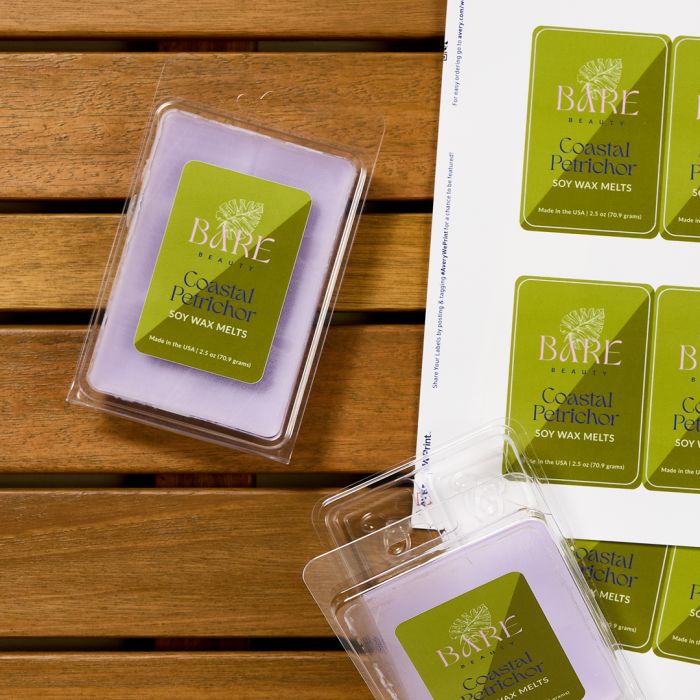
Once you have a general idea of the style you’re looking for, the next step is actually finding a font that fits. In Avery Design and Print Online, there are a lot more font options than people usually expect—including hundreds of styles you can use for different types of labels.

When I’m working in the tool, I usually start by browsing through a few categories to get a feel for what’s available. You can scroll through the font list, or use the style filters (like modern, classic, or handwritten) to narrow things down a bit faster.
If you’re not sure where to start, try picking a category that matches the direction you’re going for and then test a few options from there. Even within the same style, fonts can feel very different once you see them on your label.
Seeing multiple font styles side by side on your actual label makes it easier to compare and narrow down your choices before you commit to one.
If you want to browse visually, you can check out a full font guide to see how different styles look at a glance. And if you’re looking for a specific font, this complete font list in our online Help Center is helpful for quickly searching and confirming what’s available.
Choose a font that fits your brand personality
The next thing I think about is how the font fits the overall feel of the product or brand as a whole. Fonts do a lot of work behind the scenes. Before someone reads anything, they’re already picking up on whether something feels modern, handmade, playful, or more high-end.
To help me choose the right font, I usually ask myself one simple question: Does this feel like the product or brand I’m designing for?
Here are a few directions I tend to use as a starting point:
- Handmade or small-batch products: I’ll usually lean toward handwritten or slightly imperfect fonts to keep things feeling personal
- Modern or minimalist brands: Clean sans serif fonts tend to work best here—they keep everything simple and easy to read
- Luxury or premium products: Serif fonts with a bit of contrast can make things feel more elevated
- Fun or playful designs: Rounded or more expressive fonts can add energy without needing a lot of extra design elements
You don’t have to get it perfect right away. Sometimes it just takes trying a few options side by side to see what actually feels right once it’s on your label.
And remember—one font doesn’t have to carry your whole brand. Pairing a bold or decorative font with a simple one can help balance personality with readability.
What font size should you use on product labels?
Quick answer: Label fonts should be large enough to read comfortably. Usually, key information like a product name is larger than supporting text.
So, what is “large enough to read comfortably?” Well, the hard answer is that it can be subjective. And to make things more complicated font size is one of those things that can look fine on screen but feel completely different once it’s printed. For these reasons, my advice is to use your own eyes. Literally, print out a test and just take a look. Or, if you experience eyesight issues, grab a friend to take a quick look.
Think about how your text will be used
Before you print, here’s a quick mental checklist I use:
- Make important text stand out: Product names and key details should be easy to spot right away
- Be careful with small text: Ingredients or instructions should still be readable at a smaller size
- Think about distance: If your label will be seen from a few feet away, the text needs to hold up from that distance
Why I print-test fonts
Number one, when I’m designing labels, I’m always thinking about how the text will actually be used. Small details like ingredients, directions, or disclaimers need to be readable without someone having to stop and really focus.
Secondly, one thing that catches people off guard is that not all fonts look the same size, even when they’re set to the same point size. Some styles appear larger or smaller depending on how they’re designed.
But you can usually solve these issues, by printing a test sheet. Printing a quick test before committing to a full batch is the easiest way to catch anything that feels too small—or bigger than you expected.
Easy ways to test font size before you print
If you want to be sure your font size works, it helps to see how it actually looks at different sizes and contrast levels before you commit.
The printable guides below show how common label fonts perform across a range of sizes, colors, and backgrounds. This can make it easier to spot when something starts to get hard to read—especially for smaller text.
Use these printable guides to compare font size and legibility:
Accessibility note: The preview below is shown at a reduced size. For accurate comparison, download the printable PDF guides and view or print them at 100% scale.

Each guide shows how fonts look as they step up from smaller sizes to larger ones.
For example, in the Roboto and Pacifico guide, Roboto stays readable for body text at smaller sizes, while Pacifico starts to get harder to read much sooner because of its more decorative style.
The guides also include low-contrast examples—like light text on a light background—so you can see how color and contrast affect readability.
When designing digital labels or e-commerce listings, keep in mind that fonts that look clear in print may not appear the same on screens. Font size, contrast, and resolution can all affect how readable something is.
Consider accessibility and readability
Accessibility tip: Fonts that stay legible at small sizes, use strong contrast, and avoid overly decorative styles are the most accessible choices for product labels.
When I’m designing labels, accessibility isn’t something I think about at the end—it’s part of the design from the start.
If people can’t easily read your label, they’re more likely to move on. And increasingly, people notice when brands don’t prioritize accessibility. Clear, readable design isn’t just helpful—it reflects how thoughtful and inclusive your product feels.
A few things I keep in mind:
- Choose simple, easy-to-read fonts for smaller text like ingredients or instructions
- Use strong contrast between text and background
- Avoid thin, condensed, or overly decorative fonts at small sizes
- Make sure there’s enough spacing between letters and lines
Print testing helps here too. Seeing your design at actual size is one of the easiest ways to catch readability issues before you commit to a full batch.
Ready to see your font on a real label?
Now that you have a better understanding of how fonts work, the next step is to put everything together and see how it looks on a real label. This is usually the point where things start to shift a bit. A font that felt perfect on its own might feel too bold, too small, or just off once it’s part of a full layout.
Personally, I like to set up a quick version and try a few different options side by side when I’m picking fonts for labels. It’s the easiest way to see what actually works—not just what looks good in theory.
You can use Avery Design and Print Online to experiment with different fonts, layouts, and sizes before committing to a final version.
- Pick your label size and start with a template
- Try a few different font combinations to see what feels right
- Print a test version on regular paper to check how it looks in real life
If you’re ordering professionally printed labels, it’s still worth testing a small batch first or getting feedback before placing a larger order. You can print a small batch yourself on blank labels or order as few as two custom-printed sheets of labels to test things out.
Bring your label to life with the right font
When it comes down to it, choosing a font isn’t about following rules. It’s about how everything actually looks and feels on your label. I’ve had designs where the font looked perfect on screen, but once I printed it, something felt off. And I’ve also had moments where a small change, like switching to a more readable font or adjusting the size, made the whole label feel more polished.
That’s why I always come back to the same approach: test it, look at it in real life, and go with what actually works. When your font fits your brand and holds up at real size, everything starts to click. Your label feels clearer, more intentional, and more professional. And that’s what people notice.
Ready to see how different fonts work on real labels?
Start with a label design and customize the fonts, colors, and layout until it feels right for your brand.
