How to make an onboarding kit yourself
Making your own onboarding kit is a lot easier and more affordable than you may think, especially when you pair Avery printable products with our free templates and tools for personalization. In this article, we’re going to give you detailed instructions for how to make a DIY onboarding kit, but in short, there are just four steps: shop for items, pick a container, personalize the items, and assemble. Conveniently, each step on the list below jumps to that section, so you can easily navigate to the information you need.
More articles you might like:
- 8 Awesome Welcome Kits for Onboarding
- Remote Onboarding Tips for New Employees
- 7 DIY Employee Gift Ideas with Free Printables
- 15 DIY Swag Bag Ideas for Clients, Events, and Giveaways
What is a welcome kit and why it’s important for onboarding
The terms “welcome kit” and “onboarding kit” are used interchangeably to describe a gift for new employees. They generally include a variety of small items, office supplies, and company swag to make the first few days or weeks of employment more pleasant.
Beyond making a new employee feel more comfortable, welcome kits are an opportunity to make a great impression. Of course, that is to say nothing of beginning the onboarding process in a positive manner.
Why onboarding is important
In short, onboarding is important because it integrates new employees and helps to retain them. During the onboarding process, new hires acclimate to their environment, build bonds, and become engaged. Because engaged employees tend to have a much lower turnover rate, it is in the best interest of any business to promote engagement from day one.
Take, for example, the two-year program for new graduates at Brotherly Love Real Estate in Philadelphia, which includes a three-week onboarding process up front. CEO and co-founder Jon Sanborn says that after implementing this program, “we have witnessed a 17% increase in overall productivity and a 21% improvement in work culture.”
How long does onboarding take
The onboarding process varies by company and can take anywhere from a few weeks to a year. Certified Personnel Consultant, Anjela Mangrum, says, “I believe any onboarding process should cover three months to fully enable a new hire to adjust to an organization, both professionally and socially.” Mangrum also cites the “90-day employee retention rule” covered in depth in this Wall Street Journal article. Mangrum, who is the founder and president of Mangrum Career Solutions, sums it up, “workers that stay at a firm for the first three months will likely complete at least a year before moving on to another job, so if you need to reduce turnover and ”quick quits,” it’s essential to streamline your onboarding process.”
Similarly, Teri Shern, co-founder of Conex Boxes, says, “The initial stages of the onboarding process for us take about 3–4 months.” However, she goes on to say, “But, when you look at the bigger picture, the entire first year of an employee’s time with us involves a variety of learning materials and assistance that helps them to become a truly independent and productive individual within the company.”
1) Shop for items: what a welcome kit should include
“…we give them a welcome kit. This kit includes a company t-shirt, a notebook, a pen, and a few other desk essentials they could use.”
Zephyr Chan, founder of Better Tools based in Hong Kong, China
Just like onboarding times, what’s included in welcome kits can also vary by company, but there are a few items that always seem to be included. For example, Zephyr Chan, founder of Better Tools, and Cindy Deuser, HR Director of Thrive Digital Marketing Agency, both prefer company swag and some office essentials. Deuser says, “New hires appreciate receiving free items and gifts from companies, making them feel welcomed and excited to work.” She goes on to say, “These could include an ID lanyard, company t-shirt, jacket, or mug.”
Welcome/onboarding kit ideas by category
Daily essentials are often overlooked. However, gum or mints, lip balm, hand sanitizer, tissues, disposable face masks, headphones, or a universal phone cable can really come in handy on a new hire’s first day.
Office supplies are always useful, for instance, pens, a notebook or notepad, a binder, or folders. You can even use personalized labels to make your new hire feel extra special.
Snacks like energy bars, candy, dried fruit, fruit snacks, protein snacks, or a gift card for lunch are great onboarding gifts.
Useful company swag, such as totes or mugs, is often the MVP of first-day items, especially since the first day at a new job can often be overwhelming. Any swag that helps new hires grab a refreshing cup of tea or coffee in the breakroom and easily carry all their paperwork home is a definite win.
“Part of the team” company swag such as stickers and t-shirts starts encouraging team spirit on day one. Remember that the onboarding process is part of the team-building process. Help your new hires instantly feel like part of the team with swag that promotes company pride.
Create custom vinyl logo stickers in minutes
Create your own vinyl company stickers for onboarding kits, giveaways, and more. Using our WePrint® service and your company logo, it’s incredibly easy. First, upload your logo or design; next, enter your sticker size. Then pick matte or glossy vinyl. Finally, choose your quantity, add it to your cart, and you’re done!
Don’t have a logo yet? Learn how to make a logo for your business.
2) Pick a container: how you will present onboarding kit items
When it comes to packaging and presenting your onboarding kit, you have several choices, including baskets, gift boxes, and tote bags. For baskets and gift boxes, you may also need filler, cellophane, or shrink wrap in order to pull it all together. By far, the best option is a tote bag because not only does it easily contain all the items in your kit, but it also doubles as a way to carry home first-day paperwork.
Of course, you can buy decorative totes or get them custom-printed. However, custom-printed totes can get pricey fairly quickly. Instead, you can make your own DIY welcome kit totes with fabric transfers. Avery fabric transfers, specifically, are easy to customize and easy to apply to canvas tote bags. First, start with a predesigned template you can customize, like the one below. Or, browse more free Avery templates for fabric transfers. Then, print your design and trim around the edges. Finally, apply the transfer to your tote with an iron or heat press. You can find even more resources, such as instructions and tutorials, here on our fabric transfer page.
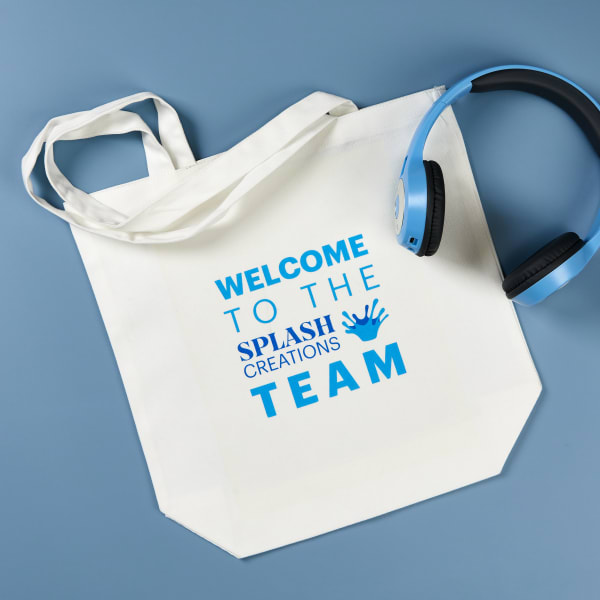
Print this design yourself on Avery fabric transfer 3271, which is ideal for light-colored fabrics, including canvas tote bags.
Looking for more ways to customize fabric swag? Browse our full line of fabric transfer products.
3) Personalize welcome kit items with labels and tags
Supplies you will need for personalizing
It’s not only super easy to personalize onboarding kit items with Avery products, but you can also get started right away. In fact, you probably already have everything you need to start designing labels, cards, and tags. First, you will need a laptop, tablet, or other smart device and an internet connection. Then, you will need a free Avery account in order to save, share, or reprint your projects later. Finally, if you’re printing yourself, then you will need a laser or inkjet printer connected to your device and the printable Avery product of your choice.
As far as the type of printer goes, you can print Avery products on most desktop or office printers. The most important thing is to match the type of labels, cards, or tags to the type of printer you have. For example, labels marked “Laser” should only be used with a laser printer, and labels marked “Inkjet” should only be used with an inkjet printer. Using the wrong label with your printer can result in prints that smudge, smear, and never seem to dry or “set,” so it’s super important. As a matter of fact, we wrote a whole article about the kinds of printers to use for printing labels just to set the record straight, and the information in that article also applies to cards and tags.
If you don’t have a printer or don’t want to bother printing, we can also print for you. Our WePrint service uses professional digital printers, and orders ship in as few as three business days.
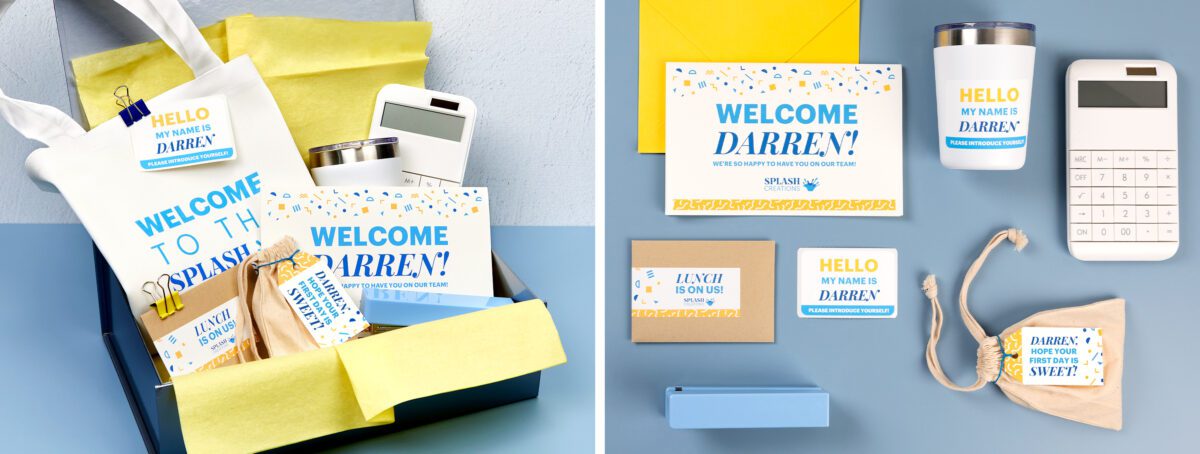
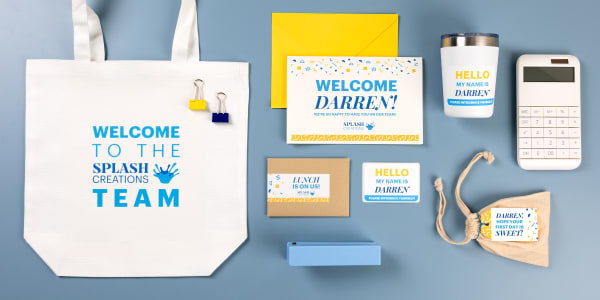
Free welcome kit templates you can quickly customize
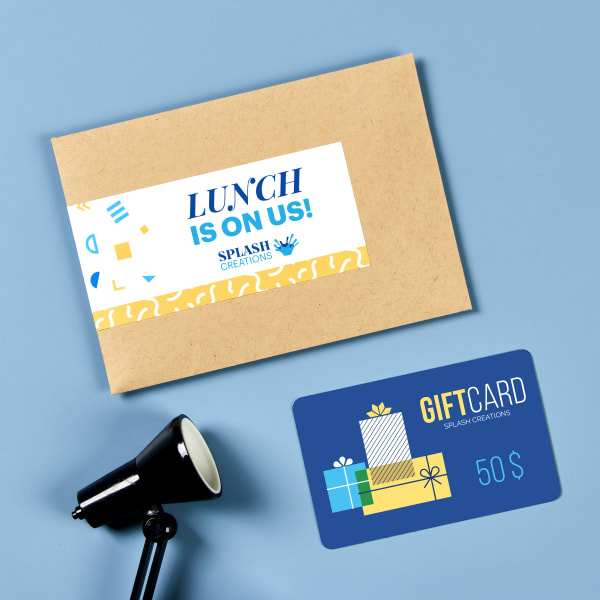
Print this design yourself on 7-17/20″ x 1-3/4″ wraparound labels by the package (22838).
Or, print it on the same labels available by the sheet (94232).

Print this design yourself on Avery 22802 tags. Or, order it on custom-printed tags.
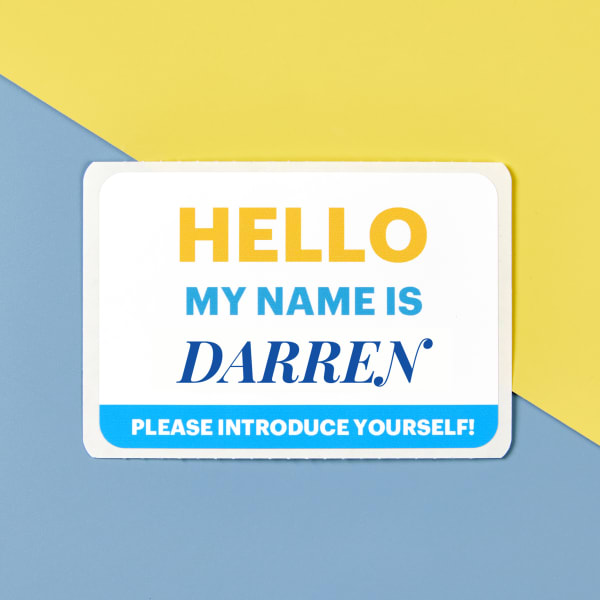
Print this design yourself on Avery 25395 adhesive name badges.
Or, we can print it for you with our WePrint service. Just click “Let Us Print For You” after completing your design.
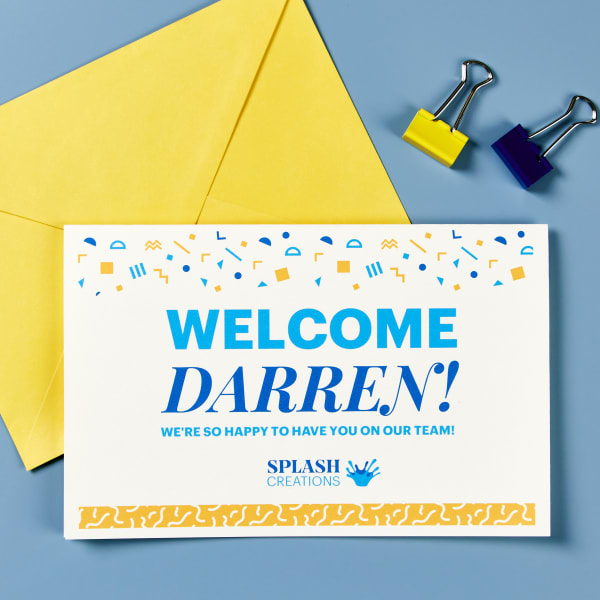
Print this design yourself on our half-fold 5-1/2″ x 8-1/2″ greeting cards (3378).
Looking for more DIY ideas you can personalize? Check out our article with eight awesome welcome kit ideas onboarding.
Tips for printing Avery labels, cards and tags
Before you print, check your printer settings. Always set your paper type to “cardstock,” “heavy weight,” or “specialty.” This is important so that your printer can adjust the feed to accommodate label, card or tag sheets, which are thicker than regular paper. Additionally, you want to make sure that the scale is set to 100 so that your design prints at the exact intended size and alignment.
Printing steps for onboarding kit labels, cards, and tags
1) Preview & Print. Once you’re happy with your design in Avery Design and Print Online, click the green “Preview & Print” button.
2) Review the front & back. On this screen you will be able to zoom in to review your design closely. You will also be able to view the front, back, and/or inside of cards and tags.
3) Choose print yourself. To print on a regular desktop or office printer, choose “Print Yourself” and proceed to step 4. Otherwise choose “Let Us Print for You” and follow the prompts.
4) Choose print options. Next, you will be prompted to choose some print options. If you are printing on both the front and the back of cards or tags watch this video for printing on both sides.
5) Get PDF to Print. Click “Get PDF to Print.” First you will be prompted to save your design for later access. Then a window will pop up with tips and a button to open the PDF.
Note: Opening the PDF may vary between browsers. Watch the video above for specific steps for printing from different internet browsers.
6) Review the PDF. Always review your PDF file before printing. The first preview in step 2 shows you the individual design. The PDF shows you exactly what your whole project will look like.
7) Print (or go back to edit). If you’re not ready to print, use the “Customize” button to continue editing. Remember to review any changes you make in the new PDF file that will be generated.
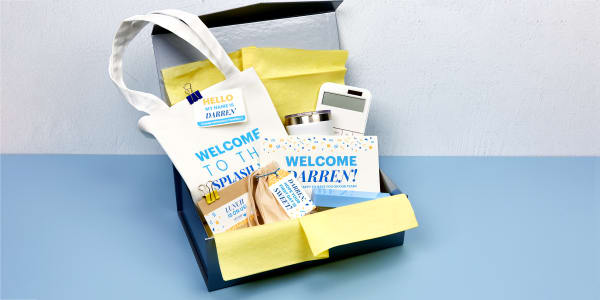
4) Assemble your DIY welcome kit
Last of all, it’s time to assemble your DIY onboarding kits. If you’re personalizing a tote bag yourself, that’s the first step. The next thing to do is to apply your personalized labels and tags to the items that will go in the kit. Once everything is labeled, fill the tote bag or arrange the items in your container of choice. For boxes or baskets, you may need filler such as crinkle paper to arrange the items attractively. If you choose to assemble your onboarding kit in a basket, it’s a good idea to use cellophane or shrink wrap to finish it off and keep all the items in place.
Finally, stage the welcome kit on your new employee’s desk along with a welcome card. A personalized card is a lovely gesture, and you can make it even more special with a quick handwritten note inside.
Give new hires a warm welcome with DIY onboarding kits
In summary, welcoming employees on their first day is an important part of the onboarding process, which in itself is crucial. The onboarding process not only integrates new employees but also helps to retain them. As part of the process, onboarding kits are a great way to make new hires feel welcome and get excited to work.
Fortunately, Avery printable products paired with our free templates and design tools make it easy and affordable to create personalized welcome kits in-house. First, shop for items to go in your onboarding kit, such as daily essentials, office supplies, snacks, and, of course, company swag like stickers, t-shirts, and tote bags.
Indeed, tote bags are an ideal container for presenting an onboarding or welcome kit. Once you’ve chosen a container, personalize your onboarding kit items with labels and tags. Then, assemble your DIY welcome kit, and finally, leave it for your new hire to find at their new desk.
Do you remember your first day? What made you feel most at ease, welcomed, and like part of the team? Shout it out in the comments, or join the conversation on LinkedIn and Facebook. You can also share your welcome kit projects on Instagram with the hashtag #averyproducts.