Other articles you might like
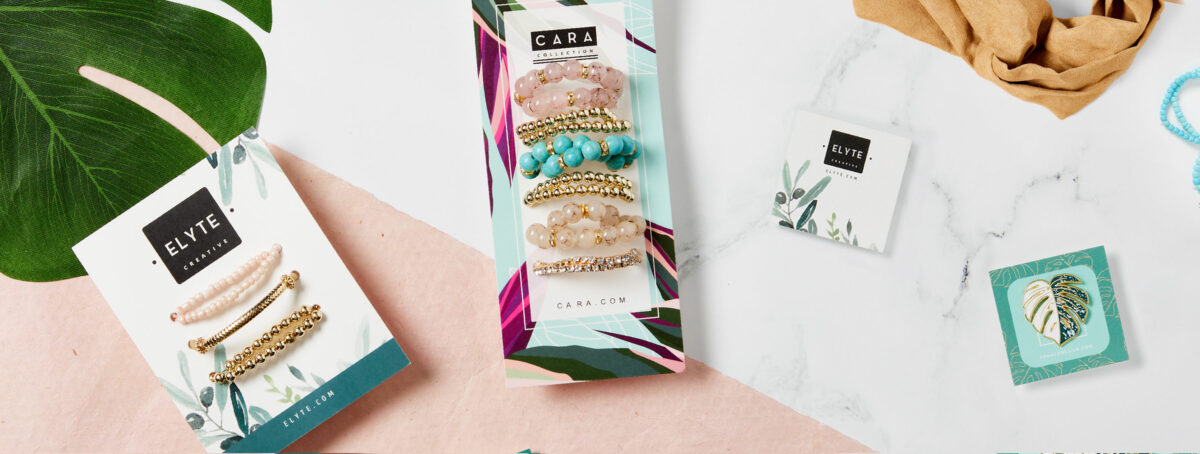
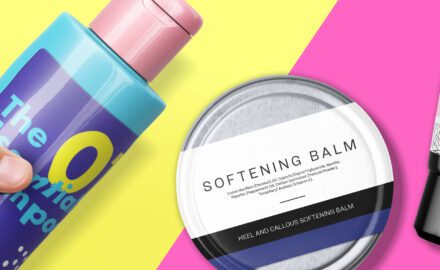
Easy ways to display jewelry & other accessories
The branding and display of your jewelry and other accessories are essential if you want your products to stand out from the competition. Since your branding paints the overall mood of your company and is the first impression you’ll make with your target audience, professional and clean jewelry display cards are vital to maximizing the impact of your brand.
To help you out, we’ve put together some simple, inexpensive ways you can create your own custom jewelry cards for earrings, necklaces, enamel pins, hair bows, and more. And make sure to check out our free jewelry display cards template gallery where you can pick a free design and personalize it your way for all your accessories.
For products that are historically considered luxuries, such as jewelry and accessories, cohesive and smartly designed jewelry display cards will heighten the effect of your product. Not only that, but they can also serve as a useful space to add important details such as contact info and social handles, taking the place of traditional business cards.
Whether you’re just starting to sell jewelry or you want to refresh your brand, these jewelry display card ideas should help you get started.
What you will need
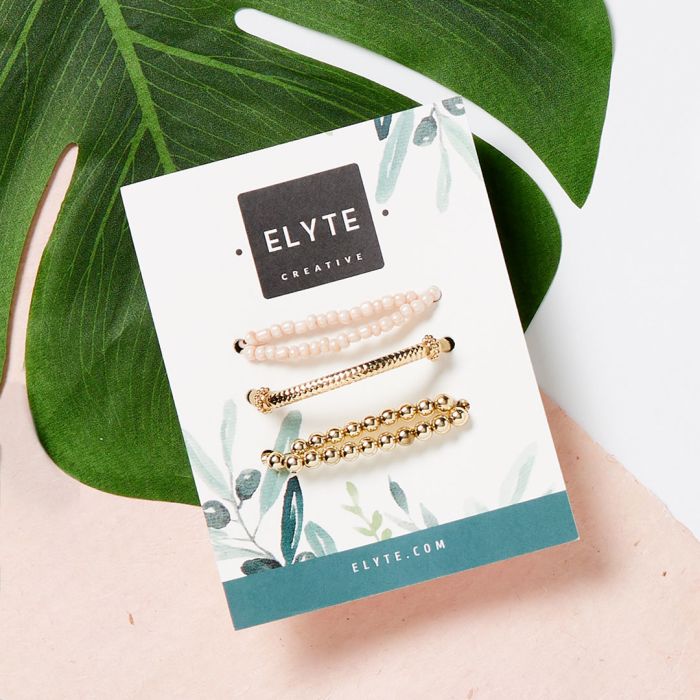
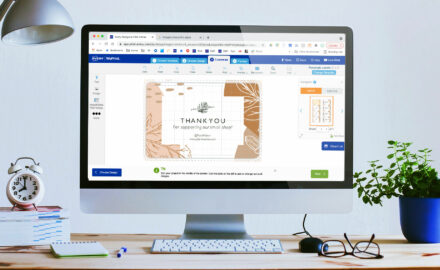
We used Avery WePrint custom printed cards and labels for these jewelry display ideas but you can use cards and labels from your favorite provider. However, the superior print and paper stock offered by Avery makes them perfect as backing cards. And Avery offers you the option to order professionally printed products or print them yourself.
Plus, the design tool Avery provides lets you pick a free beautiful template as a jumping-off point. Then you can upload your own artwork or make a card entirely from scratch within the software. This is a simple, cost-effective way for a small business to create the perfect jewelry cards to elevate its brand.
So let’s get started.
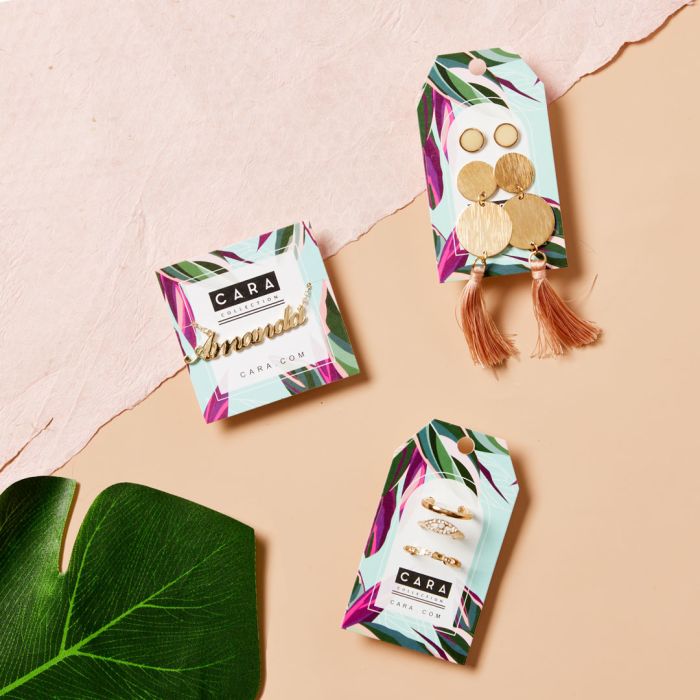
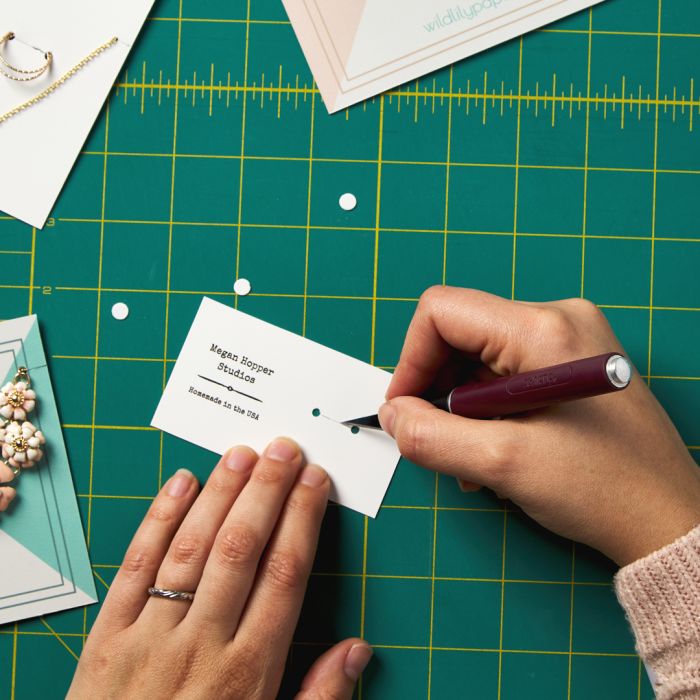
Enamel Pin & Earring Cards
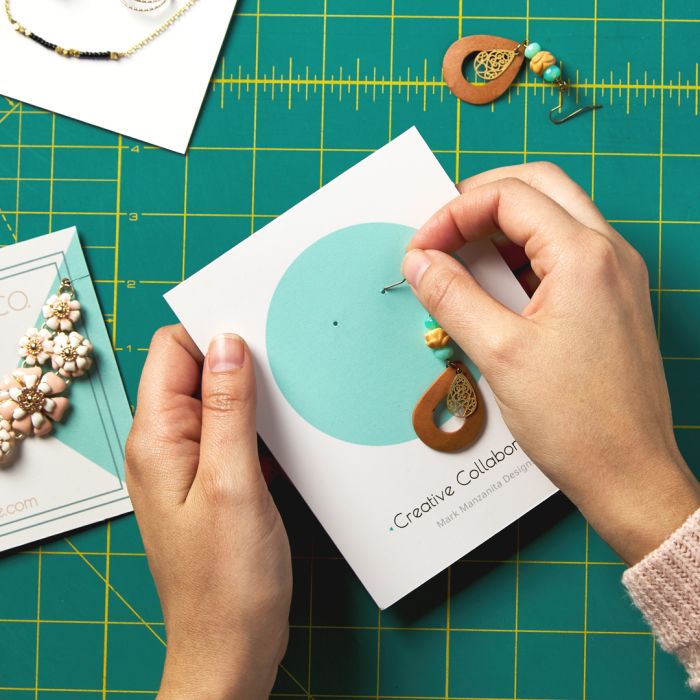
We recommend using a 1/16th-gauge hole punch to make your own custom earring cards and enamel pin cards. A sharp pushpin will also work but don’t use the jewelry to poke the holes as it might damage your product.
Place your earrings or pins on your finished display card and lightly mark with a pencil where to punch your holes. Make sure to consider the highest point of the earring or pin backings to ensure they will lay where desired on your display card. Your holes will need to be in different areas for hanging earring cards as opposed to stud earrings or pins. Make sure your jewelry doesn’t cover your branding or other important information on your earring cards.
After you make your punches and add your products where desired, attach the clutch to the pin or earring backing as you usually would.
Ring Cards
One of the more challenging cuts to make is the one for ring display cards. Choose a hole punch gauge that will fit the width of your ring without being too loose or creating tension that can dent your card. Unintentional dents or creasing to the card stock can compromise the hold on the ring. Our designers used a 3/32nd-gauge hole punch for the example above.
Punch two holes in the approximate width of your ring. To do this, we recommend creating the hole punches slightly closer than the max-width of your ring. This will allow the ring to hang slightly forward on the display card and minimize the risk of creating punches that are too far apart. Try practicing on a few blank cards to get a precise measurement before using your custom display cards.
Once you’ve made your punches, we recommend using an X-Acto® blade or sharp box cutter to cut a single line connecting the two punches. Next, you simply slip your ring into your cuts in the ring card, and you’re done.
For added security, adhere your ring to the back of the card with strong tape. Or use a custom logo sticker made with removable film or paper labels. It’s a great place to add some extra branding or other information as well.
Necklace Cards

Using a similar method as our ring grips, choose a punch gauge that will fit the width of your necklace. You don’t want it to be too loose or too tight and create tension that can dent the display card. The goal is a snug fit that will hold the necklace in the desired location. Our designers used a 3/32-gauge punch for these samples.
For necklace cards, we created punches on both edges of the display card. Be careful to not get too close to the edge. Approximately a quarter of an inch should suffice. Once your hole punches are in place, use an X-Acto® blade or box cutter to cut a slit from the hole to the edge of your card. This is where you slide your necklace chain into the card.
After your chain is on the display card, it’s best to wrap up any extra length and secure it on the back with tape. If you want to add an especially luxe finish, order some custom labels that match your branding. You can apply the same design you use on your necklace display cards right from your Avery account.
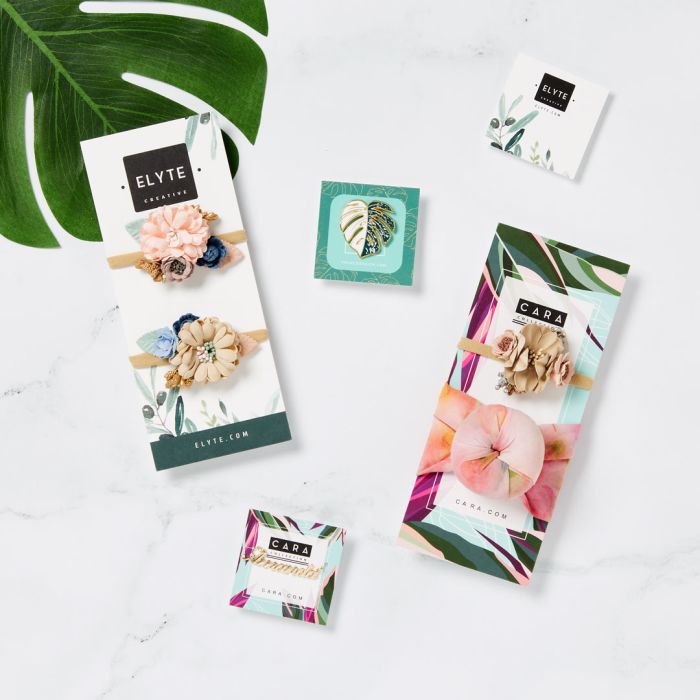
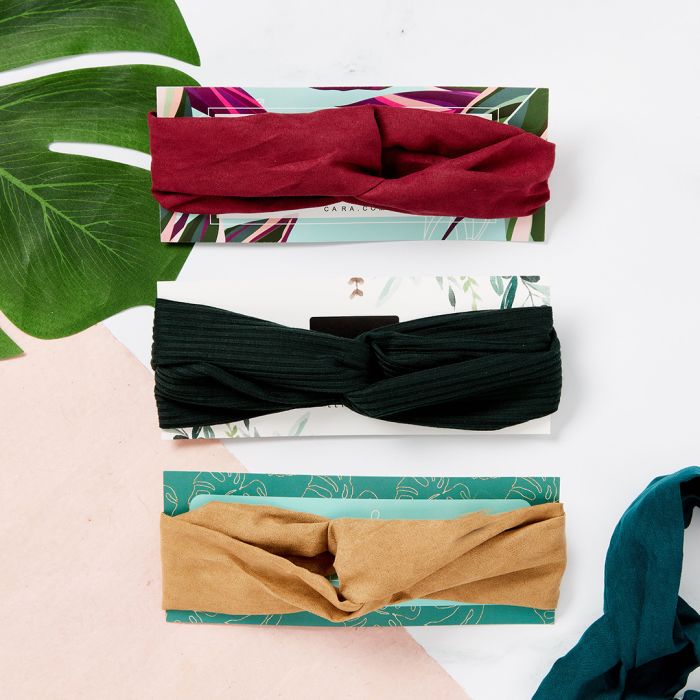
Hair Bow Display Cards
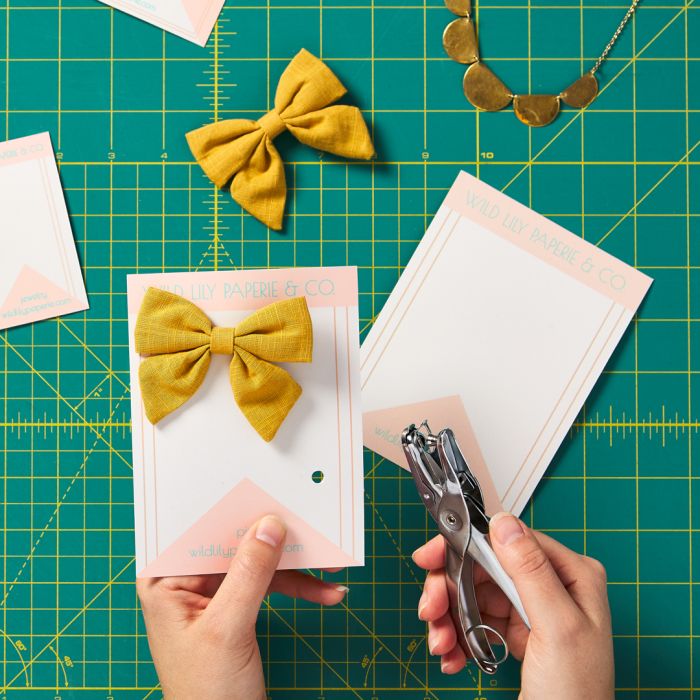
Depending on your hair bow’s clip (we used a single-pronged alligator clip) a 1/8th-gauge hole punch is usually sufficient for your display card.
Making your hair bow display cards is as easy as punching your hole where you want your bow or bows to lay on your backing card. Keep in mind that you should punch the hole where it will fit closer to the base of the clip for a more secure hold.
Make sure and check out our awesome design gallery to find all of the featured templates above and more. If you want some tips on branding your cards, check out How to Make a Logo for Your Business.

If you want your jewelry and other accessories to stand out from the crowd, you must brand them and display them. I’m a jewelry lover and I’ll definitely try this organizer for my diamond earrings in the first place. Thanks.
Do you have any ideas on how to cut/punch holes for hoops + leaverback earrings? The tab hole punchers I see online don’t look professional, they’re too thick.
Hi London,
There are a variety of hole punchers available online. We used a 1/16th hole punch to make the jewelry cards in the article above. This is an example of a 1/16th hole punch. Gabriela, the author of the article, also told me you can manually punch the holes by using sewing needles. Just experiment with the size hole you want using different size needles. We hope this helps. Let us know if you have any other questions. Share your finished product on social media with #averyweprint and we might use it in our gallery. Thanks for reading!
Where can you find a 3/32nd hole punch?
Hi Carissa,
Home Depot has Tekton 3/32 in Roll Pin Punch. You can also find them on Amazon. Hope this helps. Thanks for reading!
Do you all have anything for badge reel display cards? Also what the the display card material called like what thickness is the cardstock or is it some other type of card?
Hi Allison,
We offer a variety of name badges and tags that you can print yourself or have us print for you. If you’re looking for a permanent badge, check out our partner company PC Nametag. They offer every type of name badge, tag and accessories you need. Hope this helps!
These are amazing tips. I’m especially excited to try the necklace card! I’ve tried boxed necklace cards and none have really worked for my products. It would be fantastic to customize the size to fit my displays.
Thanks! We’re glad you found the article helpful. Let us know how it works out!